We’ve all been there. You’re excited, recipe in hand, ready to create a masterpiece. You add your flour to the stand mixer bowl, flick the switch, and… POOF! A white mushroom cloud erupts, blanketing your countertop, your clothes, and quite possibly your cat in a fine layer of dust. Learning How To Avoid Flour Flying Everywhere is a rite of passage for every baker, and today, as your resident expert at Stand Mixer Pro, I’m going to show you how to conquer the flour storm for good. This isn’t just about keeping your kitchen clean; it’s about mastering your machine to get better, more consistent results in your baking.
Ready to turn that flour explosion into a baking revolution? Let’s dive in.
Why Does Flour Fly Everywhere in the First Place?
Before we get to the solutions, it helps to understand the “why.” Think of it like this: your stand mixer’s motor is a powerful beast. When you unleash that power on a lightweight, powdery ingredient like flour or cocoa powder, it’s like turning a leaf blower on a pile of dust. The combination of high speed and fine particles creates instant chaos.
The brilliant planetary mixing action—where the beater spins on its own axis while also orbiting the bowl—is fantastic for incorporating ingredients thoroughly. However, at high speeds, this very action can act like a centrifuge, flinging dry ingredients up and out of the bowl before they have a chance to moisten and combine with the wet ingredients. The key is to tame this power and make it work for you, not against you.
The Ultimate Mess-Free Mixing Method: A Step-by-Step Guide
The secret to how to avoid flour flying everywhere isn’t a single magic trick; it’s a combination of technique and patience. Follow these steps, and you’ll keep the flour in the bowl where it belongs.
- Start Low and Slow. Always. This is the golden rule. No matter how tempted you are to crank it up, always start your stand mixer on the lowest possible speed setting (often labeled ‘Stir’ or ‘1’). Let the mixer gently fold the flour into the wet ingredients for at least 30-45 seconds. You’ll see the flour gradually disappear as it gets hydrated. Once it’s mostly incorporated, you can slowly increase the speed as your recipe requires.
- Layer Your Ingredients Strategically. Order matters! For most recipes like cakes and cookies, start with creaming your butter and sugar, then add eggs and other wet ingredients. This creates a wet base at the bottom of the bowl. When you add the dry ingredients on top, they have something to immediately cling to, reducing the chance of them flying out.
- Add Dry Ingredients in Stages. Don’t dump all the flour in at once! This is a one-way ticket to Flour-geddon. Instead, with the mixer on its lowest speed, add your dry ingredient mixture in thirds. Spoon about a third of the flour in, wait until it’s almost fully incorporated, and then add the next third. This gradual addition is much less shocking to the mixture and far easier for your kitchen appliance to handle without a mess.

- Use a Pouring Shield or a Makeshift Cover. Many stand mixers from brands like KitchenAid come with a plastic pouring shield that fits onto the top of the bowl. Use it! It’s designed specifically for this problem. It not only blocks flour from escaping but also provides a handy chute for adding ingredients while the mixer is running. If your mixer didn’t come with one, a clean dish towel draped over the top of the mixer can work wonders. Just be careful to keep it clear of the moving beater.
According to professional pastry consultant Chef Amelia Thorne, “Your stand mixer’s speed dial isn’t a race car throttle. The lowest setting is your best friend when incorporating dry ingredients. Respect it, and it will respect your clean countertop.”
How Your Stand Mixer Can Help You Avoid a Flour Cloud
Beyond technique, the features of your stand mixer itself play a huge role. When you’re shopping for a new machine or learning to master your current one, look for these mess-preventing features.
The Magic of a “Soft Start” Feature
What is a soft start? Some modern stand mixers have a motor that doesn’t immediately jump to full power for the selected speed. Instead, it starts slowly and gradually ramps up. This tiny delay is a game-changer. It gives the ingredients a moment to begin combining before the full force of the mixing action kicks in, significantly reducing splashes and flour clouds. Cuisinart and some newer KitchenAid models are well-known for this feature.
Choosing the Right Attachment for the Job
Using the wrong tool can make the mess worse. Each attachment is designed for a specific purpose, and understanding them is crucial.
- The Flat Beater (or Paddle): This is your go-to for incorporating flour in most cookie, cake, and brownie recipes. Its design is meant to mix and fold without incorporating too much air, making it less likely to fling flour than its wire-y cousin.
- The Wire Whisk: The whisk is designed to whip air into ingredients (think meringues or whipped cream). Using a whisk to add flour is asking for trouble. Its many fine wires will send flour particles airborne in seconds. Never use the whisk to add flour.
- The Dough Hook: Designed for kneading bread, the dough hook operates at low speeds to develop gluten. It’s naturally a low-mess attachment because its job is to gently push and fold heavy dough, not agitate light powders.
Cleaning and Maintenance Tips After a Floury Session
Even with the best techniques, a little cleanup is inevitable. Keeping your stand mixer in top shape ensures it performs reliably every time.
- Unplug First: Before cleaning any kitchen appliance, always unplug it from the wall for safety.
- Wipe Down Immediately: Use a damp cloth to wipe down the mixer head and body right after use. Dried-on batter is much harder to clean.
- Clean the Nooks and Crannies: Pay special attention to the hinge mechanism and the area where the attachments connect. A small brush or a cotton swab can help get into tight spots where flour loves to hide.
- Wash Attachments Properly: Most bowls, beaters, and dough hooks are dishwasher-safe (check your manual!), but for longevity, hand-washing is often best, especially for coated attachments. The wire whisk should always be hand-washed to prevent damage.
For a deep dive into keeping your workhorse pristine, check out our [Complete Guide to Cleaning Your Stand Mixer].
Frequently Asked Questions (FAQ)
What is the best speed to add flour to a stand mixer?
The best speed is always the lowest possible setting. On most mixers, this is ‘Stir’ or speed ‘1’. This gentle speed folds the flour into the wet ingredients rather than flinging it out of the bowl, which is the key to how to avoid flour flying everywhere.
Does a pouring shield really work to stop flour from flying everywhere?
Yes, absolutely. A pouring shield, or splash guard, is one of the most effective tools. It acts as a physical barrier, containing powders and liquids within the mixing bowl while still allowing you to add ingredients through a designated chute.
Can I put all my ingredients in the stand mixer bowl at once?
While tempting for a quick cleanup, this is generally not recommended. “All-in-one” methods often lead to poorly incorporated ingredients and a much higher chance of making a mess. Following the proper order—creaming fats and sugars, adding liquids, then gradually adding dries—yields better results and a cleaner kitchen.
Why does my stand mixer splash even with liquids?
Splashing with liquids happens for the same reason as flour clouds: starting at too high a speed. Always begin on the lowest setting when incorporating any new ingredient, liquid or dry, and increase the speed gradually. Also, ensure you aren’t overfilling the bowl beyond its stated capacity.
How do I scrape the sides of the bowl without making a mess?
Always stop the mixer completely and lower the bowl (on a tilt-head model) or remove the attachment before scraping. Using a flexible silicone spatula will allow you to cleanly scrape the sides and bottom, ensuring all ingredients are evenly mixed without flinging batter.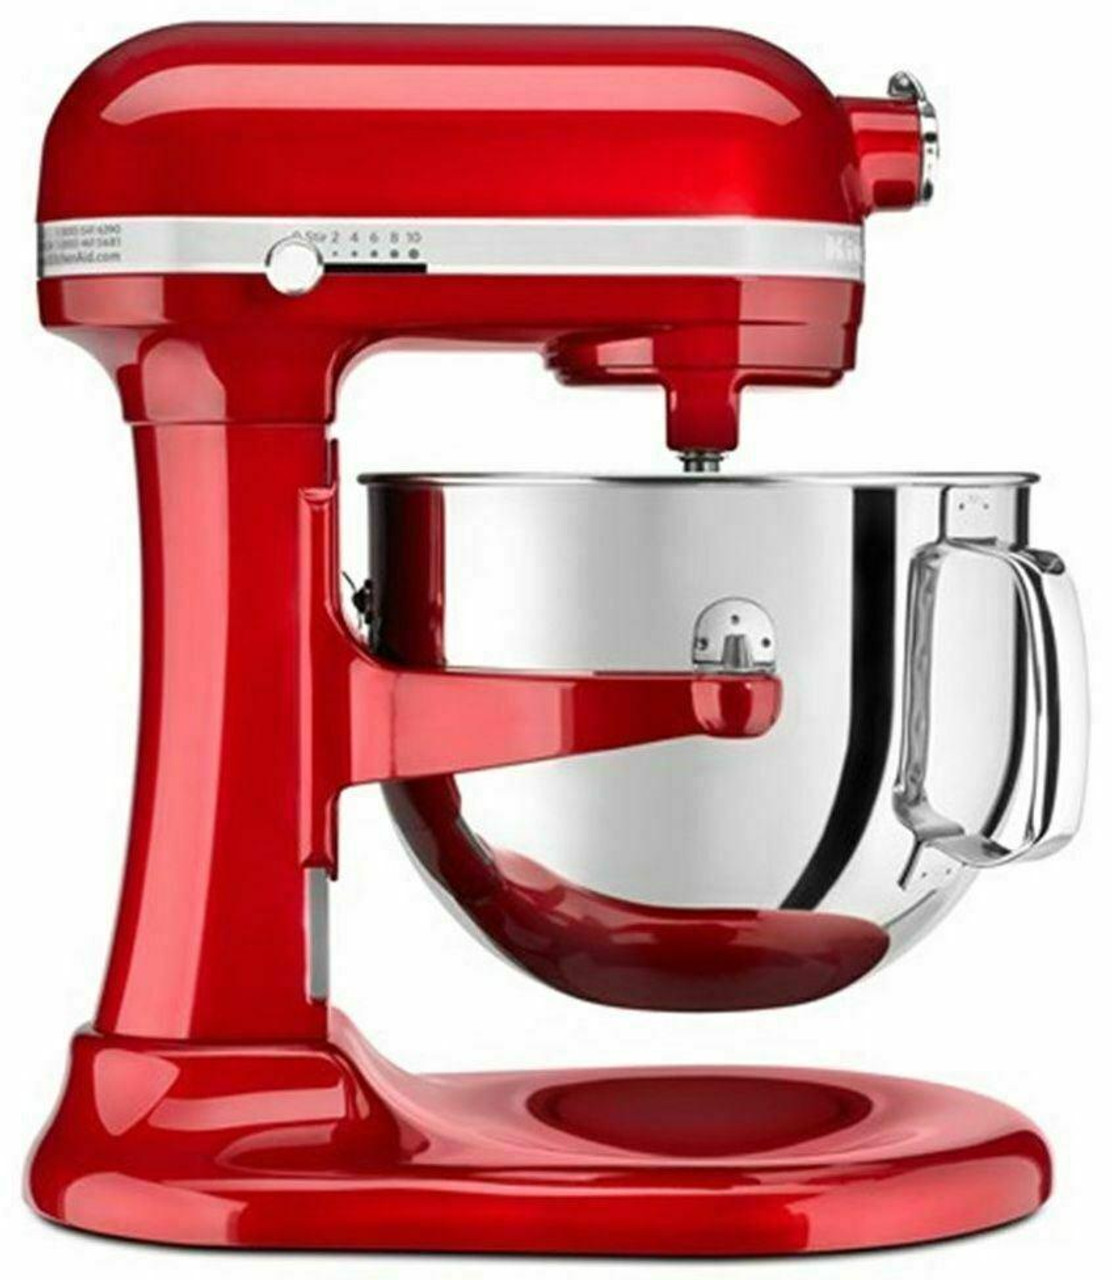
Your Kitchen Is Now a No-Fly Zone for Flour
Mastering your stand mixer is a journey, and conquering the dreaded flour cloud is a major milestone. By combining the right techniques—starting slow, layering correctly, and adding ingredients in stages—with the right tools like a pouring shield and the proper beater, you take control of your machine.
You’ve invested in a powerful kitchen appliance; now it’s time to make it work for you. Say goodbye to messy countertops and wasted ingredients. The knowledge of how to avoid flour flying everywhere is now yours. Go forth and bake with confidence!
Have any of your own mess-free tips? Share them in the comments below! We’d love to hear from our community of bakers.