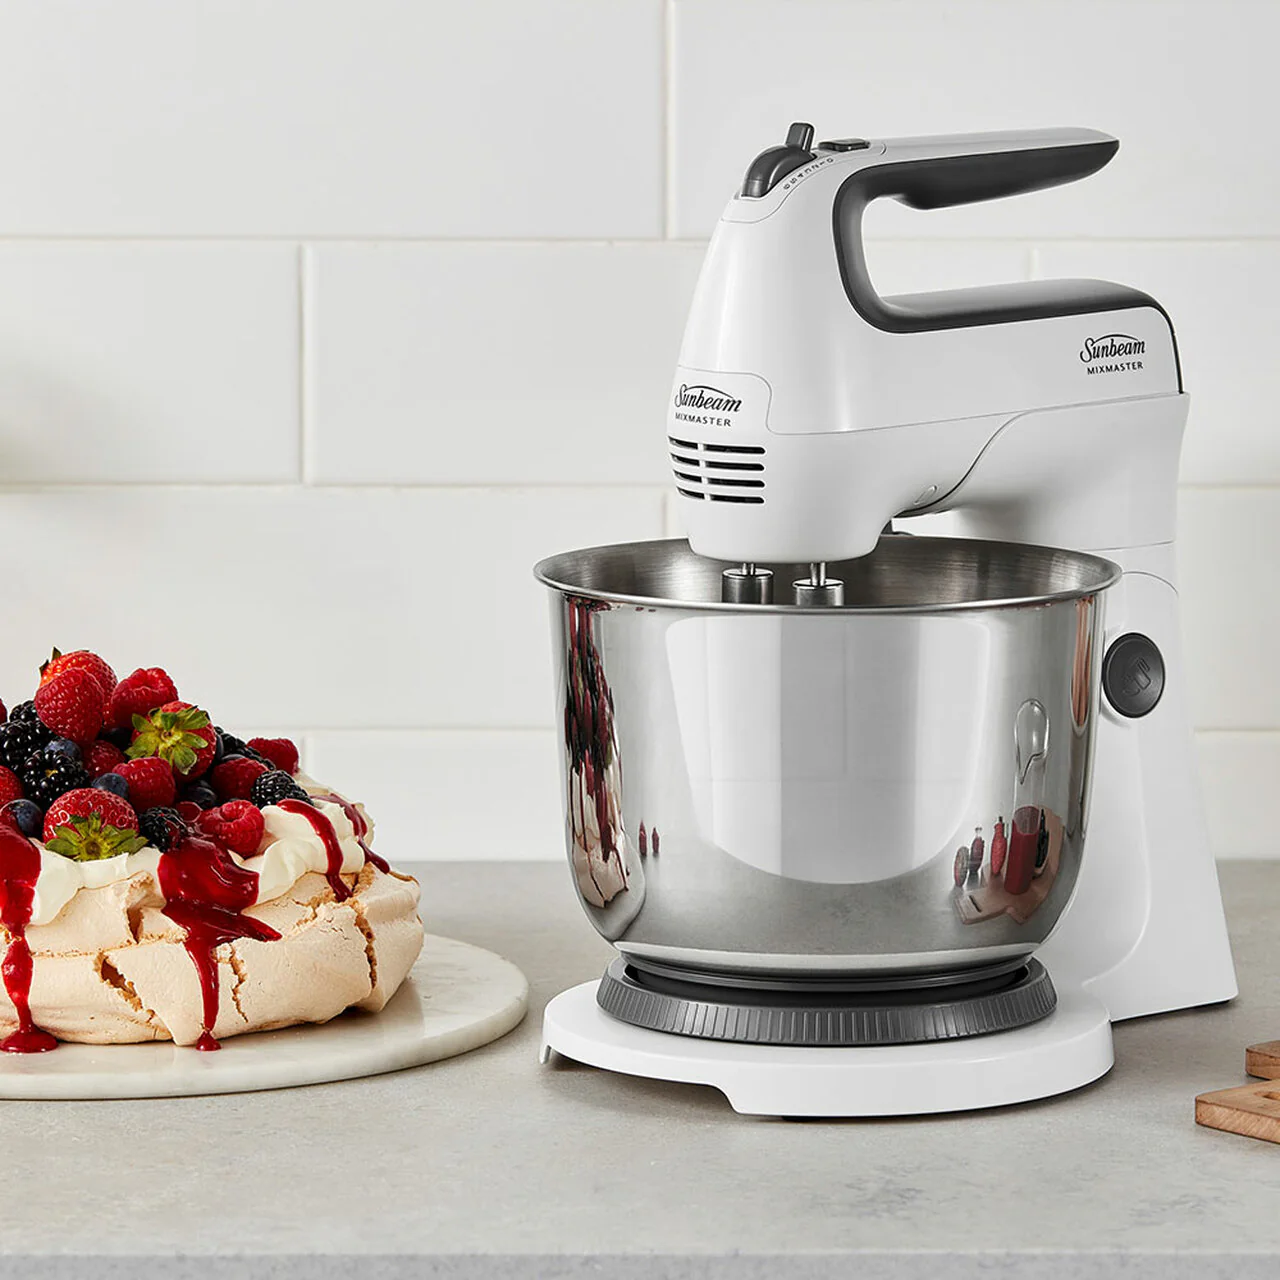
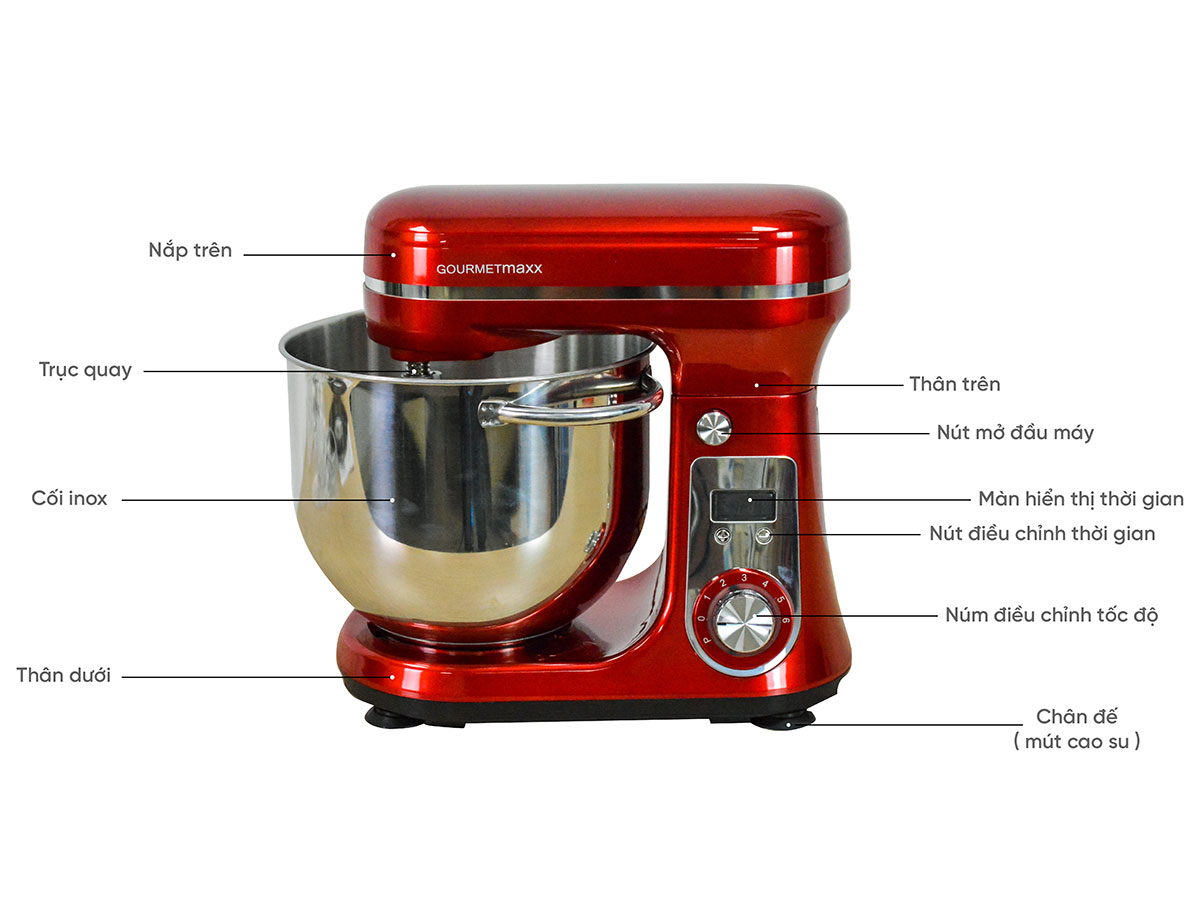
So, you’ve welcomed a stand mixer into your home. Congratulations! You’re about to unlock a whole new level of culinary creation. But after the initial joy of unboxing that beautiful, heavy-duty kitchen appliance, a very practical question often arises: where on earth do you put it? Knowing How To Store A Stand Mixer properly is about more than just tidying up; it’s about protecting your investment and making your baking life easier. As your go-to expert at Stand Mixer Pro, I’m here to walk you through every option, from the countertop showpiece to the clever cabinet hideaway.
I remember my first stand mixer. It was a classic tilt-head model that felt like a game-changer. Suddenly, kneading bread dough wasn’t a workout, and whipping egg whites to stiff peaks was a hands-free miracle. But my tiny apartment kitchen meant I was constantly wrestling with it. I learned the hard way that the right storage strategy can make the difference between a beloved kitchen partner and a cumbersome dust collector. Let’s make sure yours is the former.
The Great Debate: Countertop vs. Cabinet Storage
The first decision every stand mixer owner faces is where their new machine will live. There are two primary schools of thought, and the right choice for you depends entirely on your kitchen layout and how often you reach for that flat beater.
The Countertop Champion: For the Avid Baker
Keeping your stand mixer on the countertop is the most popular option, and for good reason.
Pros:
- Accessibility is King: When your mixer is always out, you’re more likely to use it for both big projects (like a triple-layer cake) and small tasks (like shredding chicken for tacos). There’s no heavy lifting involved.
- Aesthetic Appeal: Let’s be honest, modern stand mixers from brands like KitchenAid or Kenwood are designed to be seen. They add a pop of color and a professional feel to your kitchen decor.
- Instant Inspiration: Seeing your mixer can spark creativity. You might be more inclined to whip up a batch of spontaneous cookies just because your trusty machine is ready and waiting.
Cons:
- It’s a Space Hog: This is the number one drawback. In a kitchen with limited counter space, a stand mixer can feel like it’s taking up valuable real estate needed for prep work.
- Dust and Grease Magnet: Anything left on a kitchen counter is susceptible to collecting dust and a fine layer of cooking grease. This means more frequent wiping down is necessary.
Expert Tip: If you choose the countertop life, invest in a simple, fitted appliance cover. It keeps your machine pristine between uses and drastically cuts down on cleaning time.
The Cabinet Hideaway: For the Occasional User or Minimalist
For those who value clear counters above all else, or perhaps only bake for special occasions, stowing the mixer away is the way to go.
Pros:
- Clutter-Free Counters: This is the dream for anyone who loves a minimalist, clean kitchen aesthetic.
- Ultimate Protection: Tucked away in a cabinet or pantry, your mixer is safe from dust, spills, and accidental knocks. It will stay looking brand new for years.
- Frees Up Workspace: You have your entire countertop available for chopping, rolling, and plating.
Cons:
- The Hefty Lift: These machines are heavy. A standard KitchenAid Artisan weighs over 20 pounds (about 10 kg). Lifting that in and out of a low cabinet can be a real chore and even a potential safety hazard if not done carefully.
- Out of Sight, Out of Mind: The inconvenience of getting the mixer out might deter you from using it for smaller, quicker tasks.
How to Store a Stand Mixer: The Ultimate Checklist
Whether you’re a countertop connoisseur or a cabinet devotee, following a few simple steps will ensure your machine is stored safely and correctly. Knowing how to store a stand mixer is a key part of its long-term maintenance.
- Clean It Thoroughly: Before storing, always wipe down the entire machine. Remove any flour dust from crevices and clean the beater shaft. Wash and completely dry the bowl and all attachments. Storing a dirty appliance is a recipe for attracting pests and creating caked-on messes.
- Manage the Cord: Loosely wrap the power cord. Many models have a dedicated spot or strap for this. Never wrap the cord tightly around the base of the machine, as this can strain the connection point over time and lead to electrical damage.
- Attach the Essentials: For countertop storage, I recommend leaving the bowl locked in place and the flat beater attached. It keeps the core components together. For cabinet storage, you can place the attachments inside the bowl.
- Protect the Bowl: To prevent the inside of your stainless steel bowl from getting scratched by the attachments stored within, place a small, clean dish towel or a piece of microfiber cloth inside the bowl before dropping in the whisk, dough hook, and flat beater.
- Choose a Stable, Dry Location: Never store your stand mixer near a heat source like a stove or in a damp area like under the sink. Temperature fluctuations and moisture are enemies of the motor and electronics. A dry pantry or a sturdy cabinet is ideal.
Creative Storage Solutions for Small Spaces
What if you don’t have the counter space or a convenient cabinet? Don’t worry, you haven’t run out of options. It’s time to get creative.
- Appliance Garage: This is a dedicated section of your cabinetry, often at counter level with a roll-up or pocket door. It keeps the mixer hidden but easily accessible without any heavy lifting.
- A Sturdy Rolling Cart: A kitchen cart with locking wheels can be a fantastic mobile station for your mixer. You can roll it out when you need it and tuck it into a corner or pantry when you’re done.
- Appliance Lifts: This is the ultimate solution for cabinet storage. These spring-loaded mechanisms are installed inside a base cabinet and allow you to effortlessly swing the mixer up and out to counter height. It’s a bit of an investment but a total back-saver.
- The Open Pantry Shelf: If you have a walk-in pantry, dedicating a sturdy, waist-high shelf to your mixer is a perfect compromise. It’s off the main counter but still relatively easy to access.
As product designer Amelia Grant often says, “Good kitchen design isn’t just about how it looks, but how it flows. Storing a heavy appliance like a stand mixer should never be a barrier to creativity. The right solution makes using it a joy, not a chore.”
Storing Your Attachments: Keeping the Team Together
Losing that one specific attachment you need is incredibly frustrating. Keep your whisk, dough hook, and flat beater organized.
- In the Bowl: As mentioned, this is the easiest method. Use a towel to prevent scratches.
- Drawer Organizers: Use a deep drawer near your mixer and assign a compartment for each attachment.
- Magnetic Hooks: You can mount strong magnetic hooks on the side of a cabinet or on your backsplash to hang the attachments for easy grabbing. Just ensure they are secure!
- Dedicated Caddies: Some third-party companies make organizers specifically designed to hold stand mixer attachments, which can sit neatly beside the mixer.
Frequently Asked Questions (FAQ)
Here are some of the most common questions we get at Stand Mixer Pro about storage and care.
Q: Is it bad to leave a stand mixer plugged in on the counter?
A: Generally, it’s safe to leave your stand mixer plugged in if you use it frequently. However, for long-term safety, especially in homes with children or pets, or during thunderstorms, it’s always best practice to unplug appliances that are not in use.
Q: How do I move a heavy stand mixer without hurting my back?
A: Always bend at your knees, not your waist. Hold the mixer close to your body with a firm grip on both the base and the top of the motor head. If storing in a low cabinet, slide it to the edge before lifting rather than reaching deep inside.
Q: Can I store my stand mixer in the garage or basement?
A: We strongly advise against it. Garages and basements often have issues with humidity, dust, and extreme temperature changes, all of which can damage the mixer’s motor, grease, and electronic components over time.
Q: What is the best way to store a bowl-lift mixer versus a tilt-head?
A: The storage principles are the same, but bowl-lift models are typically taller and heavier. Ensure your chosen shelf or cabinet has enough vertical clearance. Because you can’t tilt the head down, countertop storage under low-hanging cabinets can be tricky. Always measure your space first!
Q: My stand mixer is making a noise after being in storage. What should I do?
A: If it’s been stored for a very long time in a cold place, the grease inside the motor may have stiffened. Let the mixer sit at room temperature for a few hours. Then, run it on low speed with no load for a couple of minutes to warm it up and redistribute the lubricant. If the noise persists, it may need professional servicing.
Your Mixer, Your Kitchen, Your Rules
Ultimately, the best way to store your stand mixer is the way that works for you. It’s a balance between protecting a valuable piece of equipment and ensuring it remains a functional, accessible part of your culinary toolkit. By following these tips, you can keep your machine in peak condition, ready to tackle everything from delicate meringues to hearty bread dough for years to come.
So, take a look at your kitchen, consider your baking habits, and find the perfect home for your mixer. Now, what will you be baking first? We’d love to hear about your creative storage solutions in the comments below! Making a smart decision on how to store a stand mixer today will pay off with countless delicious creations tomorrow.