Making fresh pasta at home can seem daunting, but with the help of a stand mixer, it becomes an incredibly straightforward and enjoyable process. This kitchen workhorse takes the effort out of kneading, consistently delivering a smooth, elastic dough that’s a joy to work with. Forget store-bought; homemade pasta offers a superior taste and texture that will elevate any meal.
Essential Equipment You’ll Need
Before you begin, gather these items to ensure a smooth pasta-making experience:
- Stand Mixer: Any reputable brand (KitchenAid, Cuisinart, Kenwood) will work well.
- Mixing Bowl: The one that comes with your stand mixer.
- Paddle Attachment: For initial mixing of ingredients.
- Dough Hook Attachment: For thorough kneading.
- Measuring Cups and Spoons: For accurate ingredient quantities.
- Plastic Wrap: To rest the dough.
- Lightly Floured Surface: For any minor hand-kneading or preparing to roll.
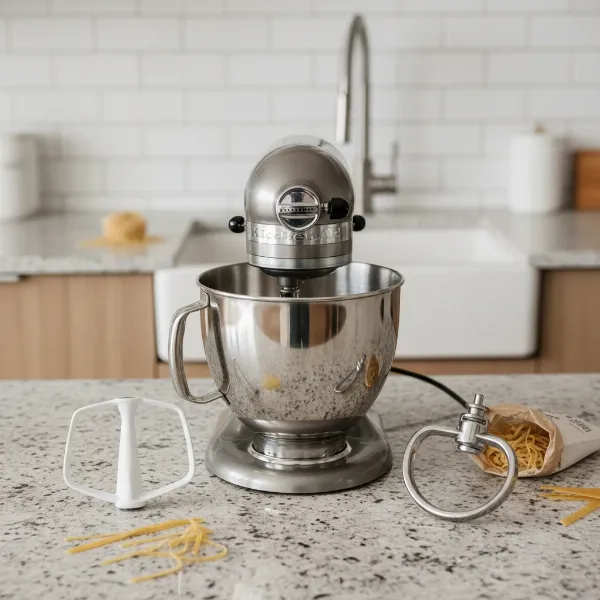 KitchenAid stand mixer with paddle and dough hook attachments for making fresh pasta dough
Ingredients for Classic Egg Pasta
A simple, classic egg pasta recipe requires just a few basic ingredients:
- “00” Flour: This finely milled Italian flour is ideal for pasta, producing a silky smooth texture. All-purpose flour can be used as a substitute, though the final texture may vary slightly.
- Large Eggs: Fresh eggs are key to the dough’s structure, color, and flavor.
- Salt: A pinch of salt enhances the flavor of the pasta itself.
- Semolina Flour (Optional): Some recipes incorporate a small amount of semolina for added texture and bite.
A good starting ratio is one large egg per 100 grams (approximately ¾ cup) of flour. However, stand mixers often require slightly less flour than hand-kneading, so always be prepared to adjust.
Step-by-Step Guide to Making Pasta Dough
Follow these steps to create a beautiful, pliable pasta dough using your stand mixer:
Step 1: Combine Wet Ingredients
|
Our Picks for the Best Stand mixer in 2026
As an Amazon Associate I earn from qualifying purchases.
|
||
| Num | Product | Action |
|---|---|---|
| 1 | Kitchen in the box Stand Mixer,3.2Qt Small Electric Food Mixer,6 Speeds Portable Lightweight Kitchen Mixer for Daily Use with Egg Whisk,Dough Hook,Flat Beater (Black) |

|
| 2 | Cuisinart Stand Mixer, 12 Speeds, 5.5-Quart Mixing Bowl, Chef's Whisk, Flat Mixing Paddle, Dough Hook, and Splash Guard with Pour Spout, Silver Lining, SM-50BC, Silver Lining |
|
| 3 | Cuisinart SMD-50BC Precision Pro 5.5-Quart Digital Stand Mixer With 12-Speeds, 3 Preprogrammed Food Prep Settings, Mixing Bowl, Whisk, Flat Mixing Paddle, Dough Hook, And Splash Guard, Silver Lining |
|
| 4 | Cuisinart SPI-50 Spiralizer, White |
|
| 5 | Cuisinart SMD-50CRM Precision Pro 5.5-Quart Digital Stand Mixer with 12-Speeds, 3 Preprogrammed Food Prep Settings, Mixing Bowl, Chef's Whisk, Flat Mixing Paddle, Dough Hook, and Splash Guard, Cream |
|
| 6 | Cuisinart SMD-50GPH Precision Pro 5.5-Quart Digital Stand Mixer with 12-Speeds, 3 Preprogrammed Food Prep Settings, Mixing Bowl, Whisk, Flat Mixing Paddle, Dough Hook, and Splash Guard, Graphite |
|
| 7 | Kitchen in the box Stand Mixer,3.2Qt Mini Electric Food Mixer,6 Speeds Portable Lightweight Kitchen Mixer for Daily Use with Egg Whisk,Dough Hook,Flat Beater (Green) |
|
| 8 | 3-IN-1 Electric Stand Mixer, 6.5QT Bowl 660W 10-Speed Kitchen Mixer, Household Food Mixers include Dough Hook, Beater and Whisk, Bread Cake Mixer for Baking and Most Home Cooks, Red |
|
| 9 | Kitchen in the box Stand Mixer,3.2Qt Small Electric Food Mixer,6 Speeds Portable Lightweight Kitchen Mixer for Daily Use with Egg Whisk,Dough Hook,Flat Beater (Blue) |
|
| 10 | Cuisinart SM-50G Precision Master 5.5-Quart 12-Speed Stand Mixer with Mixing Bowl, Chef's Whisk, Flat Mixing Paddle, Dough Hook, and Splash Guard with Pour Spout, Agave Green, Manual |
|
Attach the mixing bowl to your stand mixer and fit it with the paddle attachment. Crack your large eggs directly into the bowl. If adding salt, sprinkle it in now. Turn the mixer on low speed for about 30 seconds to lightly beat the eggs.
Step 2: Gradually Add Flour
With the mixer running on low, slowly begin adding your flour, about three-quarters of the total amount, into the bowl. As the mixer works, the mixture will start to come together into a shaggy, crumbly dough. Continue mixing, adding the remaining flour one tablespoon at a time, until the dough just starts to form a cohesive mass and is no longer overly sticky. It might look like large, coarse crumbs or small chunks rather than a perfectly smooth ball at this stage. Avoid adding too much flour too quickly.
Step 3: Switch to Dough Hook and Knead
Once the ingredients have largely come together, remove the paddle attachment and replace it with the dough hook. Increase the mixer speed to medium-low. Allow the stand mixer to knead the dough for approximately 4 to 6 minutes. During this time, the dough will transform, becoming progressively smoother and more elastic.
Step 4: Check for Proper Consistency
A well-kneaded pasta dough should be smooth, firm, and elastic. To test it, gently press your finger into the dough; it should slowly spring back. If the dough feels too dry and crumbly, add a teaspoon of water at a time until it reaches the desired consistency. If it’s too sticky, add a tablespoon of flour until it feels right. Remember, the goal is a dough that is firm but pliable, not tacky.
Step 5: Rest the Dough
Once kneaded to perfection, remove the dough from the mixer. Briefly shape it into a smooth ball by hand, incorporating any small dry bits left in the bowl if necessary. Wrap the dough tightly in plastic wrap to prevent it from drying out. Let the dough rest at room temperature for a minimum of 20 to 30 minutes. This crucial resting period allows the gluten to relax, making the dough much easier to roll out thinly without tearing or snapping back.
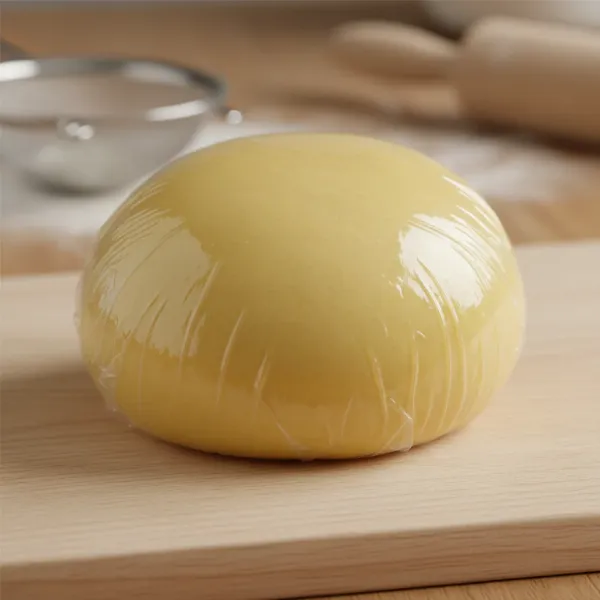 Smooth, yellow fresh pasta dough ball tightly wrapped in plastic wrap resting on a wooden board
Expert Tips for Pasta-Making Success
- Don’t Rush the Flour: Adding flour gradually is key to achieving the correct hydration. Every batch of flour and eggs can vary slightly.
- Humidity Matters: On humid days, you might need slightly more flour; on dry days, a little less. Trust the feel of the dough over strict measurements.
- Brief Hand-Kneading is Okay: While the stand mixer does most of the heavy lifting, a minute or two of hand-kneading after the mixer can help bring any stray crumbs into the main dough and ensure a perfectly uniform consistency before resting.
- Know Your Attachments: The paddle is for mixing, and the dough hook is for kneading. Using the correct attachment at each stage optimizes the process.
Storing Fresh Pasta Dough
If you’re not ready to roll out your pasta immediately, you can store the dough. Wrap it tightly in plastic wrap and place it in the refrigerator for up to 3 days. Allow it to come to room temperature for about 15-30 minutes before attempting to roll it out.
Conclusion
With your stand mixer, making fresh pasta dough from scratch is no longer a culinary feat reserved for seasoned chefs. It’s an accessible and rewarding experience that yields delicious results. Once you’ve mastered the dough, the possibilities for creating delectable homemade pasta dishes are endless. Enjoy the rich flavors and satisfying textures that only fresh pasta can provide!