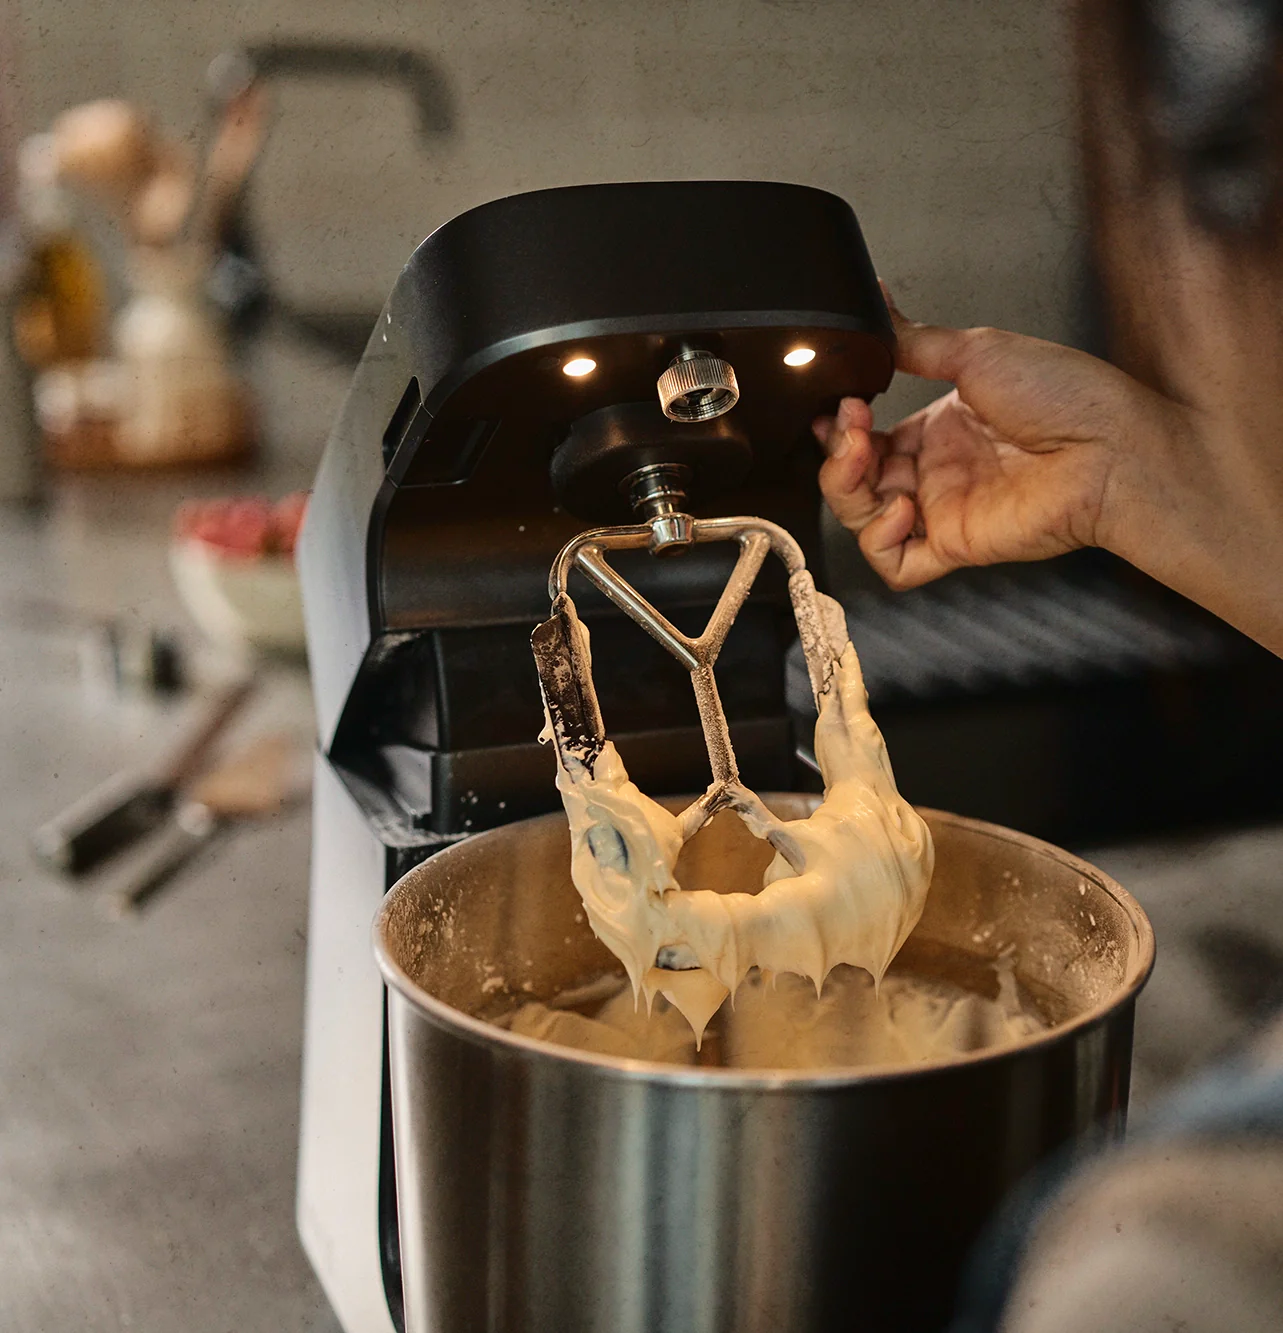
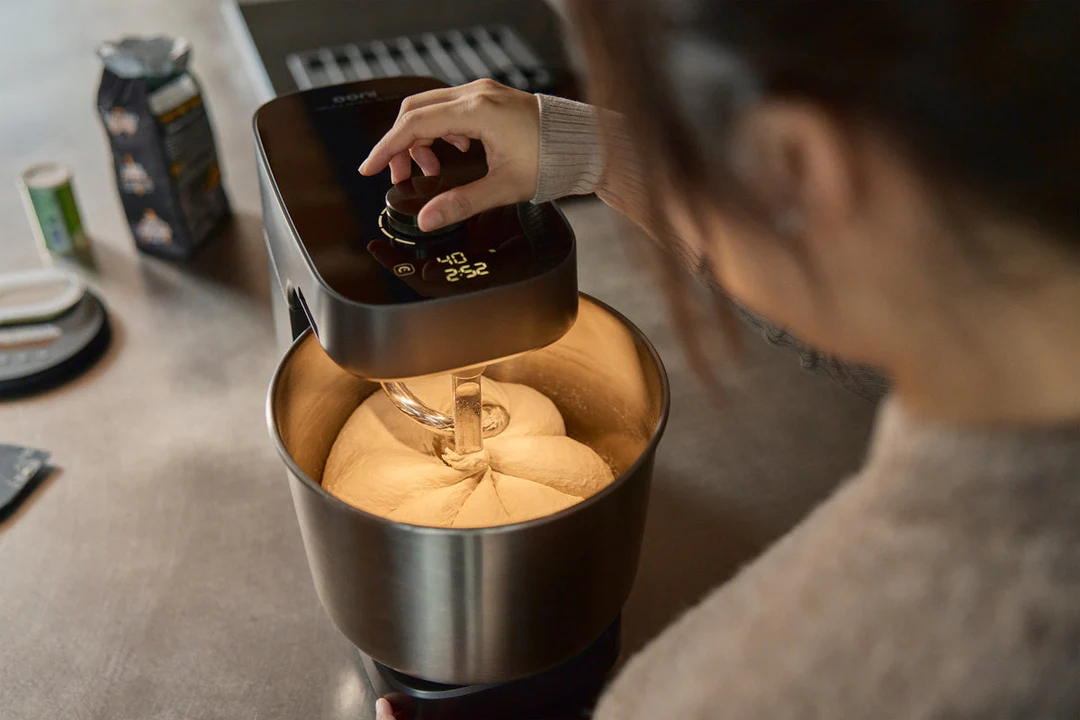
Let’s be honest, your stand mixer isn’t just another kitchen appliance; it’s the centerpiece of your culinary command station. It’s that gleaming beacon of baking potential sitting proudly on your countertop. But with great power comes… well, fingerprints, water spots, and a gradual dulling of that beautiful stainless steel finish. If you’re wondering How To Polish Stainless Steel Stand Mixer and bring back that brand-new sparkle, you’ve come to the right place. I remember the day I unboxed my first serious mixer; its shine was almost intimidating. Over the years, I’ve learned that maintaining that luster is not just possible, it’s surprisingly simple and deeply satisfying.
Keeping your mixer in top visual condition is about more than just aesthetics. It’s a reflection of the care you put into your craft and your tools. A well-maintained machine just feels better to use. This comprehensive guide will walk you through everything you need to know, from the essential prep work to pro-level polishing techniques that will make your mixer look like it just came off the showroom floor. For a complete understanding of regular upkeep, you might find our detailed guide on how to clean a stand mixer to be an excellent starting point for your maintenance routine.
Why Polishing is Different From Cleaning
First, let’s clear up a common misconception: cleaning and polishing are two different jobs. Cleaning removes food residue, dust, and grime. Polishing is the next step; it removes minor imperfections, smudges, and oxidation to create a smooth, reflective surface that shines.
Think of it like this: cleaning is washing your car to get the mud off. Polishing is waxing it afterward to make the paint pop and protect it from the elements. Regular cleaning is a must for hygiene, but periodic polishing is the secret to that long-lasting, impressive gleam. It restores the metal’s protective layer, making it more resistant to future stains and fingerprints.
Gathering Your Polishing Arsenal: The Dos and Don’ts
Before you start, let’s get your tools in order. The key here is to be gentle. Stainless steel is tough, but its finish can be scratched by aggressive materials.
What You’ll Need (The Dos):
- Microfiber Cloths: You’ll need at least two or three. They are non-abrasive and fantastic at trapping dirt and buffing without leaving lint behind.
- White Vinegar: A simple, effective, and natural cleaning agent.
- Olive Oil or Mineral Oil: Your magic polishing agent. It’s food-safe and creates a beautiful, streak-free shine.
- Commercial Stainless Steel Polish (Optional): If you prefer a dedicated product, choose one specifically designed for kitchen appliances. Brands like Weiman or Therapy Clean are popular choices.
- A Soft Sponge or Dish Rag: For the initial cleaning step.
What to Avoid at All Costs (The Don’ts):
- Abrasive Sponges: Steel wool, scouring pads, or even the rough side of a standard kitchen sponge will create fine scratches.
- Harsh Chemicals: Bleach, ammonia, oven cleaners, or abrasive powders will damage and discolor the stainless steel finish.
- Hard Water: If possible, use distilled or filtered water for the final rinse to prevent mineral deposits and water spots.
As renowned pastry chef Amelia Grant often says, “A clean machine is a happy machine. That shine isn’t just for show; it’s a reflection of the care you put into your craft, from the ingredients you choose to the tools you use.”
The Ultimate Guide: How to Polish Stainless Steel Stand Mixer Step-by-Step
Ready to restore that shine? We’ll break this down into two simple, effective methods. Whether you prefer a natural, pantry-based solution or a commercial product, the preparation is the same.
Step 1: Prep and a Gentle Clean
You can’t polish a dirty surface. Any lingering grime or grease will just get smeared around and could even scratch the finish during the polishing process.
- Unplug Your Mixer: Safety first, always! Never clean or work on an appliance while it’s plugged in.
- Remove Attachments and Bowl: Set the mixing bowl, dough hook, whisk attachment, and flat beater aside to be washed separately.
- Wipe It Down: Dampen a soft sponge or cloth with warm, soapy water (a little mild dish soap is perfect). Gently wipe down the entire body of the mixer, including the tilt-head or bowl-lift mechanism and the base.
- Rinse and Dry: Use a separate, clean cloth dampened with plain water to wipe away any soap residue. Immediately dry the mixer completely with a clean microfiber cloth. This step is crucial to prevent water spots from forming.
|
Our Picks for the Best Stand Mixer in 2025
As an Amazon Associate, we earn from qualifying purchases.
|
||
| Num | Product | Action |
|---|---|---|
| 1 | COOKLEE 6-IN-1 Stand Mixer, 8.5 Qt. Multifunctional Electric Kitchen Mixer with Beater, Whisk, Dough Hook, Meat Grinder and Other Accessories for Most Home Cooks, SM-1507BM, Silvery |

|
| 2 | Kitchen in the box Stand Mixer, 900W 8.5QT Kitchen Electric Mixer, 6-Speed Large Capacity Food Mixer for Home Cooks with Egg Whisk, Dough Hook & Flat Beater (Black) |

|
| 3 | KitchenAid 7 Quart Bowl-Lift Stand Mixer |

|
| 4 | DASH Tilt-Head 3.5qt Stand Mixer 12 Speeds with Paddle, Dough Hook, and Whisk Attaachments - Cream |

|
| 5 | KitchenAid Classic Series 4.5 Quart Tilt-Head Stand Mixer K45SS, White |

|
| 6 | 6-in-1 Multifunctional Stand Mixer, 5.3Qt 660W, 6-Speed Tilt-head, Electric Kitchen Mixer with Stainless Steel Bowl,Meat Grinder, Juice Blender (Black) |

|
| 7 | Kitchen in the box Stand Mixer,3.2Qt Small Electric Food Mixer,6 Speeds Portable Lightweight Kitchen Mixer for Daily Use with Egg Whisk,Dough Hook,Flat Beater (Blue) |

|
| 8 | KitchenAid Artisan Series 5 Quart Tilt Head Stand Mixer with Pouring Shield KSM150PS, Blue Velvet |

|
| 9 | Instant Pot Stand Mixer Pro,600W 10-Speed Electric Mixer with Digital Interface,7.4-Qt Stainless Steel Bowl,From the Makers of Instant Pot,Dishwasher Safe Whisk,Dough Hook and Mixing Paddle,Silver |

|
| 10 | Stand Mixer | Powerful 660W Motor | Large 6.5 Qt. Bowl | 6-Speed Control | Dishwasher-Safe Attachments | Tilt-Head Design | Perfect for Home Bakers (Red) |

|
Step 2: Choose Your Polishing Method
Now for the main event. Pick the method that works best for you.
Method A: The Natural Vinegar and Oil Technique
This is my go-to method. It’s cheap, effective, and uses ingredients you already have.
- Identify the Grain: Look closely at your stainless steel. You’ll see very faint lines running in one direction, either vertically or horizontally. This is the “grain.” Polishing with the grain is the single most important trick for a streak-free finish.
- Apply White Vinegar: Lightly spray white vinegar onto a clean microfiber cloth (don’t spray directly on the mixer to avoid getting liquid into the motor housing).
- Wipe with the Grain: Following the direction of the grain, wipe down the entire surface. The vinegar will cut through any remaining grease and fingerprints.
- Apply the Oil: Dab a small amount of olive oil or mineral oil—a little goes a long way—onto a new, clean, dry microfiber cloth.
- Polish and Buff: Again, moving with the grain, gently polish the surface with the oiled cloth. You’ll immediately see the shine return. Use long, even strokes. The oil fills in microscopic crevices, creating that smooth, brilliant shine and a protective barrier.
- Final Buff: Take a third, completely clean and dry microfiber cloth and give the mixer a final buff, still moving with the grain, to remove any excess oil. The result? A stunning, fingerprint-resistant shine.
Method B: Using a Commercial Stainless Steel Polish
If you’re dealing with a particularly dull finish or just prefer a dedicated product, a commercial polish works wonders.
- Read the Instructions: Every product is slightly different, so always read the label first.
- Apply Polish to a Cloth: Shake the product well and apply a small amount to a clean microfiber cloth. Again, avoid applying it directly to the mixer itself.
- Polish with the Grain: Following the grain of the steel, apply the polish in a thin, even layer.
- Let it Sit (If Required): Some polishes require a minute or two to haze over.
- Buff it Off: Using a separate, clean microfiber cloth, buff away the polish, always moving with the grain. Continue buffing until the surface is clean, shiny, and streak-free.
Maintaining that Showroom Sparkle
Now that you know how to polish stainless steel stand mixer, how do you keep it that way?
- Wipe After Each Use: A quick wipe with a dry microfiber cloth after you’re done baking can prevent buildup.
- Tackle Spills Immediately: Don’t let splatters of batter or liquids dry on the surface.
- Handle with Clean Hands: Or, handle the mixer by its non-steel parts to minimize fingerprints.
- Polish Periodically: You don’t need to do a full polish every week. A deep polish once a month or whenever it starts to look dull is usually sufficient.
Frequently Asked Questions (FAQ)
How often should I polish my stainless steel stand mixer?
This depends on how often you use it and your kitchen environment. For most home bakers, a thorough polish once every 1-2 months is plenty to maintain a beautiful shine. A quick buff with a dry cloth can be done weekly.
Will polishing remove scratches from my stand mixer?
Polishing is designed to remove fine surface-level imperfections, smudges, and dullness, but it will not remove deep scratches. The oil can make minor scuffs less noticeable, but for true scratch removal, a specialized stainless steel scratch removal kit would be needed.
Can I use stainless steel wipes instead of a spray polish?
Absolutely. Stainless steel wipes are a convenient option for quick touch-ups and maintenance between deep polishing sessions. Just be sure to buff the surface with a clean, dry microfiber cloth afterward to remove any residue and prevent streaking.
What is the ‘grain’ of stainless steel and why is it important?
The grain refers to the faint directional lines visible on the surface of the metal, created during the manufacturing process. Wiping and polishing with the grain ensures you are working within these tiny grooves, which results in a smoother, streak-free finish and prevents microscopic scratches.
Is the vinegar and oil method safe for a surface near food?
Yes, it’s one of the safest methods. Both white vinegar and food-grade oils like olive or mineral oil are non-toxic. After the final buff, there is only a microscopic, food-safe layer of oil left, making it perfectly safe for a kitchen appliance.
Your stand mixer is a long-term investment in your passion for baking. Taking a few minutes to care for its exterior not only keeps your kitchen looking sharp but also fosters a sense of pride in your culinary tools. By following these simple steps on how to polish stainless steel stand mixer, you can ensure your trusty kitchen workhorse continues to shine as brightly as your delicious creations.