Is there a sound more heartbreaking to a baker than the groan of a struggling stand mixer? I remember the first time my trusty KitchenAid started sounding a little… weary. It was a faint grinding noise, a sign that the workhorse of my kitchen was feeling the strain. That’s when I learned a crucial lesson in kitchen appliance care: knowing How To Lubricate A Kitchenaid Mixer isn’t just for mechanics; it’s a fundamental skill for anyone serious about baking. This simple maintenance task can turn back the clock on your machine, making it run quieter, smoother, and for many more years to come.
Think of your stand mixer like a car. You wouldn’t drive it for years without an oil change, right? The grease inside your mixer serves the same purpose. It keeps the intricate system of gears—the very heart of that legendary planetary mixing action—moving without friction. Over time, this grease breaks down, separates, or gets pushed away from where it’s needed most. This can lead to that dreaded grinding, overheating, or even the infamous oil leak from the attachment hub. For those who want a deeper dive into the specifics of this essential component, understanding what is the mixer grease for can provide valuable context on why this maintenance is so critical.
Why Does My KitchenAid Mixer Need New Grease?
Your mixer needs fresh grease to reduce friction and heat within its gear housing. The motor powers a series of gears, including a worm gear, that transfers power to the planetary head. Food-grade grease lubricates these moving parts, ensuring they operate smoothly and quietly while preventing premature wear and tear on your beloved kitchen appliance.
Over hundreds of hours of kneading tough bread dough or whipping meringue, the original grease endures significant stress. It heats up, cools down, and can eventually separate into a thin oil and a thick, waxy solid. When this happens, a few tell-tale signs may appear: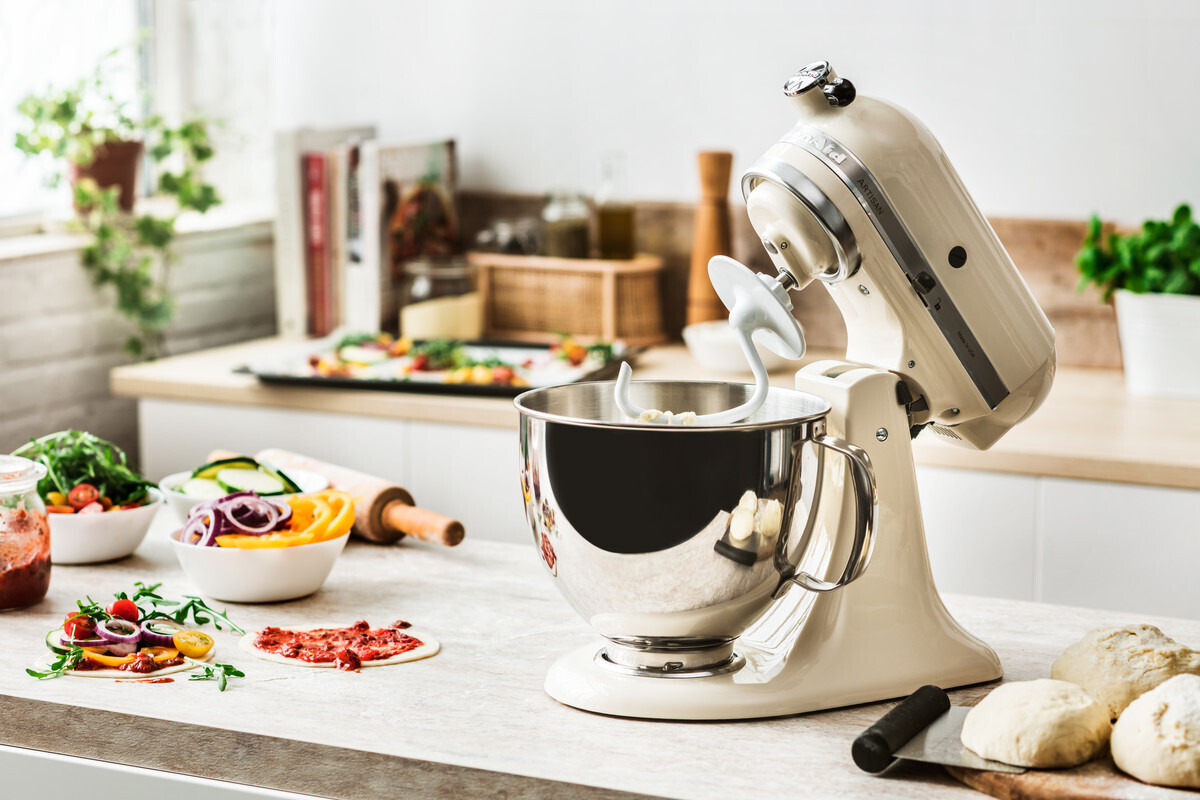
- The Ominous Oil Drip: Have you noticed a clear or yellowish oil leaking from around the silver band or down the beater shaft? This is the most common sign that the grease has separated and needs replacing.
- Grinding or Laboring Sounds: If your mixer sounds louder than usual or makes a grinding noise, especially under load, the gears are likely running dry.
- Overheating: Does the top of the mixer head get unusually hot to the touch after just a few minutes of use? This is a sign of excessive friction, which new grease can solve.
- Time: If you’ve owned and heavily used your mixer for several years and have never done it, it’s probably time for some preventative care.
According to kitchen appliance technician and avid baker, John Ackerman, “Most KitchenAid mixer issues I see in my shop are preventable. Regular re-greasing, about every 3 to 5 years for a heavy user, is the single best thing you can do to ensure your mixer lives a long, productive life.”
Getting Started: Tools and Supplies You’ll Need
Before we roll up our sleeves and dive in, let’s get our workstation prepped. Having everything on hand makes the process a whole lot smoother. You’re performing a small operation on a cherished piece of equipment, so let’s treat it with respect.
- Food-Grade Grease: This is non-negotiable. You must use a food-grade, NSF H-1 certified grease. This ensures that if any minute amount ever comes into contact with your food, it’s completely safe. KitchenAid has its own brand, but other high-quality options are available. You’ll need about 4-5 ounces.
- Screwdrivers: You’ll typically need a Phillips head and a flat-head screwdriver. A small punch or a thin nail can also be helpful for removing a pin on some models.
- Putty Knife or Scraper: For removing the old, stubborn grease. A plastic one is less likely to scratch internal components.
- Paper Towels or Shop Rags: You’ll need plenty of these. This job can get messy.
- A Small Bowl: To keep track of all the screws you remove. Trust me on this one.
- Gloves (Optional): To keep your hands clean.
- A Large Towel: To lay down on your work surface to protect both the counter and your mixer.
How to Lubricate a KitchenAid Mixer: A Step-by-Step Guide
Alright, let’s get to the main event. While the specifics can vary slightly between a tilt-head and a bowl-lift model, the general principles are the same. We’ll focus on the more common tilt-head models here.
Step 1: Safety First and Initial Disassembly
- UNPLUG YOUR MIXER. I cannot stress this enough. Before you touch a single screw, ensure the appliance is completely disconnected from any power source. Safety is paramount.
- Remove the mixing bowl and any attachments. Give the exterior a good wipe-down.
- For tilt-head models, locate the silver decorative band that wraps around the mixer head. There’s usually a single screw on the back. Remove it and gently slide the band off.
- Remove the screws holding the top housing in place. There are typically four or five of them located on the underside of the head. Keep them safe in your bowl!
Step 2: Accessing the Gears
- With the screws removed, you should be able to lift the top cover of the mixer head straight up. It might be a little snug, so be gentle but firm.
- You’ll now be looking at the gear assembly. You will see a large planetary gear (the one the beater attaches to) and other gears packed in dark, waxy grease. This is what we’re here to replace.
Step 3: The Big Clean-Out
This is the most time-consuming part of the job. Your goal is to remove as much of the old, broken-down grease as possible.
- Using your putty knife and paper towels, start scraping out all the old grease. Get into all the nooks and crannies of the gear housing.
- Pay special attention to the planetary gear assembly. You’ll want to clean the teeth of the gears thoroughly.
- Wipe everything down until it’s as clean as you can reasonably get it. Don’t use water or chemical solvents here; just elbow grease and paper towels. A clean slate ensures the new lubricant can do its job effectively.
Step 4: Applying the New Food-Grade Grease
Now for the satisfying part: giving your mixer a new lease on life.
- Take your new food-grade grease and begin packing it into the gear housing. You’re not just smearing it on top; you want to work it in and around the gears.
- Use your putty knife or a gloved finger to ensure the teeth of every gear are well-coated. A common mistake is not using enough grease. You want to pack it in generously, ensuring there are no air pockets. The goal is for all moving parts to be cushioned in a fresh bed of lubricant.
- Apply a good amount of grease on top of the main gear tower and around the planetary assembly.
Step 5: Reassembly and Testing
You’re in the home stretch! It’s time to put your kitchen champion back together.
- Carefully place the top housing back onto the mixer head. Make sure it sits flush and no wires are pinched.
- Replace all the screws you carefully saved in your bowl. Tighten them snugly, but don’t overtighten.
- Slide the decorative silver band back on and replace its screw.
- Give the mixer a final wipe-down to clean off any greasy fingerprints.
- Plug the mixer in and turn it on to a low speed (like “Stir”). Let it run for a minute or two. You should hear it running much more quietly and smoothly. The new grease will distribute itself as the gears turn.
Congratulations! You’ve just completed a crucial maintenance task and added years to the life of your mixer.
Frequently Asked Questions (FAQ)
How often should I lubricate my KitchenAid mixer?
For average home use, re-lubricating every 4-5 years is a good rule of thumb. If you use your mixer daily or for heavy-duty tasks like kneading bread dough multiple times a week, you might consider doing it every 2-3 years.
Can I use a different type of grease, like automotive grease or Vaseline?
Absolutely not. You must use a food-grade, NSF H-1 rated grease. Other lubricants are not safe for consumption and may not have the correct viscosity or temperature resistance for the mixer’s motor and gears, potentially causing more harm than good.
What does it mean if my mixer is leaking brown or black oil?
If the leaking oil is dark, it could be a sign of more significant wear, where tiny metal particles from the gears are mixed in with the oil. While a re-greasing will still help significantly, it may indicate that the gears are nearing the end of their life.
Is the process different for a bowl-lift mixer?
The core process is very similar: open the housing, clean out the old grease, and add the new. However, the disassembly of a bowl-lift model is slightly different. You’ll typically need to remove the transmission housing cover, which involves a different set of screws. The principle remains the same.
The job seems too messy. Can I pay someone to do it?
Yes, many small appliance repair shops offer a KitchenAid mixer servicing that includes cleaning and re-greasing. However, doing it yourself can be a rewarding and cost-effective experience that helps you better understand your machine.
Performing a full service on your mixer is a rite of passage for any dedicated home baker. Learning how to lubricate a KitchenAid mixer transforms you from a simple user into a true owner, capable of caring for the tools that bring your culinary creations to life. It’s an investment of a couple of hours that will pay you back with a quieter, healthier, and more reliable baking partner for years to come. Now, go enjoy the sweet sound of a perfectly happy mixer.