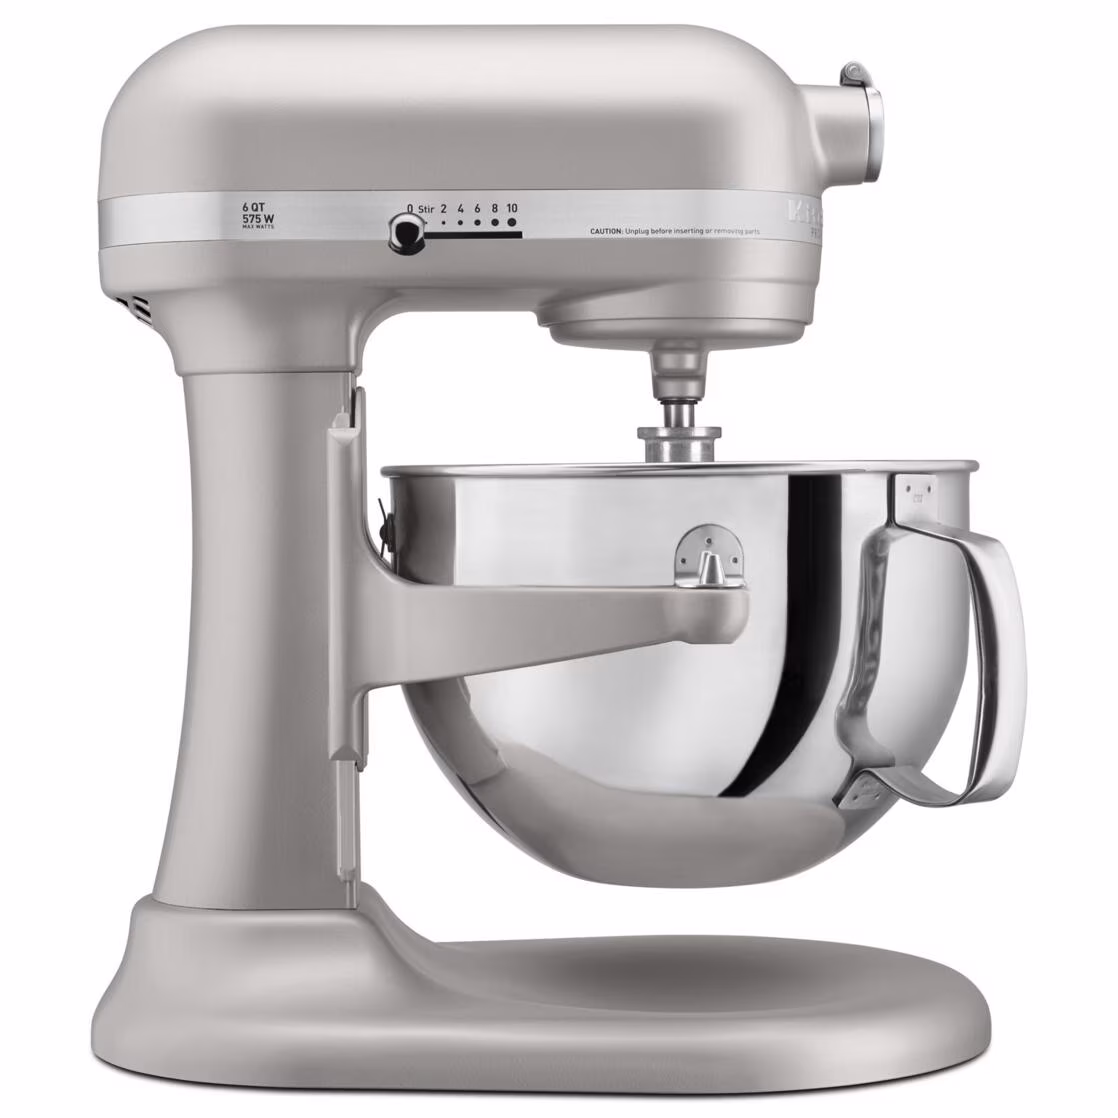
It’s a moment that can make any baker’s heart skip a beat. You reach for your trusty stand mixer, ready to create something magical, only to find a small, greasy puddle beneath it. Don’t panic! As your go-to expert at Stand Mixer Pro, I’m here to tell you that this is a common issue, and I’ll show you exactly How To Fix A Leaking Oil Problem right in your own kitchen. Think of this as a spa day for your mixer; a little tune-up that will get it back to peak performance for years of happy baking. This guide will turn you from a worried owner into a confident kitchen technician.
First Off, Why Is My Stand Mixer Leaking Oil?
Before we roll up our sleeves, let’s understand what’s happening inside that beautiful machine. A stand mixer leaking oil is usually not a sign of a fatal flaw. Instead, it’s often a simple matter of physics and chemistry.
The motor and gears inside your mixer’s head are packed with a special, food-grade grease. This isn’t like the oil in your car; it’s a thick, stable lubricant designed to keep everything running smoothly and quietly. Over time, two things can happen:
- Gravity and Separation: Just like natural peanut butter, the oil in the grease can separate from the solids. If your mixer sits unused for long periods, this separated oil can slowly find its way down and out through the seams.
- Heat and Use: When you use your mixer for heavy-duty tasks like kneading dense bread dough, the motor heats up. This heat can make the grease more fluid, causing a small amount to liquefy and drip out, especially around the planetary hub where you attach your whisk or dough hook.
So, seeing a bit of oil is often just a sign that your mixer’s internal grease needs a refresh. It’s a maintenance task, not a disaster.
Is The Leaking Oil Dangerous or Toxic?
This is the most common question I get, and the answer is a reassuring one. The grease used in reputable stand mixers (like those from KitchenAid, Kenwood, and Cuisinart) is food-grade and non-toxic. It’s designed this way precisely because the machine operates near food. While you certainly don’t want it in your cake batter, accidentally ingesting a minuscule amount won’t harm you. The key is to clean up any drips thoroughly before you start baking.
Your Step-by-Step Guide on How to Fix a Leaking Oil Problem
Ready to get this sorted? It’s easier than you think. The entire process is essentially cleaning out the old, separated grease and replacing it with fresh, new grease. Think of it as an oil change for your most valuable kitchen assistant.
### Step 1: Gather Your Tools and Supplies
You won’t need a full mechanic’s workshop, just a few simple items:
- Screwdrivers: You’ll likely need both a Phillips head and a flathead screwdriver.
- Putty Knife or Scraper: To help remove the old grease.
- Paper Towels or Rags: You’ll need plenty for cleaning.
- A Bowl or Tray: To hold screws and small parts so they don’t get lost.
- Food-Grade Grease: This is the most important part. You must use a food-grade machinery grease, often labeled as NSF H-1 certified. You can easily find this online or at hardware stores. Do not use automotive grease or cooking oil!
### Step 2: Prepare Your Workspace and Disassemble the Mixer
- Safety First! Before you do anything else, unplug your mixer from the wall outlet. This is non-negotiable.
- Set up on a stable, well-lit surface covered with a towel to prevent scratches and catch any drips.
- Remove the mixing bowl and any attachments.
- Locate the screws holding the outer casing or motor head cover in place. On many tilt-head models, there’s a trim band around the middle and a screw or two at the back. On bowl-lift models, the housing screws are often on the underside of the motor head.
- Carefully unscrew and remove the housing. Be gentle, as there may be wires connected. Place the screws safely in your tray.
### Step 3: Clean Out the Old Grease
Once you lift the cover, you’ll see the gearbox filled with a waxy, yellowish, or dark grease. This is where the magic happens.
- Use your putty knife and paper towels to scoop out as much of the old grease as possible. Get into all the nooks and crannies around the gears.
- Your goal is to remove the separated, oily grease and the thick, waxy parts. It doesn’t have to be surgically clean, but the more old stuff you remove, the better.
As seasoned appliance technician, Maria Flores, always says, “Don’t just top it off. The key to a long-lasting repair is removing the old, separated grease first. Mixing old with new can accelerate the breakdown process all over again.”
### Step 4: Apply the New Food-Grade Grease
Now for the satisfying part.
- Take your new food-grade grease and begin packing it into the gearbox.
- Use the putty knife or your fingers (wear gloves if you prefer) to work the grease in and around all the gears. You want to ensure every moving part is well-coated.
- The goal is to pack it in generously but not excessively. You want the gears to be fully covered, almost like frosting a cake, but not so full that it will be forced out when the housing is put back on.
### Step 5: Reassemble and Test
You’re on the home stretch!
- Carefully place the motor head cover back on, ensuring no wires are pinched.
- Replace all the screws you removed, tightening them securely but not so hard that you strip them.
- Wipe down the entire mixer to remove any greasy fingerprints.
- Plug the mixer back in and run it on a low speed for a minute or two. This helps distribute the new grease evenly throughout the gearbox. You might hear it sound a little different at first, which is perfectly normal.
Congratulations! You’ve just successfully completed a crucial piece of maintenance and learned how to fix a leaking oil problem yourself.
How Can I Prevent My Stand Mixer from Leaking Oil in the Future?
While regreasing is typically only needed every few years, you can take steps to minimize oil leaks and extend the life of your grease.
- Use It Regularly: The best thing you can do is to run your mixer for a minute every few weeks, even if you’re not baking. This churns the grease and prevents the oil from separating and settling.
- Avoid Overheating: Don’t run your mixer continuously on high speed for extended periods or with extremely stiff doughs that strain the motor. If the motor head feels hot to the touch, give it a break to cool down.
- Proper Storage: Store your mixer in a temperature-controlled environment. Extreme heat, like in a garage during summer, can accelerate grease separation.
Frequently Asked Questions (FAQ)
### Why is my KitchenAid mixer leaking oil specifically?
This is a very common search because KitchenAid is the most popular brand. The reason is the same for all stand mixers: the food-grade grease inside is separating due to age, heat, or lack of use. The fix described above is the standard procedure for most KitchenAid models.
### Is a very small oil leak normal for a stand mixer?
For a brand new mixer, a tiny amount of oil might appear during the first few uses as the grease settles—this is normal. For an older mixer, a small leak is a clear sign that it’s time for a regreasing service to prevent a bigger mess later.
### How often should I perform this fix to prevent a leaking oil problem?
For the average home baker, you likely only need to regrease your stand mixer every 5 to 10 years, or whenever you notice the tell-tale signs of leaking. If you are a professional or use your mixer daily for heavy tasks, you might consider doing it every 2-3 years.
### Can I just use vegetable oil or another kitchen grease?
Absolutely not. You must use a specifically formulated, food-grade grease designed for machinery. Kitchen oils lack the right viscosity and lubricating properties, and they will quickly damage your mixer’s motor and gears.
### What if I’m not comfortable doing this myself?
If you’ve read this guide and feel the task is too daunting, that’s perfectly okay. You can seek out a local small appliance repair shop. They will be very familiar with this procedure. The most important thing is getting it done, not necessarily doing it yourself.
Your Mixer is More Than Just an Appliance
Your stand mixer is the heart of your kitchen—a partner in creativity. Learning how to fix a leaking oil problem is more than just a repair; it’s about understanding and caring for a tool that brings so much joy. By performing this simple maintenance, you’re not just stopping a leak; you’re investing in countless future batches of cookies, loaves of bread, and celebratory cakes.
Have you ever tackled this repair yourself? Share your experience or ask any lingering questions in the comments below. We at Stand Mixer Pro are here to help you on every step of your baking journey.