Let’s talk about bread. Not the pre-sliced, plastic-wrapped kind, but real, honest-to-goodness homemade bread. The kind with a crackling crust, a soft, airy crumb, and an aroma that fills your entire home with warmth. I still remember the ache in my arms from my first few attempts at kneading by hand. It was a workout! If you’re serious about your baking journey, finding the Best Stand Mixer For Bread Dough isn’t just an upgrade; it’s a complete game-changer. Are you ready to take the manual labor out of your passion and achieve consistently perfect loaves? You’re in the right place.
Choosing the right kitchen appliance can feel overwhelming, especially with all the technical jargon out there. But don’t worry, we’re going to break it all down. To understand why some models are better for certain tasks, it’s helpful to explore different options. For instance, for those just starting their baking adventures, our guide on the best stand mixer for beginners can provide a fantastic starting point.
Why a Stand Mixer is a Bread Baker’s Best Friend
Before we dive into the nuts and bolts, let’s get one thing straight: why even bother with a stand mixer for bread? Can’t you just use your hands? Of course, you can. But a powerful stand mixer brings some serious advantages to the table, especially when you’re dealing with dense, heavy doughs.
- Effortless Kneading: This is the big one. A good mixer does the hard work for you, developing the gluten strands in your dough to perfection without you breaking a sweat. This means you can make enriched doughs like brioche or hefty whole-wheat loaves with ease.
- Consistency is Key: A machine kneads with the same power and rhythm every single time. This consistency leads to more reliable results, loaf after loaf. No more guessing if you’ve kneaded enough.
- Frees You Up: While the mixer is busy kneading for 10-15 minutes, you can be prepping your baking pans, cleaning up, or just enjoying a cup of coffee. It’s like having a dedicated baking assistant in your kitchen.
- Superior Gluten Development: The powerful, consistent motion of a dough hook can develop gluten more efficiently and effectively than hand-kneading, often resulting in a better rise and a lighter, chewier texture.
What Makes the Best Stand Mixer for Bread Dough?
Alright, let’s get into the nitty-gritty. Not all stand mixers are created equal, especially when faced with a formidable ball of bread dough. Here are the critical features that separate the bread-making champions from the lightweight contenders.
Motor Power and Type: The Heart of the Machine
This is arguably the most crucial factor. Bread dough is heavy and resistant. A weak motor will strain, overheat, and eventually burn out.
- Wattage Isn’t Everything: You’ll see wattage advertised everywhere, but it’s only part of the story. Wattage measures power consumption, not power output (torque). A mixer with a highly efficient motor might have lower wattage but deliver more power to the bowl.
- AC vs. DC Motors: DC (Direct Current) motors are generally the gold standard for a best stand mixer for bread dough. They are quieter, more energy-efficient, and deliver more torque (that’s the twisting force) at lower speeds, which is exactly what you need for kneading. AC (Alternating Current) motors can still be powerful, but they often need to run faster and louder to get the same job done. To get a deeper understanding of motor efficiency, learning about what is a direct drive motor can be incredibly insightful, as this design transfers power more effectively.
According to professional baker and kitchen appliance expert Elena Petrova, “Home bakers often get fixated on high wattage numbers. In reality, a mixer with a robust DC motor and solid metal gears will outperform a higher-wattage machine with plastic components every time. For bread, torque is king.”
Build Quality and Stability: No Walking on the Counter
Ever seen a lightweight stand mixer “walk” across the counter while tackling a tough dough? It’s not a pretty sight.
- All-Metal Construction: Look for mixers with a die-cast metal body. This weight and rigidity are essential for keeping the machine planted firmly on your counter. It absorbs vibrations and prevents the mixer head from bouncing around.
- Bowl-Lift vs. Tilt-Head: For serious bread bakers, a bowl-lift design is often preferred. These models are typically more stable because the head is fixed in place. The bowl is simply raised up to meet the dough hook. Tilt-head models are convenient, but the hinge can be a point of weakness and may strain under the load of very heavy dough.
Dough Hook Design and Bowl Capacity
The attachment that does the work and the space it works in are vital.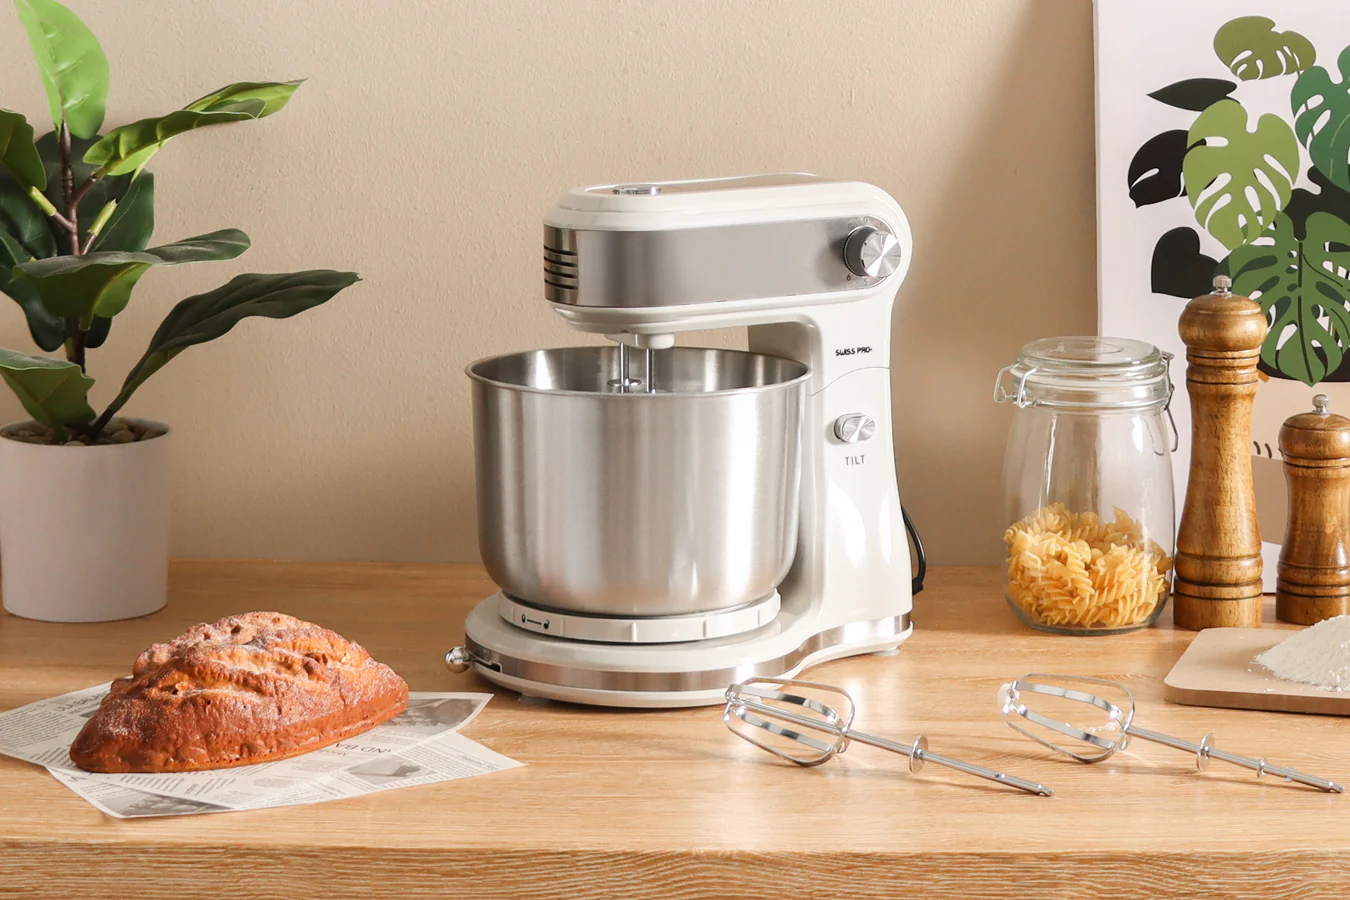
- The Dough Hook: The most common types are the “C” shaped hook and the “spiral” hook. The C-hook pushes the dough around the bowl, while the spiral hook kneads more from the bottom up, which many bakers find more efficient for larger batches. Either can work well, but make sure it’s made of durable metal (preferably stainless steel or coated metal).
- Bowl Size: A 5-quart bowl is a great starting point for most home bakers, allowing you to make one or two standard loaves at a time. If you plan on baking in larger quantities, look for models with 6, 7, or even 8-quart bowls. Always check the manufacturer’s maximum flour capacity to avoid overloading your machine. A detailed kitchenaid stand mixer review often highlights the capacity differences between their various models, which can be a helpful comparison.
A Quick Guide to Using Your Mixer for Bread
So you’ve chosen your machine. How do you get the best results?
- Add Ingredients Correctly: Always add your liquids first, followed by the dry ingredients. Make a small well in the flour for your yeast. This keeps the yeast from coming into direct contact with any salt initially, which can hinder its activity.
- Start Low, Go Slow: Begin mixing on the lowest speed (often labeled “Stir”) until the flour is incorporated. This prevents a flour explosion all over your kitchen.
- Find the Right Kneading Speed: Once a shaggy dough forms, increase the speed to the manufacturer’s recommended kneading setting. For most mixers, this is speed 2 or 3. Never knead on high speed; it can damage the motor and overwork the dough.
- Know When to Stop: The dough is ready when it’s smooth, elastic, and pulls away from the sides of the bowl. It should pass the “windowpane test”—where you can stretch a small piece of dough thin enough to see light through it without it tearing.
Many excellent brands offer machines capable of these tasks. For instance, the performance of a kenwood chef stand mixer is often lauded by users for its power and durability, making it a strong contender in this category.
Maintenance and Cleaning Tips
To keep your best stand mixer for bread dough in top shape for years to come, a little TLC goes a long way.
- Clean After Every Use: Wipe down the body of the mixer with a damp cloth. Most bowls and dough hooks are dishwasher safe, but always check your manual. Handwashing is often gentler on coated attachments.
- Check the “Dime Test”: For tilt-head models, you may need to occasionally adjust the beater-to-bowl clearance. A simple way to check this is the “dime test”—a dime placed in the bottom of the bowl should be gently moved by the beater, but not aggressively pushed around.
- Don’t Strain the Motor: Respect your mixer’s capacity limits. If you hear the motor straining or the mixer head is shaking excessively, the batch is too large or the dough is too stiff. It’s better to split the dough and knead it in two batches than to burn out your motor. Budget-friendly models, like those you might find in a hamilton beach stand mixer guide, are especially important to operate within their stated limits.
Frequently Asked Questions (FAQ)
Can any stand mixer be used for bread dough?
While most stand mixers come with a dough hook, not all are built to handle heavy, dense dough regularly. A best stand mixer for bread dough will have a powerful motor (preferably DC), a sturdy all-metal construction, and a large enough capacity for your needs to avoid straining.
What is a good wattage for a stand mixer for bread dough?
Focus more on motor type and build quality than just wattage. However, as a general guideline, look for mixers with at least 325 watts, with more powerful models for frequent bread making falling in the 500-600 watt range, especially if they have an efficient DC motor.
How long should I knead bread dough in a stand mixer?
This typically takes 8 to 12 minutes on a low speed (like speed 2 on a KitchenAid). The dough is done when it’s smooth, elastic, and cleans the sides of the bowl. Always finish with the windowpane test for confirmation.
Why is my mixer head bouncing when kneading?
This usually means one of two things: the dough is too stiff, or you are kneading at too high a speed. Try adding a tablespoon of water to the dough or reducing the speed. If the problem persists, the batch may be too large for your machine’s capacity.
Is a bowl-lift or tilt-head mixer better for dough?
For frequent, heavy bread dough, a bowl-lift model is generally considered more stable and durable. The fixed head design provides a more robust platform for the motor to power through tough tasks without excess vibration or strain on a hinge mechanism.
The Final Word on Your Baking Partner
Investing in the best stand mixer for bread dough is one of the most significant steps you can take to elevate your baking from a hobby to a true craft. It’s about more than just convenience; it’s about unlocking a new level of consistency, power, and potential in your kitchen. By focusing on a powerful motor, a stable build, and the right capacity, you’re not just buying a kitchen appliance; you’re gaining a tireless partner for all your culinary adventures.
Now that you’re armed with this knowledge, you can confidently choose a machine that will serve you well for countless loaves to come. Happy baking! We’d love to hear about your experiences or any questions you might have in the comments below.