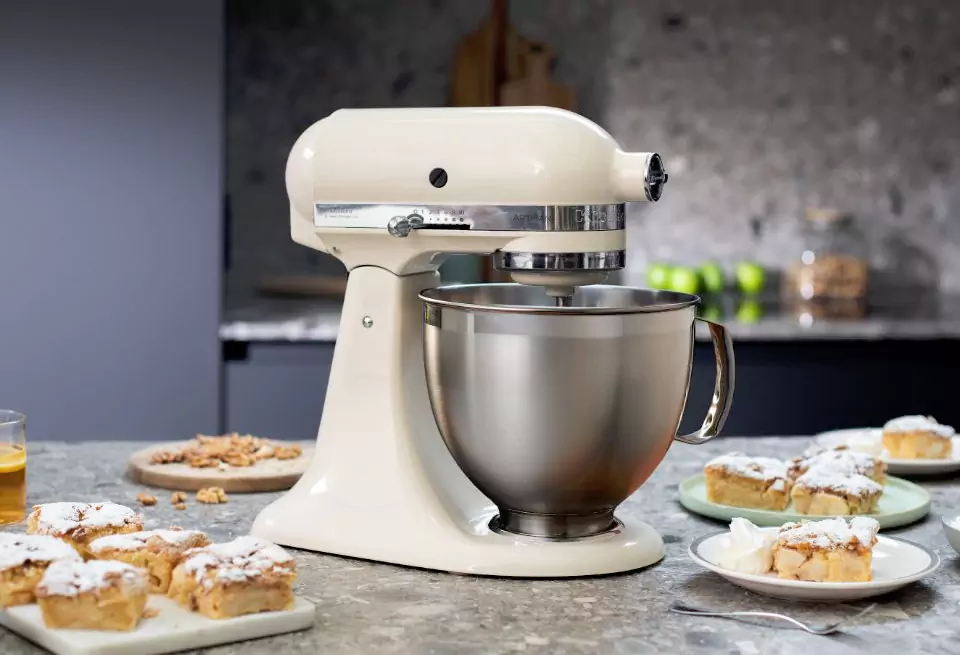
There’s a unique kind of kitchen heartbreak that happens when your trusty stand mixer, the powerhouse behind countless cakes, breads, and cookies, suddenly gives up the ghost mid-mix. Don’t panic. Before you start looking up expensive repair shops, know that many Common Stand Mixer Problems have surprisingly simple fixes you can do right at home. I’m here to walk you through them, transforming that moment of frustration into a “look what I fixed!” victory. Let’s roll up our sleeves and get that beautiful kitchen appliance back to doing what it does best.
My first stand mixer was a game-changer. It turned laborious kneading into a hands-free affair and whipped egg whites into stiff, glossy peaks faster than I thought possible. But like any hard-working machine, it eventually had a few hiccups. Learning to troubleshoot these issues not only saved me money but also deepened my understanding of how this incredible tool works. And now, I’m sharing that experience with you.
Why Do Stand Mixer Problems Happen?
A stand mixer is a powerful piece of engineering, combining a high-torque motor with a set of gears to deliver consistent mixing power. Most issues arise from just a few key areas: normal wear and tear, improper use (we’ve all been guilty of overstuffing the bowl!), or a simple need for adjustment. Think of it like a car—a little routine maintenance can prevent a whole lot of trouble down the road.
Top Common Stand Mixer Problems and How to Fix Them
Let’s dive into the most frequent issues that plague stand mixer owners. We’ll identify the symptoms, diagnose the cause, and lay out a clear, step-by-step solution.
Problem 1: The Mixer Head is Shaking or “Walking”
Is your mixer doing a little dance on your countertop, especially when kneading heavy dough? While some vibration is normal, excessive shaking or moving isn’t.
The Cause: This is often caused by an unbalanced load, an uneven surface, or a loose locking lever. A batch of particularly stiff bread dough can be a prime culprit.
The Fix:
- Check Your Surface: First, ensure your mixer is on a flat, stable surface. A wobbly table will only make things worse.
- Reduce the Load: If you’re mixing a large or very dense batch of dough, try splitting it in half. Your mixer’s capacity chart is your best friend here—respect it!
- Tighten the Hinge Pin: Unplug your mixer. On many tilt-head models, if you look at the “neck” where the head pivots, you may find a small screw. If it’s loose, tightening it can significantly reduce wobbling.
- Use a Non-Slip Mat: A simple silicone mat placed under your mixer can provide extra grip and dampen vibrations.
Problem 2: The Attachment is Hitting the Bowl (or Not Reaching)
You hear a dreaded scrape… scrape… scrape noise, or you notice a frustrating layer of unmixed flour at the bottom of your bowl. This is a classic clearance issue.
The Cause: Over time, the factory calibration of the beater-to-bowl clearance can drift. This means your flat beater, dough hook, or whisk attachment is either too high or too low.
The Fix: The Dime Test
This is the single most important adjustment you can learn, and it’s praised by technicians and home bakers alike.
- Unplug your mixer and attach the flat beater. Place a dime in the bottom of the mixing bowl.
- Lift the bowl into the locked position (or raise the head on a tilt-head model).
- Turn the mixer on to its lowest speed.
- The ideal clearance: The beater should move the dime slightly every one or two rotations without forcefully pushing it around.
- If the beater doesn’t touch the dime: It’s too high.
- If the beater pushes the dime aggressively: It’s too low and will scrape your bowl.
- To adjust: Unplug the mixer again. Look for a small, flat-head screw on the mixer’s neck (where the head tilts). Turning this screw will raise or lower the head. Turn it a quarter-turn at a time and repeat the dime test until you get it just right.
As professional pastry chef Amelia Evans notes, “Proper beater clearance is non-negotiable. It’s the difference between a light, airy meringue and a sad, weepy one. Master the dime test, and you’ll master your mixer.”
Problem 3: The Motor Overheats or Has a Burning Smell
Is the top of your mixer’s head hot to the touch? Do you smell something that reminds you of hot electronics? This is a clear sign your motor is working too hard.
The Cause: This is one of the most common stand mixer problems for bread makers. Kneading heavy, low-hydration dough for extended periods or running the mixer for too long without a break can strain the motor.
The Fix:
- Give It a Break: Immediately turn off the mixer and unplug it. Let it cool down completely for at least 30-45 minutes. A motor’s thermal protector might have tripped, and it needs time to reset.
- Check Your Speed: Never knead bread dough above speed 2 on most mixers (like KitchenAid models). Higher speeds are for whipping and light mixing, not for powering through dense dough. Using a high speed for kneading puts immense strain on the gears.
- Don’t Overload: Again, respect the capacity limits outlined in your user manual.
- A Note on New Mixers: A brand new kitchen appliance sometimes has a faint “oily” or “electrical” smell during its first few uses as the motor’s protective coatings burn off. This is normal. A sharp, acrid burning smell is not normal and signals overheating.
Problem 4: The Mixer Won’t Turn On
You flip the switch, and… nothing. Your kitchen powerhouse is completely dead.
The Cause: The issue could be as simple as the power source or as complex as an internal fuse.
The Fix:
- Check the Obvious: Is it plugged in firmly? Is the outlet working? Try plugging a lamp into the same outlet to confirm.
- Reset the GFCI: Many kitchen outlets have a Ground Fault Circuit Interrupter (GFCI) button. If it has popped out, press the “Reset” button.
- Cool Down: If you were just using it heavily, the thermal overload protector may have shut the unit down. Wait 30-45 minutes and try again.
- Check the “Brushes”: On some older models, the motor has carbon “brushes” that wear down over time. Replacing them is a more advanced repair, and you may need to consult a professional or find a specific guide for your model. If the simple fixes don’t work, it’s likely an internal issue that requires a technician.
Problem 5: Oil Leaking from the Mixer Head
You notice a drop of yellowish or black grease dripping from the attachment hub or speed control slot. While alarming, this is a surprisingly common—and often fixable—issue, especially if the mixer has been sitting unused for a while.
The Cause: Stand mixers are packed with food-grade grease to lubricate the gears. Over time, especially in warm climates or with lack of use, this grease can separate, and the lighter oil will find its way out.
The Fix:
- The Quick Fix: Sometimes, all it needs is a good run. Remove any attachments and the bowl. Drape a towel over the head (to catch any potential drips) and run the mixer on high for 2-3 minutes. This helps redistribute the grease within the gear housing.
- The Deeper Fix: If the problem persists, the mixer may need to be re-greased. This is a more involved process but is doable for the handy DIYer. You can find kits and video tutorials online specific to your model (many resources exist for popular brands like KitchenAid). However, if you’re not comfortable opening up your appliance, this is a job for a certified repair service.
FAQs: Your Stand Mixer Questions Answered
Q: Why is my stand mixer so loud all of a sudden?
A: A sudden increase in noise, especially a grinding or clicking sound, often points to a worn gear or a foreign object in the gearbox. This is one of those common stand mixer problems that usually requires professional service to prevent further damage.
Q: How often should I perform maintenance on my mixer?
A: For the average home user, performing the “Dime Test” every 6 months and ensuring the machine is always clean is sufficient. If you are a heavy user (baking multiple times a week), a professional tune-up and re-greasing every few years is a wise investment.
Q: What happens if I use the wrong attachment for the job?
A: Using the wrong attachment can damage both the attachment and the mixer. For example, using the wire whip on a thick cookie dough can bend the wires and strain the motor. Always use the dough hook for kneading, the flat beater for mixing, and the whisk for whipping.
Q: Can a stand mixer knead all types of dough?
A: Most high-quality stand mixers can handle a wide variety of doughs, from soft brioche to standard bread dough. However, very stiff, low-hydration doughs (like some bagel or pasta doughs) can put extreme stress on even the best consumer-grade motors. For these, it’s best to mix in smaller batches or finish kneading by hand.
Q: Why does my tilt-head mixer’s head not lock into place?
A: This usually means the locking lever mechanism is loose or a pin is out of alignment. Check your user manual for instructions on how to tighten the lever. If it still won’t lock, it’s a safety issue that needs to be repaired before further use.
A Final Word on Your Kitchen Workhorse
Your stand mixer is an investment in your culinary creativity. While encountering one of these common Stand Mixer Problems can be disheartening, understanding the cause and solution empowers you as a home baker. Regular care and proper use are the keys to ensuring your mixer serves you faithfully for years, if not decades.
Did you recognize any of these issues? Have you successfully fixed a problem with your own mixer? Share your experiences or ask any lingering questions in the comments below! We’re all here to help each other bake better.