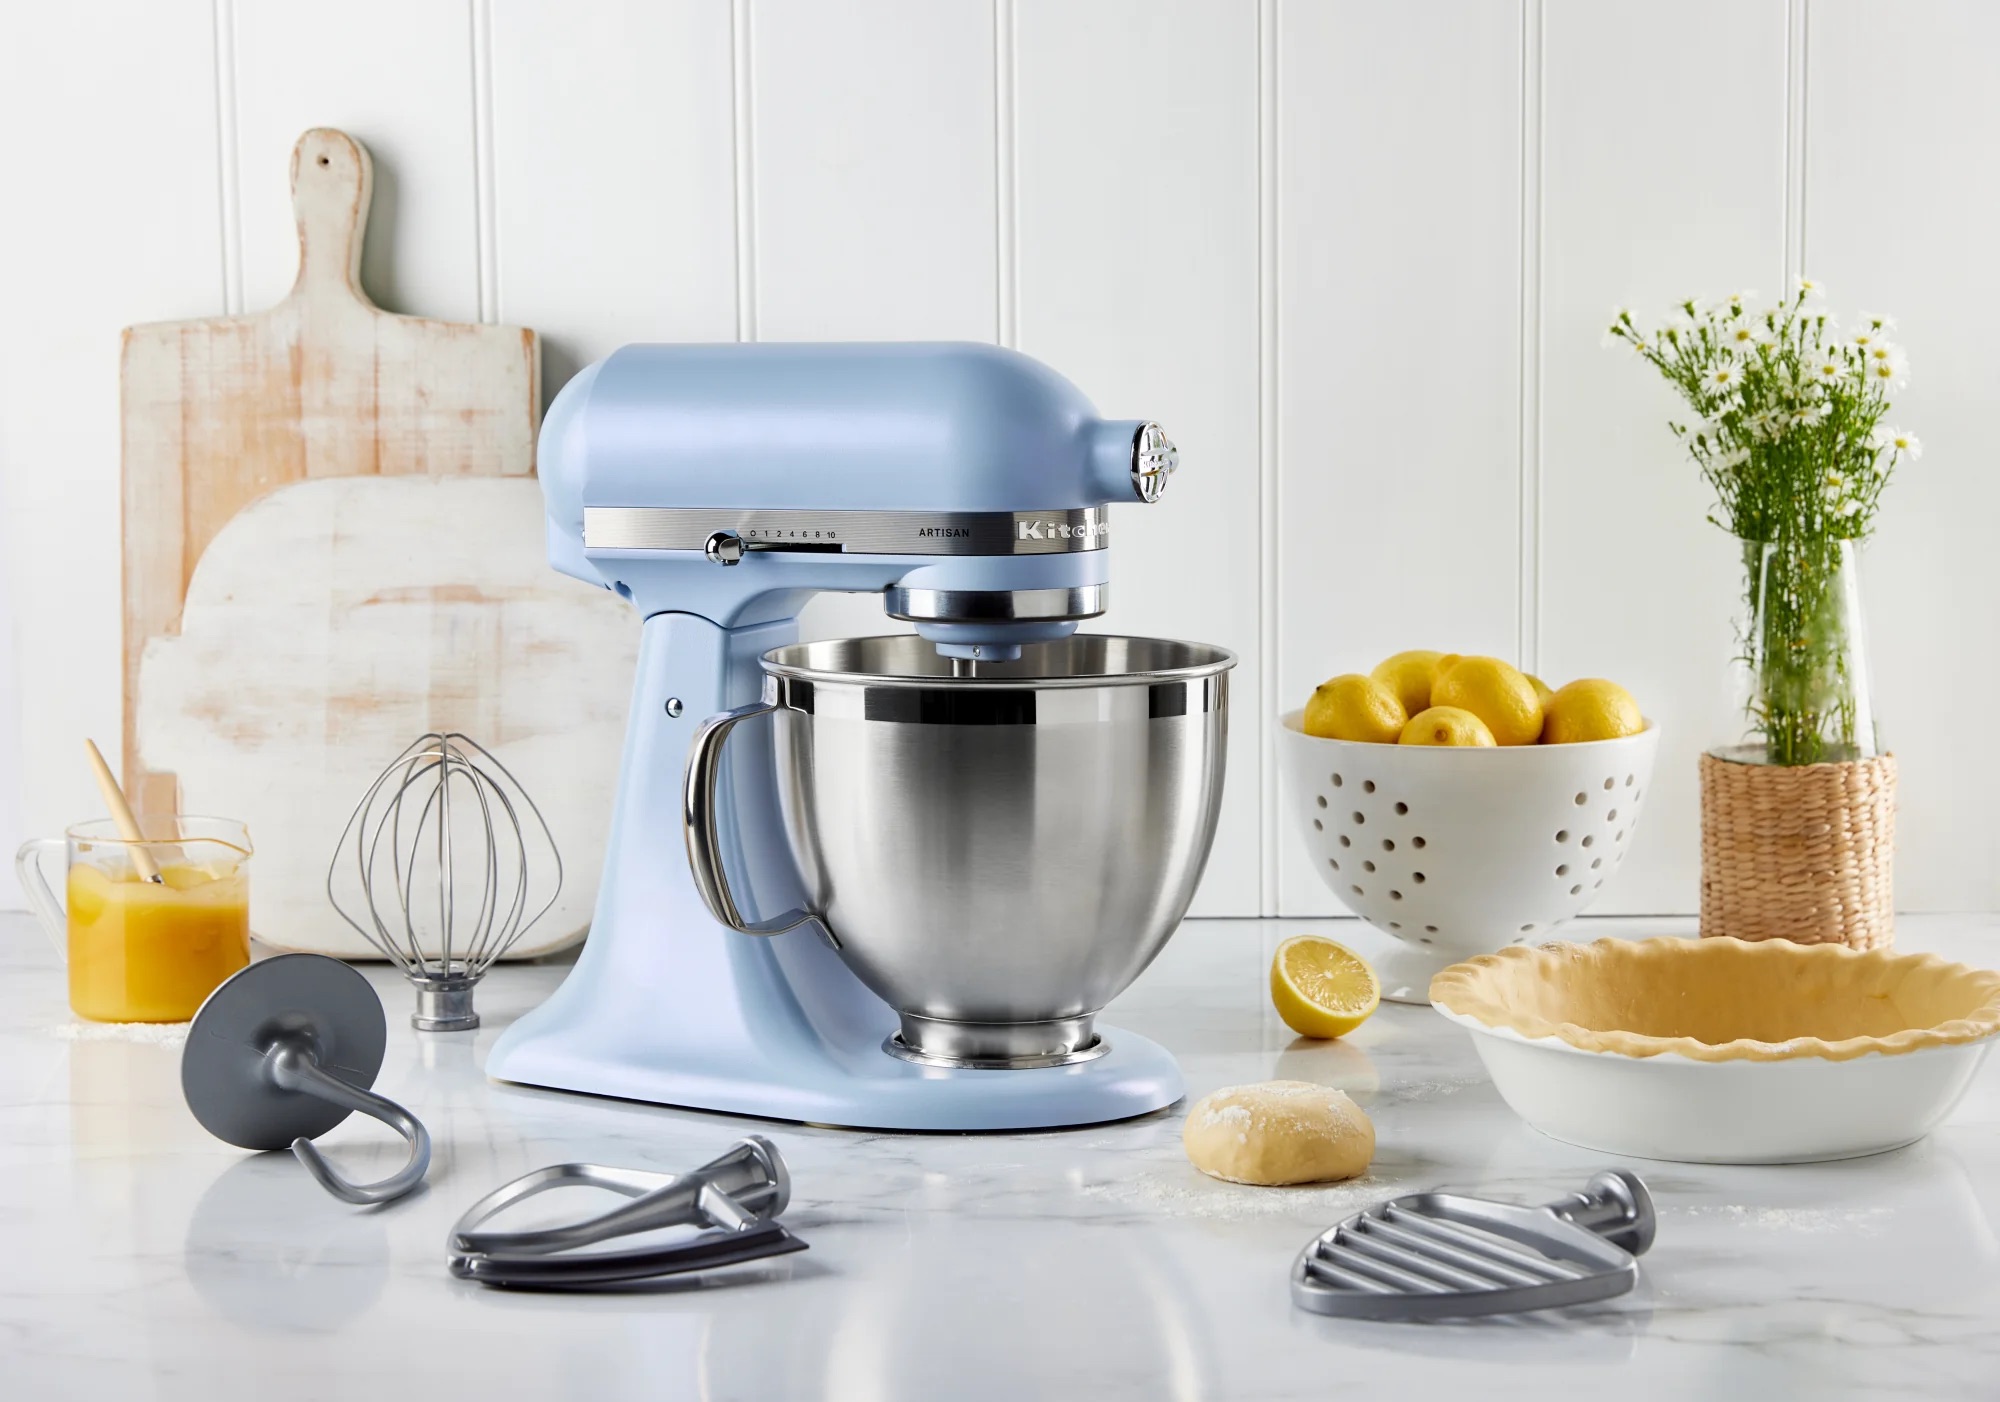
Welcome to the Stand Mixer Pro family! If you’ve just unboxed your shiny new stand mixer, you’re probably staring at a trio of attachments, wondering where to begin. Or maybe you’re a seasoned baker looking to level up your game. Either way, let’s talk about the unsung hero of light and airy creations. We’re going to cover everything on How To Use The Whisk Attachment, transforming it from a piece of metal in a box into your secret weapon for culinary magic. Think of your stand mixer as the powerful engine and the whisk attachment as the specialized tool that injects air and life into your ingredients. Are you ready to whip up something amazing?
The Magic of Air: What is a Whisk Attachment?
First things first, let’s get acquainted. The whisk attachment, often called a wire whip or balloon whisk, is that beautiful, intricate-looking tool with a series of overlapping flexible wires. Its design isn’t just for show; it’s a masterpiece of engineering designed for one primary purpose: aeration.
Unlike its burlier siblings, the flat beater and the dough hook, the whisk attachment isn’t built for power-lifting heavy doughs or dense batters. It’s the sprinter of the attachment world, not the weightlifter. Its job is to move quickly through thin liquids, folding in countless tiny air bubbles. This process increases volume and creates the light, delicate textures we adore in meringues, mousses, and whipped cream.
As renowned pastry chef Isabelle Dubois often says, “The wire whip doesn’t just mix; it breathes life into your ingredients. Understanding that is the first step to mastering pastry.”
The combination of the whisk’s design and the stand mixer’s planetary mixing action—where the beater spins on its axis while also orbiting the bowl—is far more efficient than whisking by hand. It introduces more air, more evenly, and in a fraction of the time. My first stand mixer completely changed my macaron game for this very reason!
When Should I Use the Whisk Attachment?
This is the million-dollar question. Grabbing the right tool for the job is half the battle in the kitchen. The whisk attachment is your go-to for tasks that require incorporating a significant amount of air into a liquid base.
Here’s your cheat sheet for when to reach for the wire whip:
- Whipping Cream: Transforming liquid heavy cream into fluffy, stable peaks for topping desserts is the whisk attachment’s classic move.
- Beating Egg Whites: This is where the whisk truly shines. Whether you’re making a sky-high angel food cake, a glossy Italian meringue for frosting, or delicate French macarons, the whisk is non-negotiable for achieving the perfect foam structure.
- Light and Fluffy Frostings: Certain buttercreams, like Swiss or Italian meringue buttercream, rely on a whipped egg white base. The whisk is essential for creating that stable, airy foundation.
- Emulsifying Light Mixtures: Making homemade mayonnaise or certain vinaigrettes? The whisk attachment can help create a stable emulsion between oil and other liquids.
- Airy Batters: For recipes like sponge cakes or chiffon cakes where the primary leavening comes from whipped eggs, the whisk is the only tool that will do the job right.
|
Our Picks for the Best Stand Mixer in 2026
As an Amazon Associate, we earn from qualifying purchases.
|
||
| Num | Product | Action |
|---|---|---|
| 1 | KitchenAid Classic Series 4.5 Quart Tilt-Head Stand Mixer K45SS, White |

|
| 2 | KitchenAid Artisan Series 5 Quart Tilt Head Stand Mixer with Pouring Shield KSM150PS, Blue Velvet |
|
| 3 | Kitchen in the box Stand Mixer, 900W 8.5QT Kitchen Electric Mixer, 6-Speed Large Capacity Food Mixer for Home Cooks with Egg Whisk, Dough Hook & Flat Beater (Black) |
|
| 4 | Kitchen in the box Stand Mixer,3.2Qt Small Electric Food Mixer,6 Speeds Portable Lightweight Kitchen Mixer for Daily Use with Egg Whisk,Dough Hook,Flat Beater (Blue) |
|
| 5 | 6-in-1 Multifunctional Stand Mixer, 5.3Qt 660W, 6-Speed Tilt-head, Electric Kitchen Mixer with Stainless Steel Bowl,Meat Grinder, Juice Blender (Black) |
|
| 6 | COOKLEE 6-IN-1 Stand Mixer, 8.5 Qt. Multifunctional Electric Kitchen Mixer with Beater, Whisk, Dough Hook, Meat Grinder and Other Accessories for Most Home Cooks, SM-1507BM, Silvery |
|
| 7 | DASH Tilt-Head 3.5qt Stand Mixer 12 Speeds with Paddle, Dough Hook, and Whisk Attaachments - Cream |
|
| 8 | Instant Pot Stand Mixer Pro,600W 10-Speed Electric Mixer with Digital Interface,7.4-Qt Stainless Steel Bowl,From the Makers of Instant Pot,Dishwasher Safe Whisk,Dough Hook and Mixing Paddle,Silver |
|
| 9 | KitchenAid 7 Quart Bowl-Lift Stand Mixer |
|
| 10 | Stand Mixer | Powerful 660W Motor | Large 6.5 Qt. Bowl | 6-Speed Control | Dishwasher-Safe Attachments | Tilt-Head Design | Perfect for Home Bakers (Red) |
|
How to Use the Whisk Attachment: A Step-by-Step Masterclass
Feeling confident? Great. Let’s walk through the process of using your whisk attachment from start to finish. Following these steps will ensure you get consistent, professional-level results every time.
- Check Your Clearance: Before you even start, perform what bakers call the “dime test.” Place a dime in your empty mixing bowl and attach the whisk. Turn the mixer on low. The whisk should gently move the dime around the bottom of the bowl without aggressively clanking against it. If it’s too high, it won’t whip the ingredients at the very bottom. If it’s too low, you’ll scratch your bowl. Most mixers have an adjustment screw for this—consult your manual!
- Secure the Attachment: Tilt the head of your mixer up (or lift the bowl on a bowl-lift model). Align the pin on the shaft with the groove on the whisk attachment. Push it up and turn it to lock it securely in place. You should feel a slight click.
- Start Low, Then Go High: This is a golden rule. Never start your mixer on high speed, especially with liquids. You’ll redecorate your kitchen walls. Begin on the lowest speed (often labeled ‘Stir’) for about 30 seconds to combine the ingredients without splashing.
- Gradually Increase the Speed: Once the liquid is moving, slowly ramp up the speed. For tasks like whipping cream or egg whites, you’ll want to work your way up to a medium-high or high speed (typically 8-10 on a KitchenAid). This high speed is what forces air into the mixture.
- Watch for Visual Cues: Don’t just set a timer and walk away. Baking is a visual art. Learn to recognize the stages of whipping:
- Soft Peaks: When you lift the whisk, a peak will form, but it will softly droop over immediately.
- Medium Peaks: The peak will hold its shape for the most part but the tip will curl over.
- Stiff Peaks: The peak stands straight up when the whisk is lifted. The mixture will be thick, glossy, and hold its shape completely.
- Know When to Stop: There is such a thing as too much of a good thing. Over-whipping can ruin your hard work. Over-whipped cream will turn grainy and eventually separate into butter and buttermilk. Over-whipped egg whites will become dry, clumpy, and will “break,” making them impossible to fold into a batter.
The Cardinal Sins: When NOT to Use the Whisk Attachment
Just as important as knowing when to use the whisk is knowing when to leave it in the drawer. Using it for the wrong task can, at best, give you poor results and, at worst, damage your attachment or even your mixer’s motor.
Avoid the whisk for these tasks:
- Kneading Bread Dough: This is a job for the sturdy dough hook. The wires of the whisk are too delicate and will bend or break under the strain of heavy dough.
- Mixing Thick Cookie Batters: The resistance from thick batters with add-ins like chocolate chips is too much for the wire whip. This is the perfect job for the flat beater.
- Creaming Butter and Sugar: While you might think you want to incorporate air, the primary goal of creaming is to create a uniform mixture with tiny air pockets within the fat. The flat beater is designed to do this perfectly without over-aerating. The whisk would just clog up.
- Mashing Potatoes: Please, don’t do it. The high speed and action of the whisk will overwork the starches in the potatoes, turning them into a sticky, gluey mess. Use a flat beater on low speed for creamy mashed potatoes.
Cleaning and Maintenance for Your Whisk
Proper care will ensure your whisk attachment lasts as long as your mixer.
- Read the Manual: First, check if your whisk is dishwasher safe. Many whisks, especially from brands like KitchenAid, have an aluminum hub that will oxidize and turn black in the dishwasher. Stainless steel whisks are generally dishwasher safe, but aluminum ones are strictly hand-wash only.
- Hand-Wash Immediately: The best practice is to wash it by hand right after use. This prevents anything from drying and hardening between the delicate wires. Use warm, soapy water and a brush if needed.
- Dry Thoroughly: Make sure to dry it completely, especially around the hub where the wires connect, to prevent rust or corrosion.
- Store Properly: Store it in a drawer or container where the wires won’t get bent or crushed.
Frequently Asked Questions (FAQ)
Q1: Why aren’t my egg whites whipping up?
This is almost always due to fat or grease. Even a tiny speck of egg yolk or a greasy residue on the bowl or whisk will prevent the proteins from foaming. Make sure your bowl and whisk are impeccably clean. Wiping them with a little white vinegar before you start can help.
Q2: What speed should I use the whisk attachment on for whipped cream?
Start on low to prevent splashing, then increase to medium-high (speed 8 is a good target). Whipping on a slightly lower speed takes longer but can create a more stable cream with smaller, more uniform air bubbles.
Q3: How can I tell if I’ve over-whipped my cream?
Over-whipped cream loses its smooth, soft appearance and starts to look grainy or curdled. If you catch it early, you can sometimes save it by gently folding in a few tablespoons of fresh liquid cream by hand.
Q4: Can I use the whisk attachment to mix a cake batter?
Only for very specific types of cake, like angel food or chiffon, where the volume comes from whipped eggs. For standard butter cakes or box mixes, you should always use the flat beater attachment for the best texture.
Q5: My whisk doesn’t seem to reach the bottom of the bowl. What’s wrong?
This is a common issue and it means you need to adjust your mixer’s beater-to-bowl clearance. Refer to your owner’s manual for instructions on how to raise or lower the beater height. It usually involves turning a small screw.
Your Partner in Lightness
The stand mixer is an investment in your culinary creativity, and learning how to use the whisk attachment properly is key to unlocking a whole new world of light, airy, and impressive results. It’s the tool that will give you pillowy meringues, ethereal mousses, and perfectly whipped toppings. It may look delicate, but it’s a powerhouse of aeration. Now, go on and whip up something spectacular! We’d love to hear about your creations in the comments below.