Hey there, fellow kitchen enthusiast! Let’s talk about the heart of many of our kitchens: the stand mixer. I remember my first one—a brilliant cherry red machine that felt like it unlocked a new level of baking. But after the joy of that first perfect loaf of bread came the reality: a machine covered in flour dust and bits of dried dough. That’s when I discovered the importance of a solid routine for Eco Friendly Cleaning For Stand Mixer care, a method that keeps your machine sparkling without harsh chemicals. Are you ready to give your trusty kitchen sidekick the non-toxic spa day it deserves?
Your stand mixer is more than just an appliance; it’s a powerhouse, a workhorse that takes on the toughest doughs and whips meringues into glossy peaks. Keeping it clean is crucial not just for hygiene, but for its longevity and performance. By opting for natural, sustainable methods, you ensure that no unwanted chemical residues make their way into your beautiful bakes, and you do a little something good for the planet, too.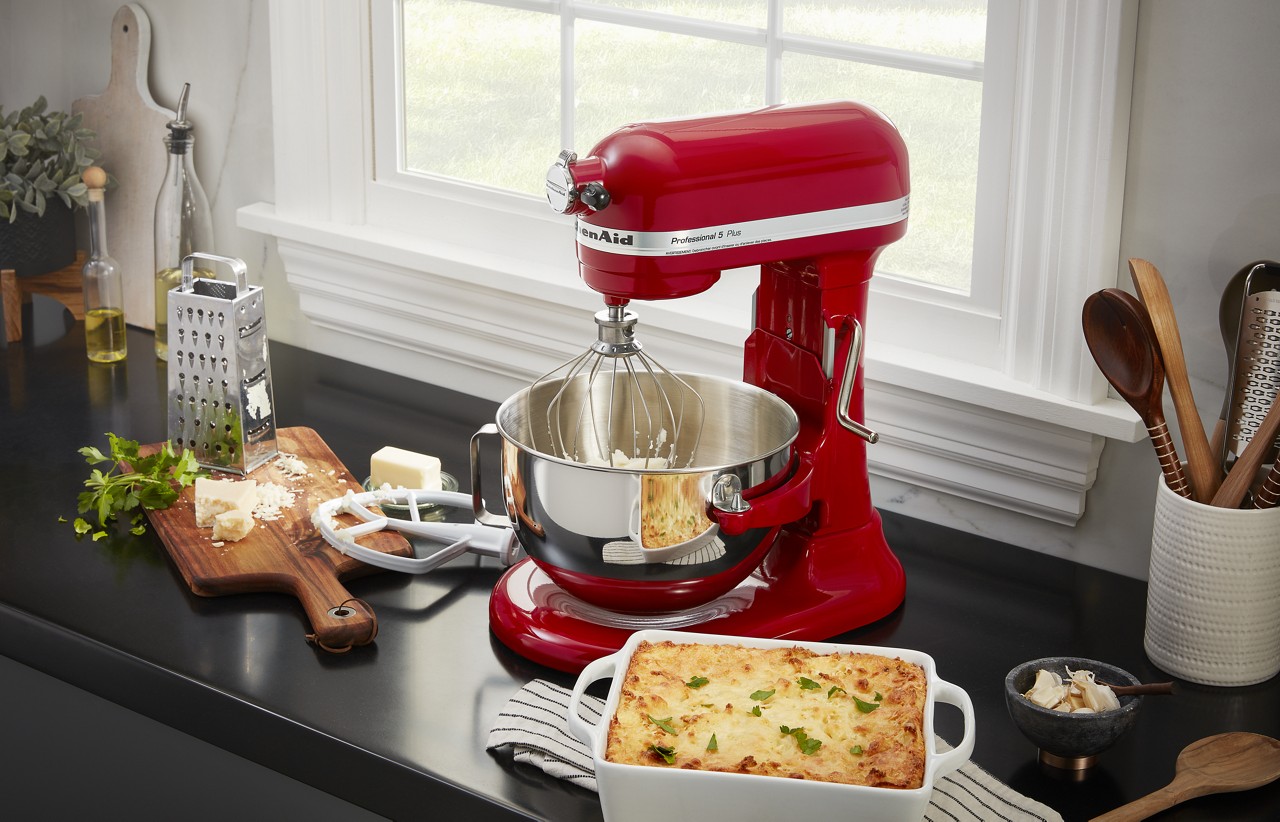
Why Choose Eco Friendly Cleaning for Your Stand Mixer?
So, why not just grab any old spray cleaner from under the sink? The answer is simple: your stand mixer is an investment that comes into direct contact with your food. Harsh, abrasive cleaners can damage the enamel finish, scratch your stainless steel bowl, and even corrode certain metal attachments. Furthermore, chemical residues can linger, which is the last thing you want near your family’s food.
Choosing an eco friendly cleaning for stand mixer approach means you’re using simple, effective ingredients that are:
- Food-Safe: Ingredients like vinegar and baking soda are kitchen staples for a reason. They clean powerfully without leaving behind toxic substances.
- Gentle on Your Machine: Natural cleaners get the job done without stripping finishes or causing damage, preserving the beauty and function of your mixer for years to come.
- Cost-Effective: A bottle of vinegar and a box of baking soda are incredibly cheap compared to specialized brand-name cleaners.
- Better for the Environment: You reduce the number of plastic bottles and harsh chemicals being washed down the drain.
Your Natural Cleaning Arsenal: What You’ll Need
You don’t need a whole cabinet of special products. In fact, you probably have everything you need for a thorough, eco friendly clean right now.
- White Vinegar: This is your acidic powerhouse. It’s fantastic for cutting through grease, dissolving hard water stains on your bowl, and acting as a natural disinfectant.
- Baking Soda: The gentle abrasive. Baking soda is perfect for creating a scrubbing paste to lift stubborn, caked-on food without scratching surfaces. It’s also a great natural deodorizer.
- Lemon Juice: Similar to vinegar, its acidity cuts through grime, but it leaves behind a fresh, clean scent. Great for shining up stainless steel.
- Warm Water: The universal solvent that helps activate your other ingredients.
- A Soft Sponge or Microfiber Cloths: You need something that will clean effectively without being abrasive. Microfiber is excellent at trapping dust and grime.
- An Old Toothbrush or Cotton Swab: Perfect for getting into all the little nooks, crannies, and ventilation slots.
The Ultimate Step by Step Guide to a Spotless Mixer
Ready to get started? Let’s break down the process of eco friendly cleaning for stand mixer components, one piece at a time. It’s easier than you think!
1. Safety First: Unplug and Disassemble
Before you even think about cleaning, always unplug your stand mixer from the wall. This is non-negotiable for your safety. Once unplugged, remove the mixing bowl, the splash guard (if you have one), and the attachment (flat beater, dough hook, or whisk).
2. How to Clean the Mixer Body and Base
The main body of your mixer is where flour dust and splatters love to hide.
- Create your cleaning solution: In a small bowl or spray bottle, mix a solution of equal parts warm water and white vinegar.
- Wipe it down: Dampen a microfiber cloth with the solution (don’t soak it!) and wipe down the entire motor head, the stand, and the base. The vinegar will cut through any greasy residue with ease.
- Tackle tough spots: For dried-on batter, make a paste of baking soda and a few drops of water. Apply the paste to the spot, let it sit for a minute or two, and then gently scrub with your damp cloth. The gentle abrasion will lift the gunk without scratching the paint.
- Detail the tight spots: Use a toothbrush or cotton swab dipped in your vinegar solution to clean around the speed lever, the locking mechanism, and the ventilation slots. You’d be amazed what hides in there!
- Final “rinse” and dry: Wipe the entire machine down one more time with a cloth dampened with plain water to remove any vinegar or baking soda residue. Finally, dry it completely with a clean, dry cloth to prevent water spots and keep it looking pristine.
3. Making the Stainless Steel Bowl Sparkle
Is your bowl looking a little dull or cloudy? That’s likely due to mineral deposits from your water.
- For general cleaning: A simple wash with warm, soapy water is usually enough.
- For stubborn residue: Create that same baking soda paste and gently scrub the inside of the bowl.
- To restore shine and remove water spots: Pour about half a cup of white vinegar into the bowl and let it sit for 10-15 minutes. Swish it around, then wash as usual. You can also rub the inside with half a lemon for a similar effect and a lovely fresh scent.
4. What About the Attachments? The Most Important Step!
This is where many people make a costly mistake. Not all attachments are created equal, and putting the wrong one in the dishwasher can lead to ruin.
Expert Warning: Never put burnished aluminum attachments in the dishwasher. These are typically the standard flat beater and dough hook that come with many models, like the popular KitchenAid Artisan series. The harsh dishwasher detergent will cause them to oxidize, leaving a dark, chalky residue that can transfer to your food.
- Stainless Steel Attachments (like wire whisks and some upgraded beaters): These are usually dishwasher-safe. Check your user manual if you’re unsure.
- Burnished Aluminum or Coated Attachments: These must be washed by hand. Use warm water and a little mild dish soap. For dried-on dough, let them soak in warm, soapy water for about 10 minutes before washing.
A simple hand wash is a core part of any effective eco friendly cleaning for stand mixer routine and will ensure your attachments last a lifetime.
Pro Tips for Long Lasting Sparkle and Performance
As a long-time stand mixer user, I’ve learned that a little preventative maintenance goes a long way.
- Wipe it down after every use: A quick wipe with a damp cloth after you’re done baking prevents buildup and makes deep cleaning much easier.
- Don’t let dough dry: Tackle the dough hook and bowl right away. Soaking them immediately is a game-changer.
- Check your bowl clearance: Periodically, perform the “dime test” to ensure your beater is at the right height. A properly adjusted beater mixes more efficiently and is easier to clean. Drop a dime in the bowl; the beater should move it just slightly without hitting the bowl hard.
- Let it breathe: After cleaning, leave the components out to air dry completely before reassembling to prevent any moisture from getting trapped.
According to veteran pastry chef Anna Rodriguez, “A clean machine is an efficient machine. When you take care of your tools, they take care of you. A simple, natural cleaning routine respects the investment you made in a quality stand mixer.”
Frequently Asked Questions About Eco Friendly Cleaning
How often should I perform an eco friendly cleaning for my stand mixer?
You should give the body a quick wipe-down after every use. A more thorough, deep clean as described above is recommended once a month, or more often if you’re a frequent baker.
Can I use lemon juice instead of vinegar for cleaning?
Absolutely. Lemon juice is also acidic and works well as a degreaser and for shining stainless steel. It’s a great choice if you’re not a fan of the smell of vinegar.
Is baking soda safe for my stand mixer’s paint finish?
Yes, when used as a paste with water, baking soda is a very gentle abrasive and is safe for the enamel paint finish on most stand mixers. Just avoid scrubbing too aggressively.
What’s the best natural way to remove stubborn, dried-on dough?
The key is soaking. Submerge the bowl and hand-washable attachments in warm, soapy water for at least 15-20 minutes. The moisture will rehydrate the dough, making it easy to wipe away without heavy scrubbing.
My aluminum beater is already oxidized and gray. Can I fix it?
Unfortunately, once an aluminum attachment has been oxidized in a dishwasher, the damage is largely permanent. You can try making a paste of cream of tartar and water to scrub it, which may lighten the discoloration, but it will likely never look brand new again.
A Clean Mixer is a Happy Mixer
Your stand mixer is a partner in your culinary creations. By investing a little time in proper, safe maintenance, you’re not just keeping it looking beautiful on your countertop; you’re ensuring it runs smoothly for every cake, bread, and cookie you can dream of. Embracing an eco friendly cleaning for stand mixer routine is a simple, powerful way to maintain your favorite kitchen appliance, protect your family, and bake with peace of mind.
Now, go enjoy your sparkling clean mixer! What creations are you planning to whip up next?