Welcome to the heart of your kitchen, the command center of your culinary creations! If you’ve just unboxed a gleaming new stand mixer, congratulations. You’re on the cusp of a whole new world of baking and cooking. I remember my first one—it felt like graduating to the big leagues. But before we get to whipping up meringues and kneading perfect bread dough, we have to master the basics. The very first step, and arguably one of the most crucial, is learning How To Attach A Mixer Bowl correctly. It sounds simple, but getting this right is the foundation for everything that follows.
Are you ready to lock and load? Think of your stand mixer as a high-performance vehicle; you wouldn’t start the engine without making sure the wheels are on tight. Securing the bowl properly ensures stability, efficiency, and safety. A wobbly bowl can lead to uneven mixing, create a racket, and in a worst-case scenario, cause damage to your beloved kitchen appliance. Let’s walk through this simple but vital process together, so you can mix with total confidence.
Why a Secure Bowl is Non-Negotiable
Before we dive into the “how,” let’s quickly cover the “why.” Why is it so important to properly attach your mixer bowl?
- Optimal Performance: The magic of a stand mixer lies in its planetary mixing action. This means the beater spins on its axis while also orbiting around the bowl. For this to work perfectly, the bowl must be stationary. A secure bowl ensures the whisk, paddle, or dough hook can reach every part of the mixture.
- Safety First: A loose bowl can vibrate, and with a powerful motor running, it could potentially dislodge itself. This is especially true when you’re working with heavy doughs that put more strain on the machine.
- Prevents Damage: The clanking sound of a loose bowl isn’t just annoying; it’s the sound of metal hitting metal. Over time, this can wear down the locking mechanism on the bowl’s base or the mixer’s clamping plate, leading to a less secure fit in the future.
Tilt-Head vs. Bowl-Lift: Securing Your Bowl Correctly
Stand mixers primarily come in two designs: tilt-head and bowl-lift. The method for attaching the bowl is completely different for each. It’s not a matter of one being better than the other, just different engineering. First, identify which type you have. Does the top of the mixer hinge back? That’s a tilt-head. Does the bowl move up and down on a U-shaped cradle? You’ve got a bowl-lift model.
How to Attach a Mixer Bowl on a Tilt-Head Model
This is the most common design for home bakers, found on popular models like the KitchenAid Artisan series. The process is a simple, satisfying twist-and-lock motion.
- Unlock and Tilt the Head: Locate the locking lever on the side of the mixer. Unlock it (usually by sliding it) and gently tilt the motor head back. This gives you clear access to the base plate where the bowl sits.
- Align the Bowl: Look at the bottom of your mixer bowl. You’ll see grooves or notches. Now look at the mixer’s base plate; you’ll see corresponding tabs. Place the bowl onto the base plate.
- Twist to Lock: This is the key step. With the bowl seated on the plate, gently but firmly twist it in a clockwise direction. You should feel it tighten and lock into place. It’s like screwing the lid on a jar.
- Confirm the Lock: Give the bowl a gentle wiggle. It should feel completely snug and secure, with no rocking or spinning. If it moves, you haven’t twisted it far enough. Twist it until it stops moving.
As seasoned pastry chef Amelia Evans often says, “Your mix is only as stable as your base. A perfectly locked bowl is the first step to a consistent batter. It’s a small detail that makes a massive difference in the final product.”
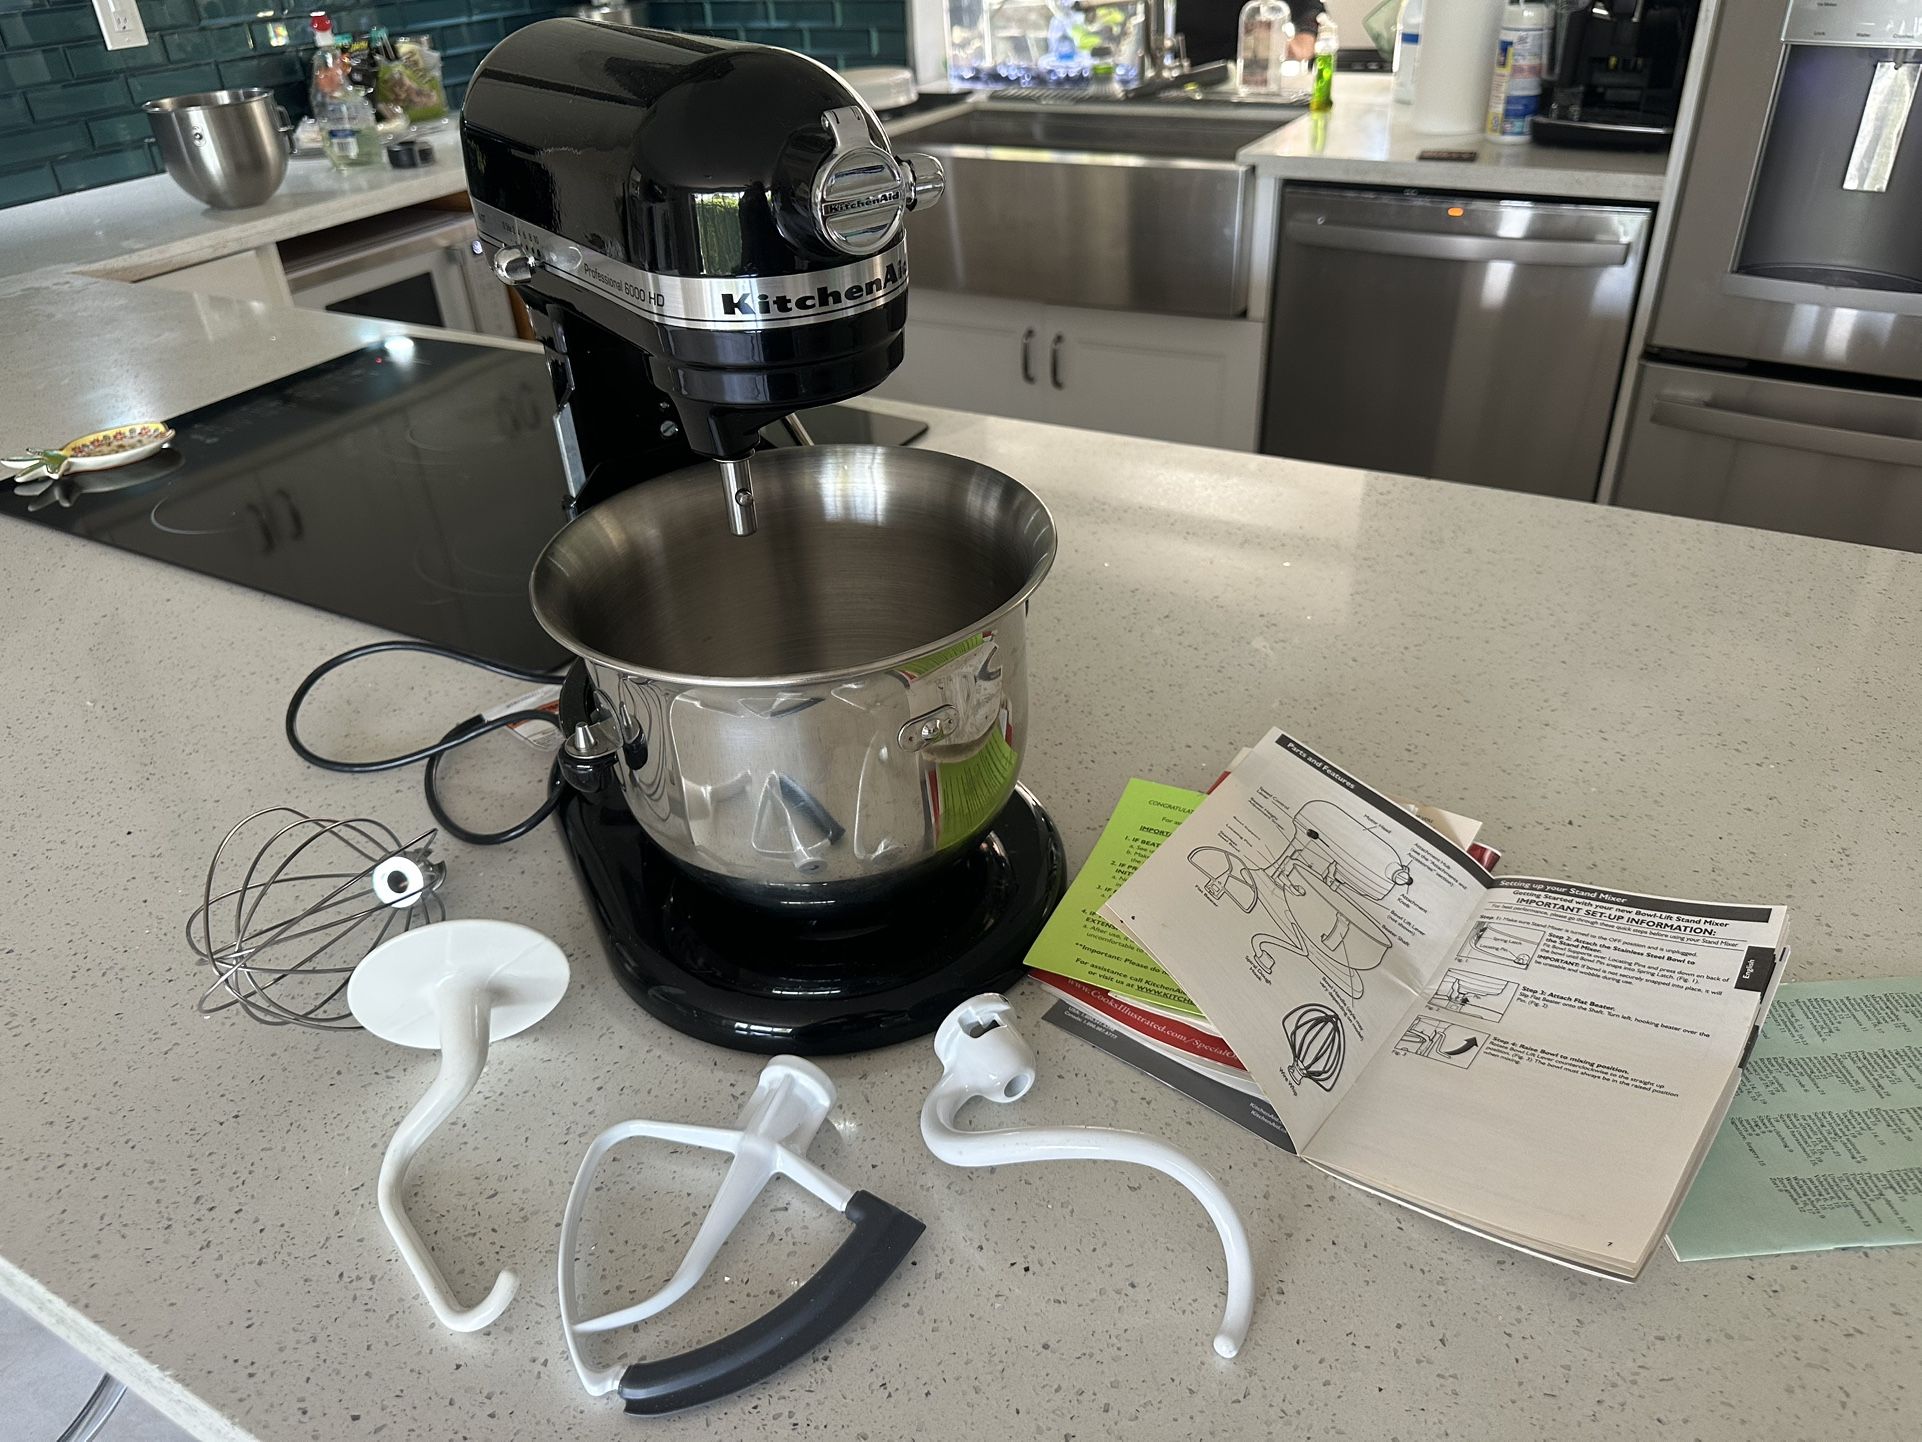
How to Attach a Mixer Bowl on a Bowl-Lift Model
Bowl-lift models, like the KitchenAid Pro series, are workhorses designed for larger, heavier batches. Their bowl attachment mechanism is built for maximum stability. Instead of twisting, you’ll be snapping it into place.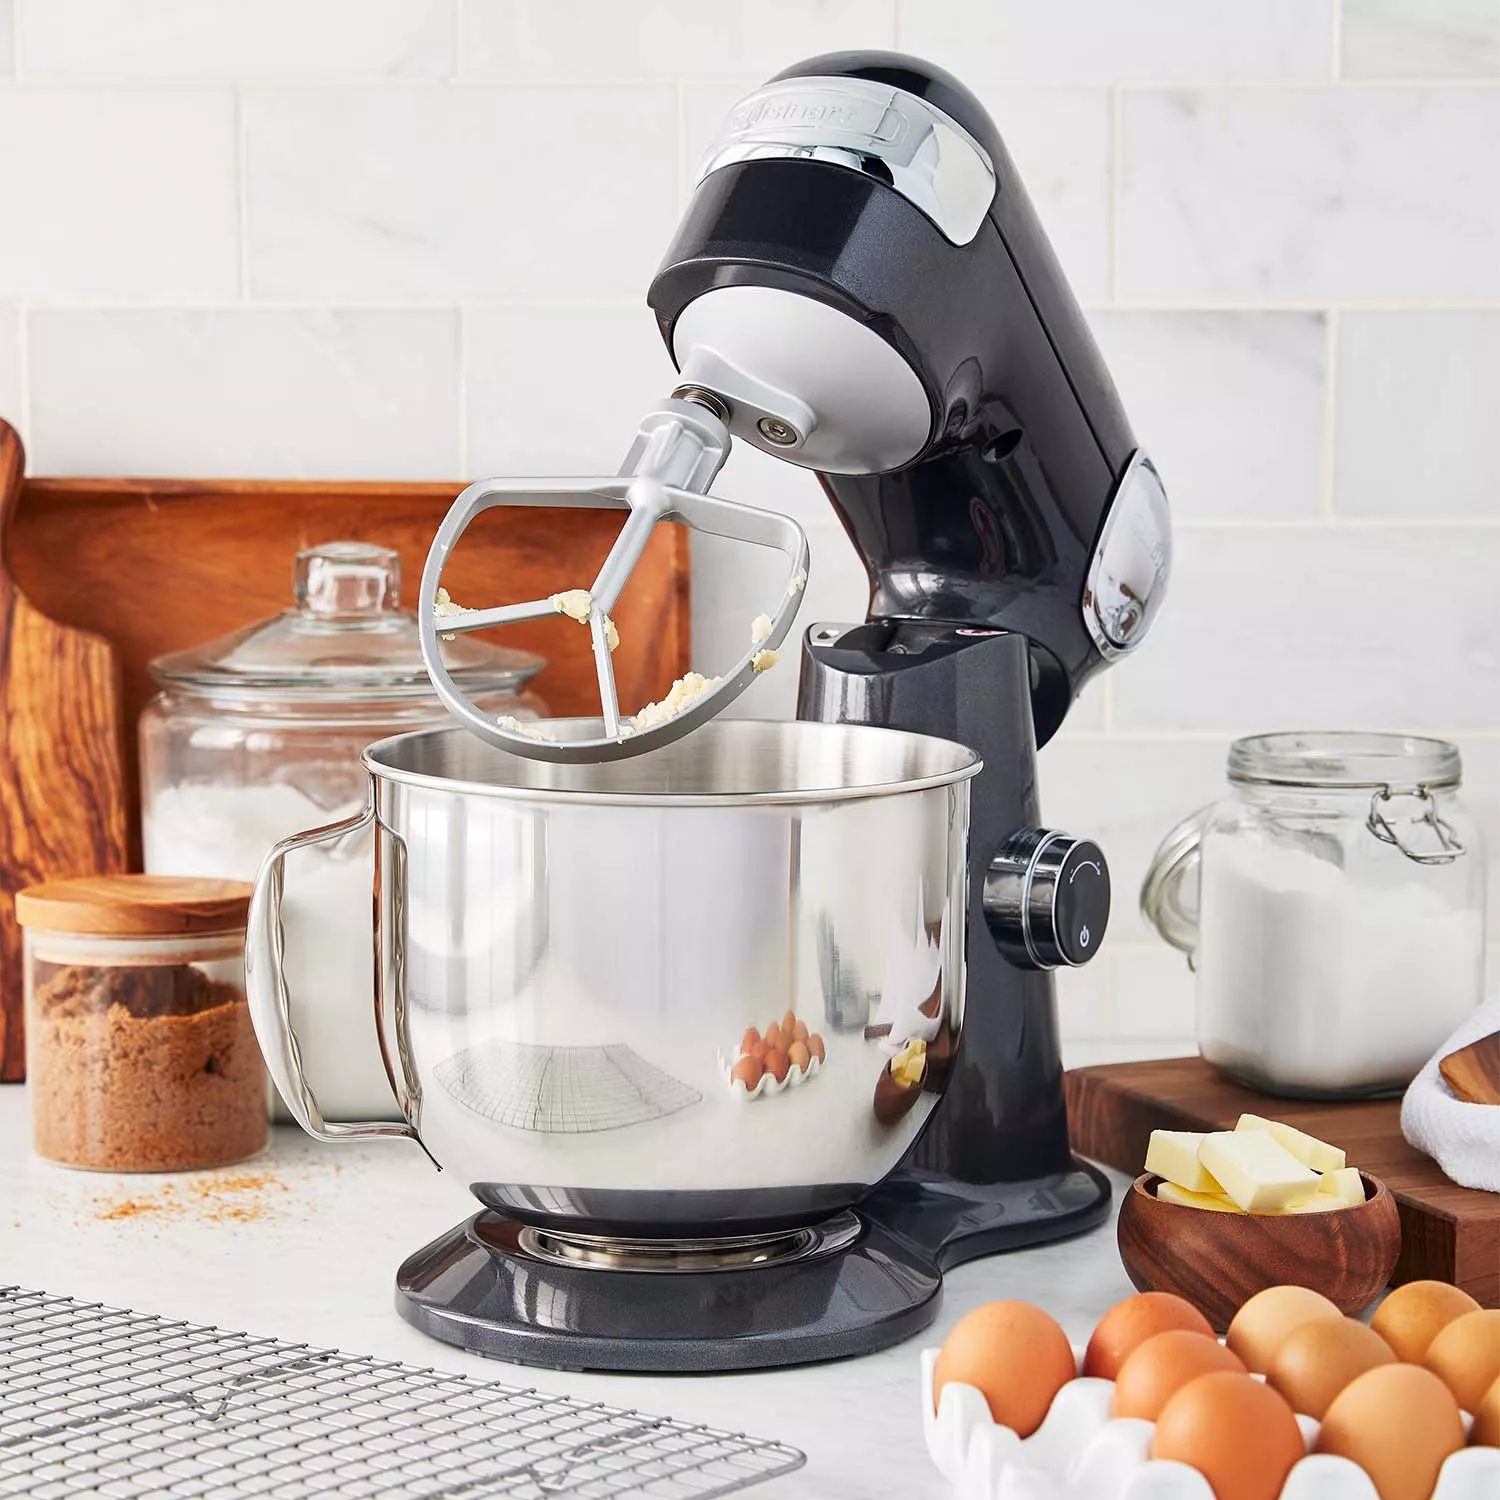
- Lower the Bowl Cradle: Ensure the bowl-lift handle on the side of the mixer is in the “down” position. This lowers the U-shaped arms that will hold the bowl.
- Align the Pins: Look at the sides of your mixer bowl near the top. You’ll see two round studs or pins sticking out. On the mixer’s cradle, you’ll see two corresponding holes or indentations on the arms.
- Seat the Back First: There’s a spring-loaded clip or bracket at the back of the mixer cradle. Hook the back of the bowl under this clip first. You should feel a distinct “snap” as it clicks securely into place.
- Press the Sides Down: With the back secured, press down firmly on the sides of the bowl until the pins on the bowl snap into the holes on the cradle arms. You will hear and feel them click into position.
- Perform the Wiggle Test: Just like with the tilt-head, give the bowl a gentle tug. It should be rock-solid. If there’s any movement, it likely means either the back clip or the side pins aren’t fully engaged.
Common Problems and How to Troubleshoot Them
Even with the best instructions, things can sometimes go awry. Here’s how to handle a few common hiccups when learning how to attach a mixer bowl.
Help! My Mixer Bowl is Stuck!
Don’t panic! This usually happens due to residue (like dried flour) or temperature changes causing the metal to contract or expand.
- The Warm Towel Trick: Soak a dish towel in hot water, wring it out, and wrap it around the base of the mixer bowl for about 10 minutes. The warmth will cause the metal to expand slightly, often releasing the tension and allowing you to twist it off.
- A Little Lubrication: If the towel trick doesn’t work, a tiny dab of mineral oil or cooking oil around the seam where the bowl meets the base can help. Let it sit for a minute, then try twisting again.
Why is My Mixer Bowl Rattling?
A rattling bowl is a sign it’s not properly secured.
- For Tilt-Head Models: You likely haven’t twisted it far enough clockwise. Give it another firm twist until it stops.
- For Bowl-Lift Models: One or both of the side pins may not be fully snapped into the cradle arms, or the rear clip isn’t engaged. Lower the bowl and re-attach it, making sure you hear a solid click at all three connection points.
My Bowl Doesn’t Seem to Fit at All.
This usually comes down to compatibility. While many bowls from a single brand (like KitchenAid) look similar, they are not always interchangeable between tilt-head and bowl-lift models, or even between different sizes within the same model type. Always ensure you are using the bowl that was designed specifically for your stand mixer model. Check your user manual if you’re unsure.
A Final Word on Mastering Your Machine
Learning how to attach a mixer bowl is your official initiation into the stand mixer club. It’s a simple skill, but mastering it sets the stage for success in the kitchen. It ensures your powerful appliance works exactly as intended—safely, efficiently, and consistently. Now that your bowl is locked in and ready for action, you can confidently move on to exploring all the incredible things this kitchen powerhouse can do.
Take a moment to practice attaching and detaching the bowl a few times. Get a feel for that satisfying click or twist. Once it becomes second nature, you’ll be one step closer to becoming a true Stand Mixer Pro.
Have any tips of your own or ran into a problem we didn’t cover? Share your experience in the comments below!
Frequently Asked Questions (FAQ)
Q: Can I use any brand of bowl with my stand mixer?
A: Generally, no. Stand mixer bowls are designed with specific locking mechanisms for their corresponding models. It is highly recommended to use bowls made by the same manufacturer and confirmed to be compatible with your specific mixer to ensure a safe and secure fit.
Q: What is the correct way to know if I’ve attached my mixer bowl properly?
A: The best method is the “wiggle test.” After attaching the bowl according to your model’s instructions (twist-lock for tilt-head, snap-in for bowl-lift), gently try to move it. If it feels solid and doesn’t rock, shift, or spin, it is attached correctly.
Q: Is it normal for the mixer bowl to have a tiny bit of movement?
A: A very slight, almost imperceptible amount of play might be present, but it should not be a noticeable wiggle or rattle. If the bowl is visibly moving or making a clanking noise during operation, it is not secure enough.
Q: How do I remove a stuck mixer bowl safely?
A: The safest method is the warm towel trick. Wrap a hot, damp towel around the base of the bowl for several minutes to allow the metal to expand, which usually loosens it enough to twist off. Avoid using tools that could scratch or dent the bowl or mixer base.
Q: Does the process of attaching a mixer bowl differ for glass or ceramic bowls?
A: The mechanical process is the same. However, you should be more careful when handling glass or ceramic bowls. When twisting or snapping them into place, use firm, even pressure rather than sudden force to avoid chipping or cracking the material.