Let’s be honest, there’s a certain magic to baking. The scent of vanilla, the transformation of simple ingredients, and that final, glorious creation. But after the last cookie is cooled, there’s the aftermath: a kitchen dusted in flour and a trusty stand mixer splattered with evidence of your hard work. Knowing How To Clean A Stand Mixer properly is just as crucial as knowing the difference between baking soda and baking powder. It’s not just about aesthetics; it’s about hygiene, performance, and protecting the heart of your kitchen.
I’m here, as the voice of Stand Mixer Pro, to walk you through it. I’ve seen mixers loved and mixers neglected, and I can tell you that a little care goes a long, long way. My first stand mixer was a game-changer, and learning to care for it properly ensured it lasted for years of cakes, breads, and meringues. So, roll up your sleeves one last time. We’re going to turn this “chore” into a simple, satisfying ritual that keeps your culinary workhorse in prime condition.
Why Regular Cleaning is Non-Negotiable
Think of your stand mixer like a high-performance car. You wouldn’t skip an oil change, right? Cleaning your mixer is its equivalent. It’s the essential maintenance that ensures everything runs smoothly for years to come.
- Food Safety: Tiny bits of old dough, batter, or cream can get trapped in crevices, becoming a breeding ground for bacteria. A clean mixer is a safe mixer.
- Performance: Flour dust and grease can build up in the motor vents and attachment hub, potentially causing the motor to overheat or struggle. Keeping it clean ensures it delivers that powerful planetary mixing action you rely on.
- Longevity: You’ve invested in a serious piece of kitchen appliance hardware. Regular, proper cleaning prevents permanent stains, rust, and damage to the finish and mechanical parts, protecting your investment.
Before You Start: Gathering Your Cleaning Arsenal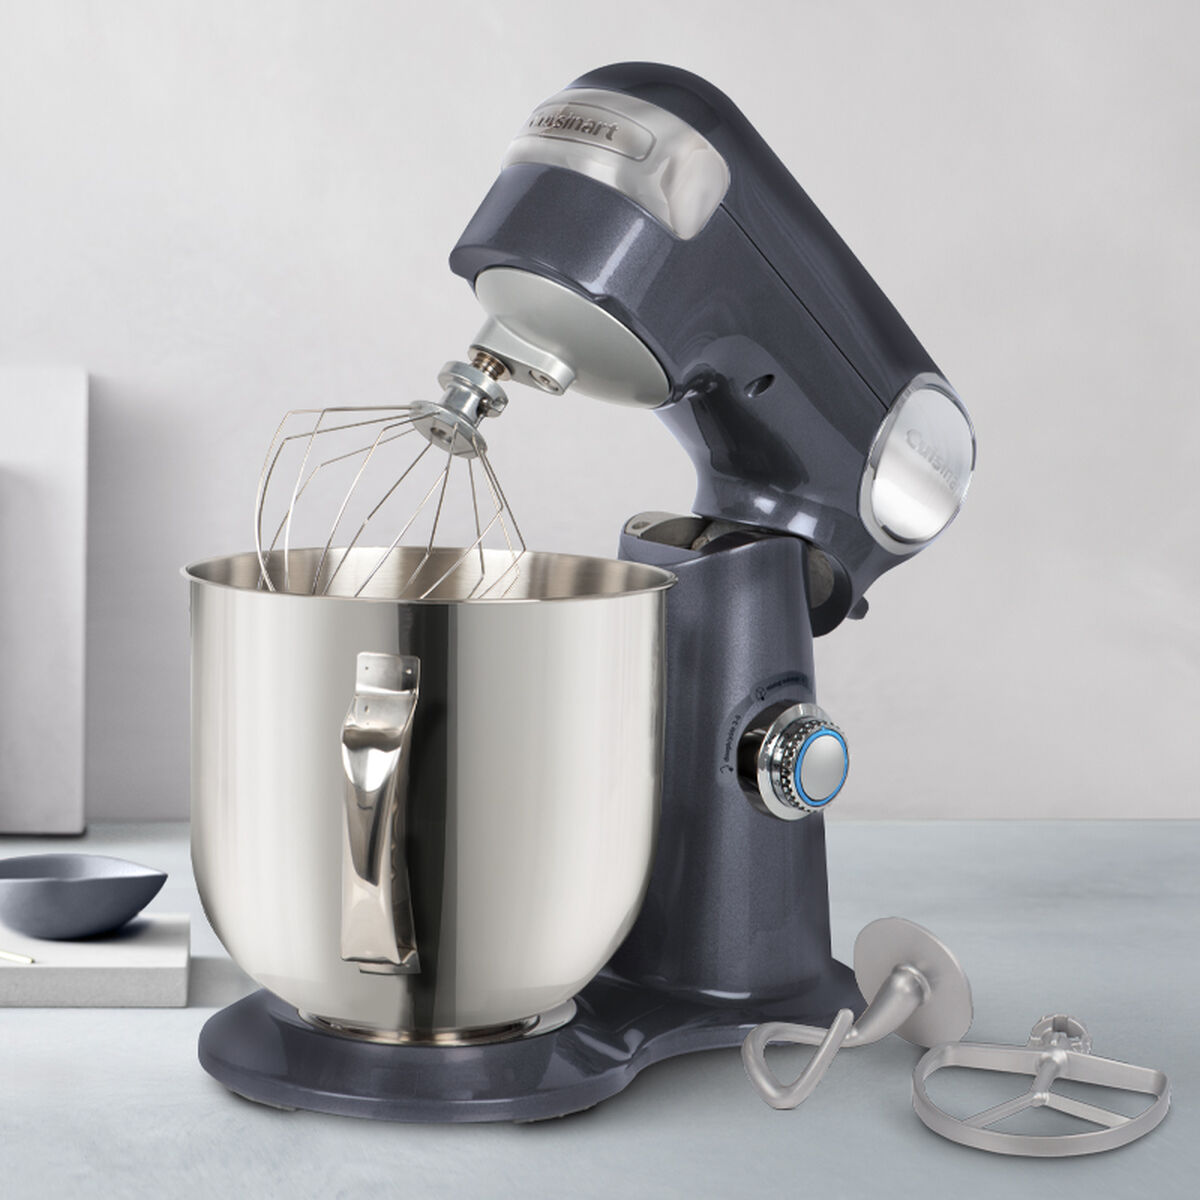
The good news? You don’t need any fancy, expensive chemicals. The best tools for the job are likely already in your kitchen.
- A soft cloth or microfiber towel
- A sponge (with a non-abrasive side)
- A small, soft-bristled brush (an old toothbrush is perfect)
- Warm, soapy water (gentle dish soap is ideal)
- White vinegar or a stainless steel cleaner (for the bowl, if needed)
- Baking soda (for stubborn spots)
The Step-by-Step Guide on How to Clean a Stand Mixer
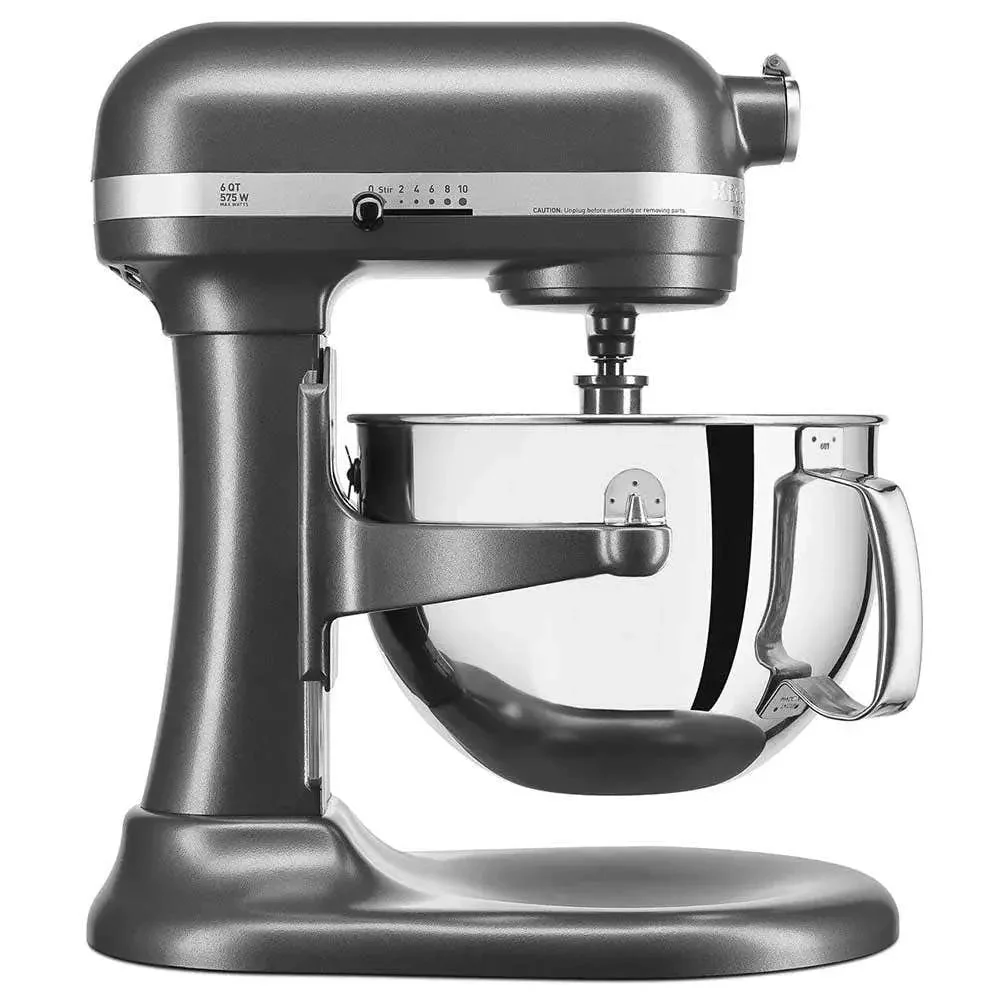
Ready? Let’s break it down into simple, manageable steps. This process works for most major brands, from the iconic KitchenAid to robust models from Kenwood and Cuisinart.
- Safety First: Unplug the Machine!
This is the most critical step. Before a single drop of water touches your mixer, always ensure it is completely unplugged from the power outlet. No exceptions. - Disassemble the Parts
Gently remove the mixing bowl, the attachment (whether it’s the dough hook, flat beater, or whisk attachment), and the splash guard if you used one. This gives you clear access to every part of the machine. - Tackle the Attachments (The Tools of the Trade)
How you clean your attachments depends entirely on what they’re made of. Always check your user manual if you’re unsure, as putting the wrong type in the dishwasher can ruin them instantly.Stainless Steel Attachments
Attachments like the wire whisk or some flat beaters are often stainless steel. These are the easiest to care for. They are typically dishwasher-safe (top rack recommended) or can be washed by hand in warm, soapy water.
Coated Attachments (White or Gray)
The classic white or gray coated dough hooks and flat beaters are also usually dishwasher-safe. The durable coating protects the metal underneath. A quick wash with soap and water works perfectly, too.
Burnished Aluminum Attachments
This is the big one to watch out for. Burnished aluminum attachments are lightweight and effective, but they will oxidize and turn black or gray if put in the dishwasher. The harsh detergents strip their finish.
- How to clean them: Hand-wash only with warm water and mild dish soap. Dry them immediately and thoroughly with a soft cloth to prevent water spots.
- What if they’re already oxidized? Don’t panic! You can often restore them by making a paste of cream of tartar and water, scrubbing the attachment, and rinsing well.
- The Mixing Bowl
Most stand mixer bowls are made from stainless steel, glass, or ceramic and are dishwasher-safe. For tough, dried-on bits, let the bowl soak in warm, soapy water for about 20 minutes before washing. For a brilliant shine on a stainless steel bowl, you can wipe it down with a cloth lightly dampened with white vinegar, then rinse and dry. - The Main Event: The Mixer Body and Head
This is where the magic happens and where grime can hide. Remember, never submerge the mixer body or head in water. The motor is inside, and water is its worst enemy.- The Wipe Down: Dampen a soft cloth with warm, soapy water. Wring it out well—it should be damp, not dripping. Gently wipe down the entire mixer body, including the tilt-head and the base.
- The Tricky Spots: For the nooks and crannies, like the hinge where the head tilts and the speed control lever, use your soft-bristled brush or a cotton swab to dislodge any trapped flour or gunk.
- The Attachment Hub: This is where the attachments connect. Use your damp brush to gently clean inside the spring and shaft. Dry it carefully.
- Final Polish: After cleaning, go over the entire machine with a dry, soft cloth to buff away any water streaks and restore its shine.
The Deep Clean: Going Beyond the Basics
About once a month, or after a particularly messy project (looking at you, royal icing), it’s a good idea to perform a deeper clean.
- Ventilation Slots: Check the motor ventilation slots (usually on the back or top of the head). Use a dry brush or a can of compressed air (held at a distance) to clear out any accumulated flour dust. This helps the motor breathe and stay cool.
- The Base Ring: On many models, there’s a small gap between the mixer and the base plate it sits on. Use the edge of a cloth or a brush to clean out any crumbs that have fallen in there.
According to kitchen appliance engineer David Chen, “The single biggest favor you can do for your stand mixer’s motor is to keep the air vents clear. A motor that can’t cool itself is a motor that will wear out prematurely. A 30-second check once a month can add years to its life.”
Common Cleaning Mistakes to Avoid
Learning how to clean a stand mixer also means learning what not to do. Avoid these common pitfalls to protect your beloved kitchen companion.
- Submerging the Body: We’ve said it before, but it’s worth repeating. Never, ever put the main mixer body in water.
- Using Abrasive Cleaners: Harsh scouring pads or abrasive cleaners like Comet can scratch the paint and finish, leading to rust. Stick to soft cloths.
- Putting Aluminum in the Dishwasher: This is the most common and costly mistake. Always double-check your attachments’ material.
- Ignoring the Small Crevices: That little pin that locks the bowl in place? The speed control slot? Gunk loves to hide there. A quick, detailed wipe-down prevents long-term buildup.
- Spraying Cleaner Directly onto the Mixer: This can allow liquid to seep into the motor housing or vents. Always spray onto your cloth first, then wipe.
Frequently Asked Questions (FAQ)
Q: How often should I clean my stand mixer?
A: You should wipe down the body and wash the used bowl and attachments after every single use. A more thorough deep clean, focusing on vents and crevices, is recommended once a month, especially if you’re a frequent baker.
Q: There’s a black residue coming from my burnished aluminum attachment. What is it?
A: That black or gray residue is aluminum oxide, which forms when the attachment has been washed in a dishwasher or left to air dry. It’s not harmful, but it’s unsightly. Clean it by hand with soap and water, and avoid the dishwasher in the future.
Q: Can I use disinfectant wipes to clean my stand mixer?
A: It’s generally not recommended. Many disinfectant wipes contain harsh chemicals that can damage the mixer’s finish over time. Warm, soapy water is sufficient for hygiene and is much gentler on the appliance’s surface.
Q: What’s the best way to clean grease from the stand mixer motor head?
A: Sometimes, a little lubricant can leak from the motor head, which is normal. To clean it, use a cloth with a small amount of a gentle degreasing dish soap and warm water. Wipe the area clean and then go over it with a cloth dampened with just water to remove any soap residue.
Q: My stainless steel bowl has rainbow-colored stains. How do I remove them?
A: This is a common heat-induced discoloration on stainless steel. To remove it, pour a small amount of white vinegar into the bowl, let it sit for a few minutes, and then wash as usual. The stains should disappear.
A Clean Mixer is a Happy Mixer
Your stand mixer is more than just an appliance; it’s a partner in your creative culinary adventures. By taking a few minutes after each use to follow these simple steps, you’re not just cleaning—you’re caring for an essential tool. Mastering how to clean a stand mixer ensures that it will be ready and waiting, in perfect working order, for your next masterpiece.
Have any of your own cleaning tips or tricks? Share them in the comments below! We’d love to hear from our community of bakers.
One thought on “How to Clean a Stand Mixer: The Ultimate Pro Guide”