You’ve just pulled a perfect loaf of sourdough from the oven, or maybe you’ve finished frosting a dozen beautiful cupcakes. The kitchen smells amazing, you’re feeling accomplished, and then you turn around and see it: the aftermath. A mixing bowl splattered with batter and, of course, the trusty attachments that did all the heavy lifting. Knowing exactly How To Clean Stand Mixer Attachments isn’t just about tidying up; it’s about preserving the tools that make your baking dreams a reality. Are you cleaning yours the right way to ensure they last a lifetime? Let’s dive in.
Proper maintenance goes beyond just the main unit. While many of us know the basics of how to clean a stand mixer, the attachments—the dough hook, the flat beater, and the wire whisk—are the real frontline soldiers. Giving them the right care ensures every mix is as good as the first.
First, Know Your Attachments: Material Matters Most
Before you even think about reaching for the soap or opening the dishwasher, you have to play detective. The single most important factor in how you clean your stand mixer attachments is what they’re made of. Getting this wrong is the number one reason attachments get ruined.
Stainless Steel (The Workhorse)
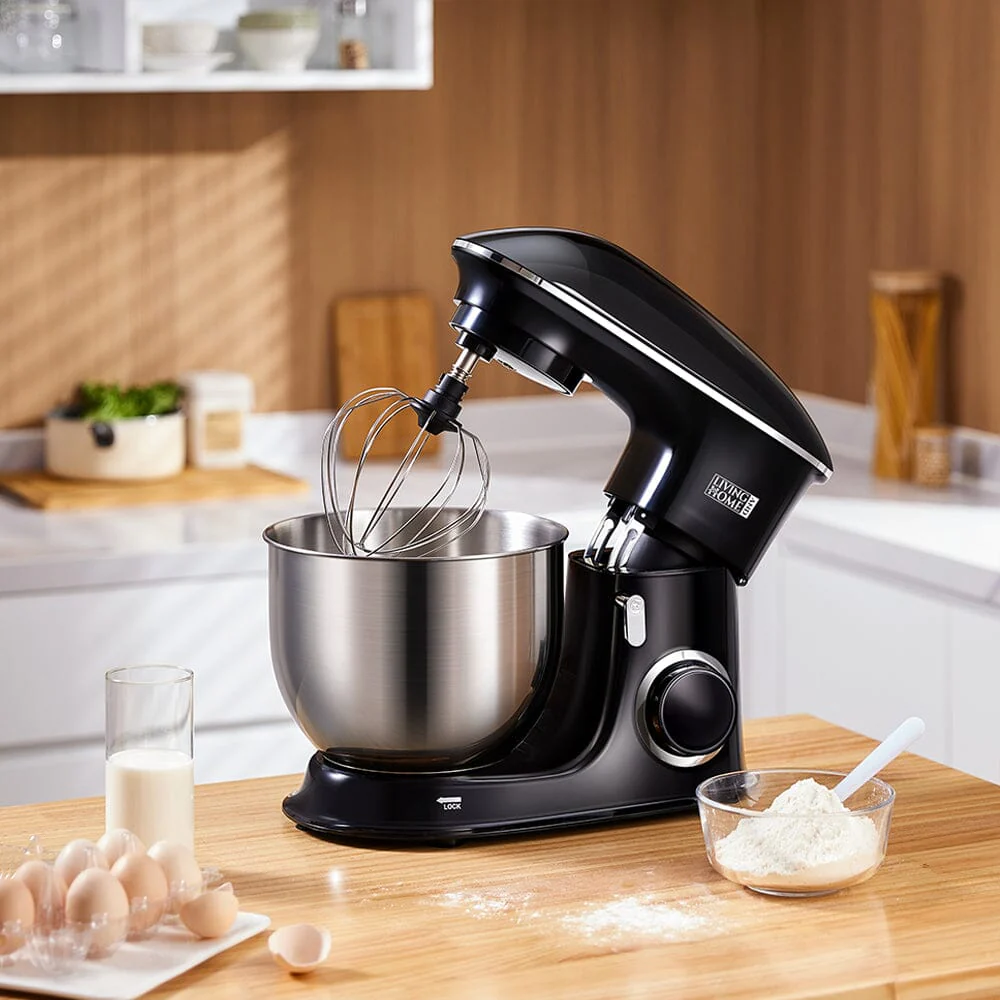
These are the easiest to spot and the simplest to care for. They have a shiny, silver finish and a satisfying weight to them. Think of them as the stainless steel pots and pans of the mixer world.
- Characteristics: Bright, reflective, and non-porous.
- Cleaning: The good news? Most stainless steel attachments are dishwasher safe. You can pop them in for a hassle-free clean. They are resistant to rust, corrosion, and discoloration.
Coated or Burnished Aluminum (The Tricky One)
Here’s where many bakers go wrong. Many standard attachments, particularly the flat beater and dough hook that come with popular models like the KitchenAid Classic or Artisan series, are made of aluminum with a polyester coating (usually white or gray) or are “burnished” (a matte, uncoated finish).
- Characteristics: Lighter than steel, with a matte or coated finish. The burnished aluminum looks dull and feels slightly rougher than stainless steel.
- Cleaning: Crucial warning: These are almost never dishwasher safe. The combination of high heat and harsh detergents in a dishwasher can cause the coating to chip or, worse, cause the uncoated aluminum to oxidize. This oxidation is the dreaded gray or black powdery residue that can rub off into your food. Always hand wash these with warm, soapy water.
Nylon or Plastic (The Modern Addition)
Some newer models or specialized attachments, like flex-edge beaters, have plastic components or are made entirely of durable nylon.
- Characteristics: Lightweight, often featuring a flexible silicone or rubber edge.
- Cleaning: Generally, these are top-rack dishwasher safe, but it’s always best to check your manual. The high heat of a bottom rack’s heating element could potentially warp them over time.
According to kitchen appliance engineer David Chen, “The biggest mistake users make is assuming all metal attachments are the same. Dishwasher detergent is highly alkaline, which reacts with aluminum to create aluminum oxide. It’s a simple chemical reaction that can permanently damage your beater or dough hook.”
The Step-by-Step Guide on How to Clean Stand Mixer Attachments
Now that you’ve identified your attachment’s material, let’s get down to the nitty-gritty of the cleaning process. Following these steps will keep them in prime condition.
- Act Immediately (Don’t Procrastinate!)
The longer batter, dough, or frosting sits on your attachments, the harder it becomes to remove. Think of it like cement. Freshly mixed batter will rinse off easily, but day-old, dried-on dough requires a chisel and some serious elbow grease. As soon as you’re done using it, detach it from the mixer. - The Initial Rinse
Run the attachment under warm water immediately after use. Use a spatula to scrape off any large clumps first. This simple step does about 80% of the work for you and prevents food from drying and hardening in all those nooks and crannies, especially on a wire whisk. - To Dishwash or Not to Dishwash?
This is the critical decision point based on the material we discussed above.- Stainless Steel? Go for it. Place it securely in the dishwasher.
- Coated or Burnished Aluminum? Absolutely not. Proceed to hand washing.
- Nylon or Flex Edge? Check the manual. If it’s a go, place it on the top rack.
- The Art of Hand Washing
For your non-dishwasher-safe attachments, this is the gold standard.- Fill a sink with warm water and a few drops of standard dish soap.
- Use a soft sponge or cloth to gently scrub the entire surface. Avoid abrasive scourers or steel wool, as they can scratch the coating.
- For a wire whisk, pay special attention to the area where the tines connect to the hub—that’s where batter loves to hide.
- Rinse thoroughly with clean, warm water to remove all soap residue.
- Dry immediately and completely with a clean towel. Air drying can lead to water spots or, in the case of any exposed aluminum, increase the risk of oxidation.
Tackling Tough Jobs: Stubborn Residue and Stains
Even with the best intentions, sometimes life gets in the way and you’re left with a cleaning challenge. Don’t worry, your trusty kitchen appliance attachments are salvageable.
For Dried-On Dough and Batter
If you forgot to clean an attachment right away, resist the urge to attack it with a knife or metal scraper.
- Soak it: Submerge the attachment in a bowl of hot, soapy water for 20-30 minutes. This will soften and rehydrate the dried-on food.
- Gently Scrub: After soaking, the residue should come off much more easily with a non-abrasive sponge or a gentle scrub brush.
Dealing with Oxidation on Aluminum Attachments
Did you or someone in your house accidentally put an aluminum attachment in the dishwasher? You’re probably seeing that chalky, dark gray residue. Here’s how to fix it:
- Create a paste using equal parts water and baking soda or cream of tartar.
- Apply the paste generously all over the affected areas of the attachment.
- Let it sit for about 15-20 minutes.
- Use a soft-bristled brush (an old toothbrush works wonders) to gently scrub the attachment. You should see the residue start to lift.
- Rinse thoroughly and dry completely. It may not look perfectly new, but this will remove the oxidation that can transfer to your food.
This process is somewhat similar to the techniques used for maintaining the mixer’s body. For anyone interested in keeping the entire machine looking its best, you might find our guide on how to polish stainless steel stand mixer particularly helpful.
Greasy Residue (Hello, Buttercream!)
Fats from butter, shortening, or oil can leave a stubborn, greasy film. If regular soap isn’t cutting it:
- Add a splash of white vinegar to your warm, soapy water. The acid in the vinegar is excellent at cutting through grease.
- Wash as usual, rinse well, and dry. The vinegar smell will dissipate completely once rinsed.
Why Proper Cleaning is More Than Just About Looks
Knowing how to clean stand mixer attachments properly isn’t just for aesthetics. It has a direct impact on your baking and the longevity of your machine. Regular maintenance is key; for those who are serious about upkeep, understanding the machine’s internal mechanics, such as knowing what is the mixer grease for, can provide a deeper appreciation for the appliance.
- Food Safety: Caked-on old food particles can harbor bacteria, leading to cross-contamination between bakes.
- Performance: A clean whisk incorporates air more efficiently for fluffier meringues. A clean dough hook kneads without dragging old, crusty bits into your fresh dough.
- Longevity: Preventing oxidation and chipping on your attachments means you won’t have to replace them. It’s an investment in your investment.
If you find that cleaning doesn’t resolve performance issues, it could signal a different problem. For a more comprehensive look at potential issues, our guide on how to troubleshoot a stand mixer can help diagnose the problem. Sometimes, the solution is as simple as maintenance you can do at home, and for that, learning how to lubricate a kitchenaid mixer is an invaluable skill.
Frequently Asked Questions
Can I put my KitchenAid dough hook in the dishwasher?
It depends entirely on the model and material. The standard white coated or burnished aluminum hooks are not dishwasher safe. However, many of the newer or professional-grade models come with stainless steel attachments that are perfectly safe for the dishwasher. Always check your user manual to be certain.
How do I remove the black residue from my stand mixer beater?
That black or gray residue is almost always oxidation from an aluminum beater being washed in a dishwasher. To remove it, make a paste of baking soda and water, scrub it gently onto the beater, let it sit, and then rinse it off. Hand wash it from now on!
What’s the best soap for hand washing stand mixer attachments?
Any standard liquid dish soap will work perfectly. The key is to use a non-abrasive sponge or cloth to avoid scratching any coated surfaces.
How often should I deep clean my attachments?
A thorough hand washing after each use is typically sufficient. A “deep clean” using the baking soda paste method is only necessary if you’re dealing with oxidation or extremely stubborn, caked-on residue.
Will vinegar damage my stand mixer attachments?
A diluted white vinegar solution (a splash in your sink water) is perfectly safe for all attachment materials and is excellent for cutting grease. Avoid prolonged soaking in pure vinegar, as its acidity could potentially affect coated surfaces over time.
In the end, your stand mixer is the heart of your kitchen. Its attachments are the versatile hands that knead, whip, and mix your creations to life. Taking a few extra moments for a proper cleaning routine is the simplest way to show your gratitude. Learning how to clean stand mixer attachments correctly is a small skill that pays huge dividends in flavor, performance, and durability for years to come.