Welcome to the heart of your kitchen, where your stand mixer is about to perform a little bit of everyday magic. If you’ve ever looked at that beautiful machine on your counter and wondered what it’s truly capable of, you’re in for a treat. Today, we’re diving into one of the most satisfying and surprisingly simple kitchen projects: learning How To Make Butter In Stand Mixer. Forget the store-bought stuff; we’re talking about creamy, rich, homemade butter that will elevate everything from your morning toast to your most ambitious baking projects. This is more than a recipe; it’s a rite of passage for every stand mixer owner.
Ready to transform one simple ingredient into two delicious products? Let’s get churning. Understanding the versatility of your appliance is key, and it goes far beyond just this task. For a broader look at its capabilities, it’s worth exploring the question of can you use a stand mixer for everything, as it opens up a world of culinary possibilities.
Why Bother Making Your Own Butter?
I get it. You can buy butter at any store. But hear me out. The first time I made my own, the difference was night and day. It’s not just about flavor—though the taste is unbelievably fresh and creamy. It’s about control.
- Pure Ingredients: You know exactly what’s in it: cream, and a pinch of salt if you like. No preservatives, no unpronounceable additives.
- Superior Flavor and Texture: Homemade butter has a richness that is hard to match. It’s softer, more spreadable, and has a clean, pure dairy taste.
- You Get Buttermilk! The “waste” product of butter making is genuine, old-fashioned buttermilk—a baker’s secret weapon for tender scones, fluffy pancakes, and moist cakes. It’s liquid gold!
- It’s Surprisingly Easy: This is one of those high-reward, low-effort tasks that makes you look like a culinary genius. Your stand mixer does all the heavy lifting.
What You’ll Need: The Bare Essentials
The beauty of this process is its simplicity. You don’t need a long list of fancy ingredients.
Ingredients:
- Heavy Whipping Cream: This is the star of the show. Use the best quality you can find, with at least 35% fat content. The higher the fat, the more butter you’ll yield. Do not use half-and-half or regular milk; it won’t work. For a quart (about 1 liter) of cream, you’ll get roughly a pound of butter and two cups of buttermilk.
- Salt (Optional): A pinch of fine sea salt enhances the flavor and acts as a preservative.
- Ice Water: You’ll need this at the end to “wash” the butter.
Equipment:
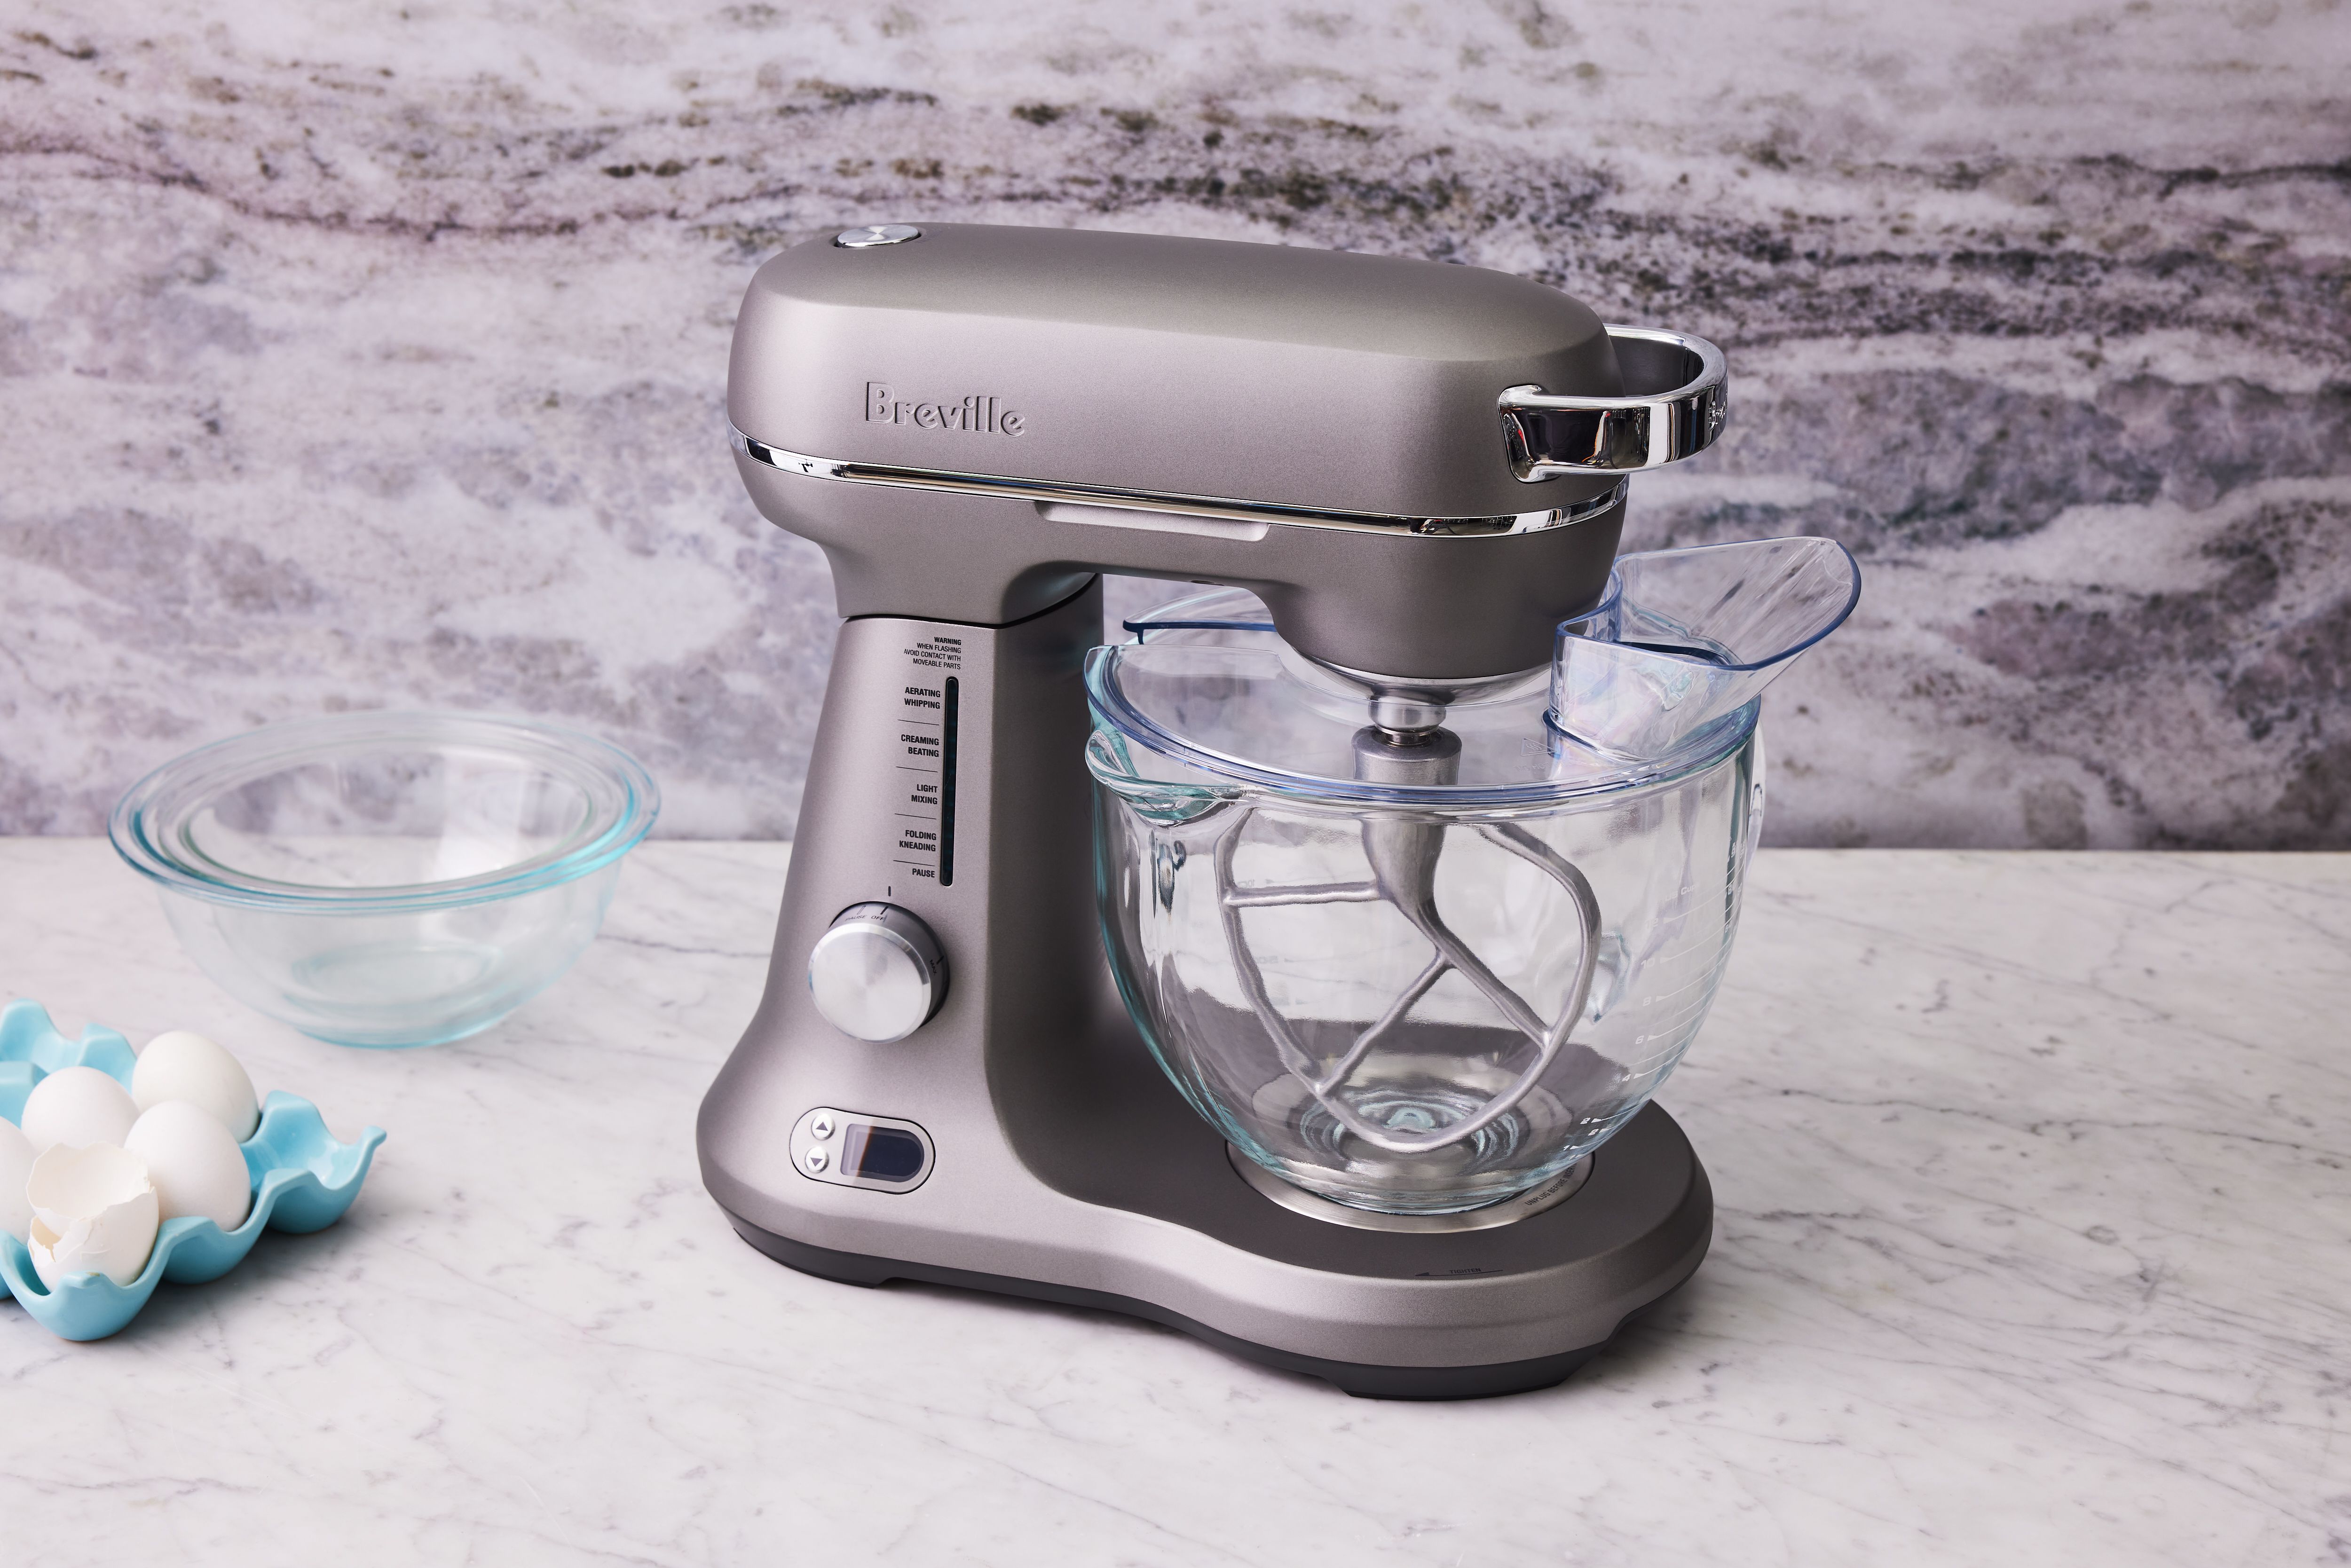
- A Stand Mixer: The hero of our story.
- The Whisk Attachment: This is ideal for incorporating air and whipping the cream through its initial stages.
- A Splash Guard or Kitchen Towel: Trust me on this one. Things can get messy.
- A Large Bowl, Cheesecloth, or Fine-Mesh Sieve: For separating the butter from the buttermilk.
How to Make Butter in a Stand Mixer: A Step-by-Step Guide
Alright, let’s walk through the process. It’s fascinating to watch the cream transform. Pay close attention to the different stages—it’s like a science experiment you can eat!
Step 1: Chill Everything
For the best results, start with very cold cream. I even like to chill my stand mixer bowl and the whisk attachment in the fridge for about 15-20 minutes before I begin. Cold temperatures help the fat globules in the cream solidify and clump together more efficiently.
Step 2: Pour and Start Mixing
Pour your cold heavy cream into the chilled bowl. Secure the bowl to the stand mixer base, attach the whisk, and lock the mixer head in place. Drape a kitchen towel over the top or use a splash guard.
Start the mixer on a low-to-medium speed (around setting 2 or 4 on a KitchenAid). The goal here is just to get things moving without flinging cream all over your kitchen walls. For new users, understanding your machine’s power at lower settings is crucial; exploring details on what is the slowest speed for can be incredibly helpful for tasks requiring delicate control.
Step 3: The Whipping Stages
Now, increase the speed to medium-high (around 6 or 8). You’re about to witness the classic stages of whipped cream:
- Soft Peaks: After a few minutes, the cream will thicken and hold a soft shape that flops over when you lift the whisk.
- Stiff Peaks: A couple of minutes later, you’ll have perfect whipped cream. The peaks will stand straight up. This is where you’d normally stop for dessert. But we’re going further.
Expert Tip from Pastry Chef Amelia Evans: “Don’t be afraid to keep going! Many home bakers panic when they see their perfect whipped cream start to look grainy. That’s not a mistake; it’s the sign that you’re just moments away from making butter.”
Step 4: The “Breaking” Point and the Magic Moment
Keep the mixer running. The cream will start to look a bit yellow and clumpy, almost like it’s curdled. This is exactly what you want! Suddenly, you’ll hear a change in the sound of the mixer. Instead of a soft whipping sound, you’ll hear a slapping sound.
This is it! The fat solids have finally separated from the liquid. You’ll see clumps of yellow butter and a thin, milky liquid—the buttermilk—sloshing around in the bottom of the bowl. Stop the mixer immediately.
Step 5: Separate the Butter and Buttermilk
Carefully pour the contents of the bowl through a fine-mesh sieve or a colander lined with cheesecloth, catching the precious buttermilk in a bowl below. Gently press on the butter solids with a spatula to squeeze out as much liquid as possible.
Save that buttermilk! It’s fantastic for baking. In fact, if you want a perfect weekend breakfast, you should learn how to use stand mixer for pancakes using your fresh buttermilk.
Step 6: Wash the Butter
This is the most important step for long-lasting, sweet-tasting butter. Any buttermilk left in the butter will cause it to spoil quickly.
- Place the butter solids back in the (now empty) mixer bowl, or just use a separate clean bowl.
- Pour about a cup of ice-cold water over the butter.
- Using a spatula or your clean hands, knead the butter in the water. The water will become cloudy.
- Pour off the cloudy water and repeat the process with fresh ice water until the water runs clear. This usually takes 2-3 rinses.
Step 7: Add Salt and Shape
Once washed, knead the butter one last time to squeeze out any remaining water. If you want salted butter, now is the time to add a pinch of salt and mix it in evenly.
You can then shape your butter into a log using parchment paper, press it into a mold, or simply store it in an airtight container.
Pro Tips for Perfect Results
- Use a Splash Guard: I can’t stress this enough. When the cream breaks, buttermilk will fly everywhere. A splash guard or a well-placed towel is your best friend.
- Don’t Overfill: Use a bowl that’s large enough. Cream will double in volume as it whips. A good rule is to not fill your bowl more than halfway with liquid cream.
- Calibrate Your Mixer: For peak performance in any task, ensuring your beater is at the right height is essential. For those interested in perfecting their machine’s setup, understanding what is the dime test for a kitchenaid mixer provides invaluable insight into proper calibration.
Once you’ve mastered homemade butter, you’ll want to use it in everything. Its creamy texture is particularly amazing for baking. For instance, using it as a base for buttercream is a game-changer, and you can see a perfect application in our guide on how to make frosting with stand mixer.
Frequently Asked Questions (FAQ)
How long does it take to make butter in a stand mixer?
It typically takes between 10 to 20 minutes. The exact time depends on the freshness and temperature of your cream, the fat content, and the speed of your mixer.
What is the best stand mixer attachment for making butter?
The whisk attachment is best for the initial whipping stages to incorporate air quickly. Some people switch to the flat beater (paddle) attachment after stiff peaks form to help churn the butter and reduce splashing, but the whisk will work for the entire process.
Can I use regular whipping cream instead of heavy cream?
You can, but heavy cream (or heavy whipping cream) with a fat content of 35% or higher will yield more butter and separate more easily. Regular whipping cream has a slightly lower fat content (30-35%).
How much butter does 1 quart (4 cups) of heavy cream make?
One quart of heavy cream will yield approximately 1 pound (450g) of butter and about 2 cups of buttermilk.
How should I store homemade butter?
Store it in an airtight container in the refrigerator. If you’ve washed it thoroughly, it should last for up to two to three weeks. You can also freeze it for several months.
Your Stand Mixer: More Than Just a Mixer
There you have it—a complete guide on how to make butter in stand mixer. This simple process not only gives you a delicious end product but also deepens your appreciation for what this powerful kitchen appliance can do. It’s a workhorse that, with the right knowledge, can unlock a new level of creativity and quality in your home cooking and baking. So go ahead, grab some cream, and give it a whirl. You might just find your new favorite kitchen project.