Let’s be honest, dreaming of silky, cloud-like buttercream is one thing; achieving it with a hand mixer while your arm feels like it’s about to fall off is another. If you’re ready to elevate your baking game, learning How To Make Buttercream Stand Mixer style is the single biggest upgrade you can make. It’s the secret weapon that turns a chore into a creative joy. I still remember the first time I used my stand mixer for frosting—the effortless power, the perfect consistency—it was a revelation. Are you ready to say goodbye to lumpy, grainy frosting forever?
This guide is your new best friend. We’re going to walk through every step, from picking the right attachment to troubleshooting those pesky buttercream blunders. By the end, you’ll be whipping up professional-quality buttercream that will have everyone asking for your secret.
Why Your Stand Mixer is Your Buttercream Best Friend
Before we dive into the “how,” let’s talk about the “why.” What makes a stand mixer so much better for this task than elbow grease and a whisk? It’s all about power, consistency, and freedom.
- Effortless Power: A stand mixer’s motor is a workhorse. It can cream cold butter and mountains of powdered sugar into submission without breaking a sweat. This consistent power is crucial for breaking down sugar crystals and properly aerating the butter, creating a texture that’s impossible to replicate by hand.
- Planetary Mixing Action: This sounds fancy, but it’s simple and brilliant. The beater spins on its own axis while also traveling in a circle around the bowl. Think of the Earth orbiting the Sun while also spinning. This ensures every last bit of butter and sugar on the sides and bottom of the bowl gets incorporated, leading to a perfectly homogenous mixture. No more surprise lumps!
- Hands-Free Heaven: This is the real game-changer. While the mixer does the hard work, you’re free to measure out your vanilla, prep your piping bags, or simply sip your coffee. You can gradually add ingredients without juggling a heavy hand mixer.
Gearing Up: Essential Attachments and Ingredients
Success starts with the right tools and ingredients. Having everything ready to go—what chefs call mise en place—makes the process smooth and stress-free.
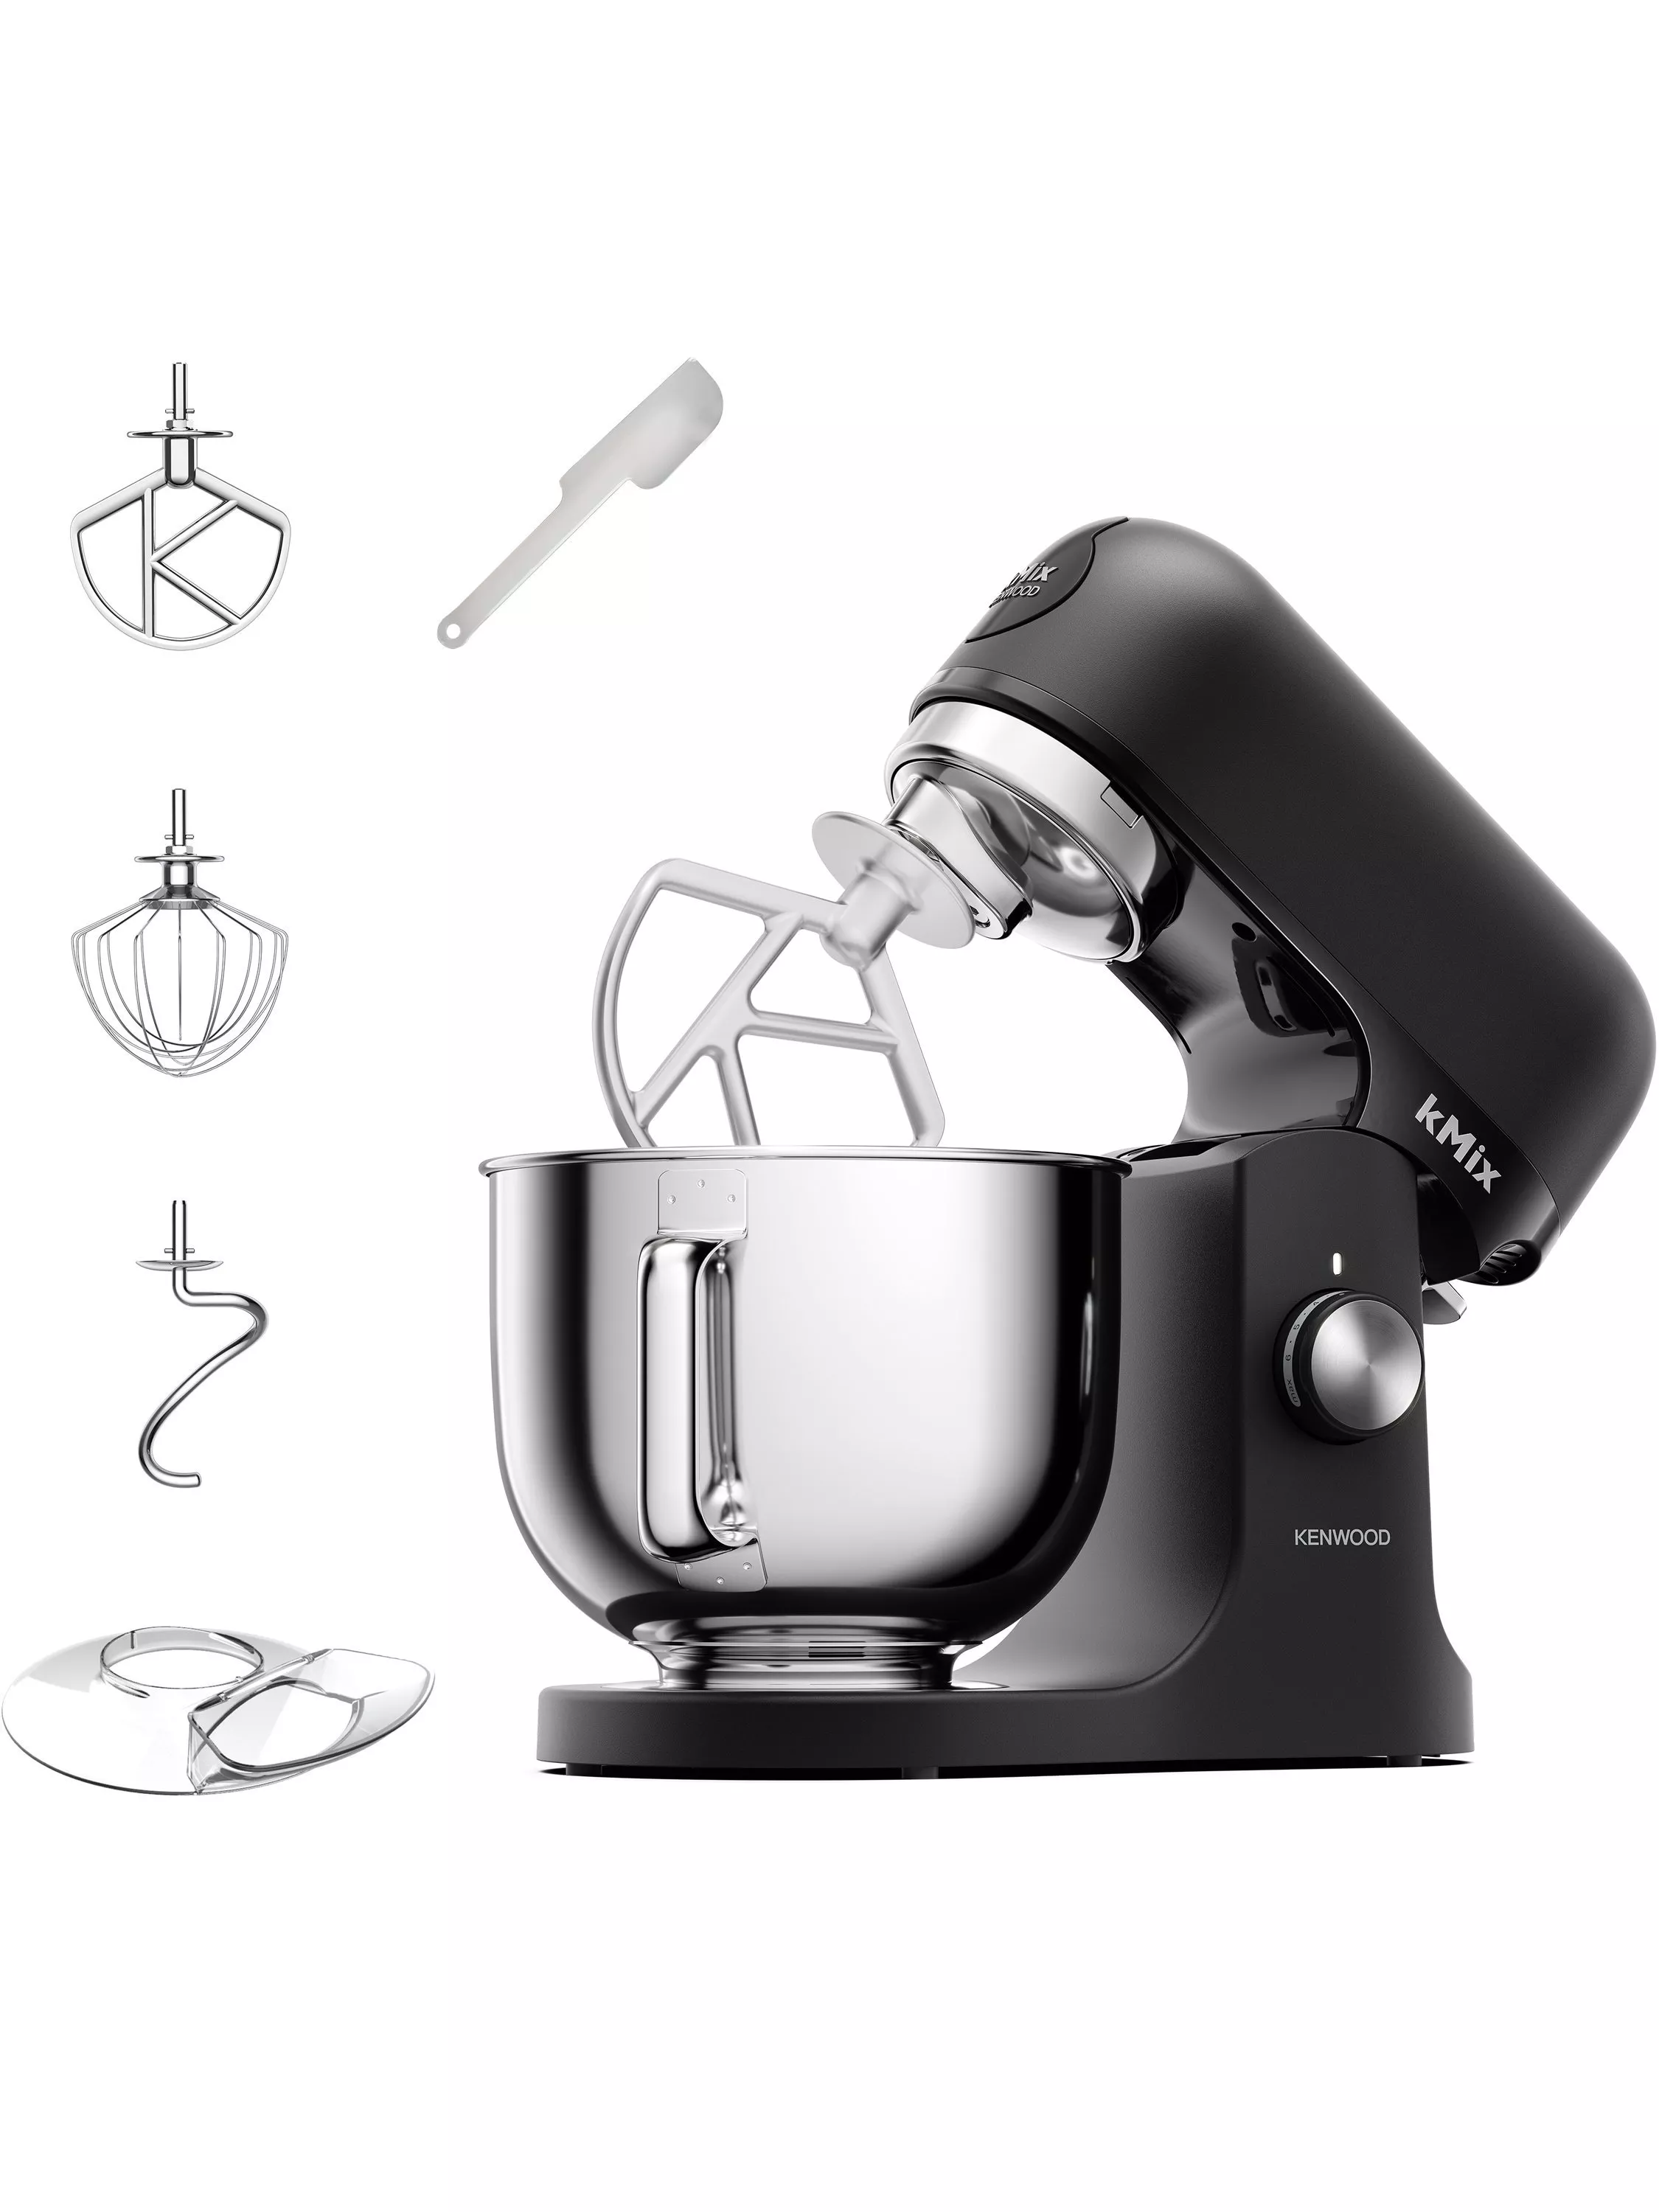
Choosing Your Weapon: The Paddle vs. The Whisk
Your stand mixer likely came with a few key attachments. For buttercream, the two main contenders are the flat paddle and the wire whisk. Which one should you use?
- The Flat Paddle Attachment: This is your primary tool for making American buttercream. Its job is to cream, mix, and combine ingredients without incorporating too much air. This prevents your buttercream from becoming airy and full of bubbles, which can make it difficult to get a smooth finish on a cake. The paddle is essential for the initial stage of creaming butter and sugar. To truly master this versatile tool for more than just frosting, understanding how to use paddle attachment is a fundamental skill for any stand mixer owner.
- The Wire Whisk (or Wire Whip): This attachment is designed to incorporate a lot of air. It’s perfect for whipping egg whites into meringue or cream into, well, whipped cream. You can use it at the very end of making buttercream for a few minutes to make it extra light and fluffy, but using it for the whole process can create an unstable, bubble-filled frosting.
The Pro Verdict: Start with the paddle attachment for 90% of the process. If you want an extra-fluffy texture, switch to the wire whisk for the final 1-2 minutes of whipping.
|
Our Picks for the Best Stand Mixer in 2026
As an Amazon Associate, we earn from qualifying purchases.
|
||
| Num | Product | Action |
|---|---|---|
| 1 | DASH Tilt-Head 3.5qt Stand Mixer 12 Speeds with Paddle, Dough Hook, and Whisk Attaachments - Cream |

|
| 2 | KitchenAid 7 Quart Bowl-Lift Stand Mixer |
|
| 3 | Kitchen in the box Stand Mixer,3.2Qt Small Electric Food Mixer,6 Speeds Portable Lightweight Kitchen Mixer for Daily Use with Egg Whisk,Dough Hook,Flat Beater (Blue) |
|
| 4 | Instant Pot Stand Mixer Pro,600W 10-Speed Electric Mixer with Digital Interface,7.4-Qt Stainless Steel Bowl,From the Makers of Instant Pot,Dishwasher Safe Whisk,Dough Hook and Mixing Paddle,Silver |
|
| 5 | 6-in-1 Multifunctional Stand Mixer, 5.3Qt 660W, 6-Speed Tilt-head, Electric Kitchen Mixer with Stainless Steel Bowl,Meat Grinder, Juice Blender (Black) |
|
| 6 | Stand Mixer | Powerful 660W Motor | Large 6.5 Qt. Bowl | 6-Speed Control | Dishwasher-Safe Attachments | Tilt-Head Design | Perfect for Home Bakers (Red) |
|
| 7 | KitchenAid Classic Series 4.5 Quart Tilt-Head Stand Mixer K45SS, White |
|
| 8 | KitchenAid Artisan Series 5 Quart Tilt Head Stand Mixer with Pouring Shield KSM150PS, Blue Velvet |
|
| 9 | Kitchen in the box Stand Mixer, 900W 8.5QT Kitchen Electric Mixer, 6-Speed Large Capacity Food Mixer for Home Cooks with Egg Whisk, Dough Hook & Flat Beater (Black) |
|
| 10 | COOKLEE 6-IN-1 Stand Mixer, 8.5 Qt. Multifunctional Electric Kitchen Mixer with Beater, Whisk, Dough Hook, Meat Grinder and Other Accessories for Most Home Cooks, SM-1507BM, Silvery |
|
The A-List Ingredients
Great buttercream is made from simple, high-quality ingredients.
- Unsalted Butter: Use good quality, full-fat butter. It should be softened to room temperature—not melted or greasy. A good test is to press it with your finger; it should leave an indent without your finger sinking all the way through.
- Powdered Sugar: Also known as confectioners’ or icing sugar. Sifting it beforehand is a non-negotiable step to prevent lumps.
- Heavy Cream or Milk: This adjusts the consistency. Cream will give a richer result, while milk is perfectly fine. Have it at room temperature.
- Vanilla Extract: Pure vanilla extract provides the best flavor. Avoid imitation vanilla if you can.
- A Pinch of Salt: This is crucial! Salt balances the sweetness and brings out the flavor of the butter and vanilla.
The Ultimate Guide: How to Make Buttercream Stand Mixer Method
Alright, your ingredients are ready, your mixer is on the counter, and you’re ready to create magic. Let’s do this step-by-step. This recipe makes enough to frost about 24 cupcakes or a two-layer 8-inch cake.
Ingredients:
- 1 cup (227g) unsalted butter, softened
- 3-4 cups (360-480g) powdered sugar, sifted
- 1/4 cup (60ml) heavy cream or whole milk, room temperature
- 2 teaspoons pure vanilla extract
- 1/4 teaspoon fine sea salt
Instructions:
- Cream the Butter: Secure the mixing bowl and the paddle attachment to your stand mixer. Add the softened butter to the bowl. Start on a low speed (like ‘2’ on a KitchenAid) for about 30 seconds to break it up, then increase to a medium speed (‘4’ or ‘6’). Let it beat for a full 3-5 minutes. You’re looking for the butter to become visibly lighter in color and fluffy in texture. Don’t rush this step! This is where you build the foundation for great buttercream.
- Add the Sugar Gradually: Turn the mixer down to its lowest speed. Add the sifted powdered sugar one cup at a time, waiting for each cup to be mostly incorporated before adding the next. This prevents the dreaded “sugar cloud” from dusting your entire kitchen.
- Scrape and Mix: Once all the sugar is added, stop the mixer and use a spatula to scrape down the sides and bottom of the bowl. This ensures there are no pockets of unmixed butter or sugar.
- Add Flavor and Liquid: With the mixer on low, pour in the vanilla extract and salt. Slowly drizzle in the heavy cream or milk.
- Whip It Good: Once the liquid is incorporated, increase the speed to medium-high (‘6’ or ‘8’) and let it whip for another 3-5 minutes. The buttercream will transform, becoming incredibly light, fluffy, and smooth. This is the moment of magic.
- Check Consistency: Stop and check the texture. If it’s too stiff, add more cream, one teaspoon at a time. If it’s too thin, add more sifted powdered sugar, a quarter cup at a time, until you reach your desired consistency.
As renowned pastry chef Elena Vance often says, “Perfect buttercream isn’t about a complicated recipe; it’s about temperature and technique. Your stand mixer handles the technique, so your only job is to make sure your butter is perfectly softened, not melted. That’s 90% of the battle won.”
Troubleshooting Common Buttercream Calamities
Even with a stand mixer, things can sometimes go sideways. Don’t panic! Almost any buttercream issue is fixable.
Why is My Buttercream Curdled or Soupy?
This almost always means the butter was too warm, or your liquid was too cold, causing the emulsion to break. It will look separated or curdled.
The Fix: The solution is simple: chill it. Place the entire mixing bowl in the refrigerator for 20-30 minutes, until the frosting is firm around the edges. Then, put it back on the mixer and whip it on medium-high speed. It should come back together into a smooth, cohesive frosting.
Help! My Buttercream is Grainy!
A grainy texture is usually caused by undissolved sugar. This can happen if you didn’t sift your sugar or didn’t mix it long enough.
The Fix: Just keep mixing! Let the stand mixer run on medium speed for another 5-7 minutes. The friction and motion will help break down the last of the sugar crystals. If that doesn’t work, adding an extra tablespoon of liquid can also help dissolve the sugar.
How Do I Fix Buttercream That Tastes Too Sweet?
If your buttercream is overwhelmingly sweet, a simple pinch of salt is your first line of defense.
The Fix: Add an extra pinch of salt and mix it in. If it’s still too sweet, a tiny squeeze of lemon juice (about 1/4 teaspoon) can cut through the sweetness without making it taste lemony. These tips are applicable for many different recipes, and many share common troubleshooting steps. In fact, these principles are very similar to what we cover in our comprehensive guide on how to make frosting with stand mixer, which explores other types of frosting as well.
Keeping Your Kitchen Sidekick in Top Shape
A stand mixer is an investment, and a little care goes a long way. After making your delicious buttercream, cleaning up is easy.
- Disassemble: Remove the attachment and the bowl from the mixer.
- Soak if Needed: Scrape out as much frosting as you can with a spatula. If the buttercream is greasy, fill the bowl with hot, soapy water and let it sit for a few minutes to dissolve the fat.
- Wash: Most stainless steel bowls and standard attachments (like the paddle and whisk) are dishwasher safe (top rack recommended). Always check your manufacturer’s manual to be sure.
- Wipe Down the Machine: Use a damp cloth to wipe down the body of the mixer, paying attention to the attachment hub and crevices where flour or sugar might have flown. Never submerge the mixer base in water.
- Store Properly: Store your clean, dry attachments inside the bowl to keep everything together for your next baking adventure.
Learning how to make buttercream stand mixer style is more than just a recipe; it’s a technique that unlocks a new level of baking. It’s about achieving consistency, saving time, and getting that professional, delicious result every single time. This powerful kitchen appliance truly is the key to effortless, perfect frosting. Now go forth and frost! We’d love to hear about your buttercream creations in the comments below.