Let’s talk about cookies. That warm, gooey, straight-from-the-oven goodness that can turn any day around. But before you get to the prize, there’s the process. I remember my early baking days, arm aching from creaming butter and sugar with a wooden spoon. It was a workout! That all changed when I got my first stand mixer. If you’re wondering how to make cookie dough in a stand mixer, you’re not just looking for a recipe; you’re looking to unlock a new level of baking consistency and joy. This kitchen appliance is more than just a motor and a bowl; it’s your secret weapon for perfect cookies, every single time.
Are you ready to say goodbye to tired arms and hello to effortless, perfectly mixed dough? A stand mixer isn’t just about convenience; it’s about control and precision, turning a good recipe into a great one. Understanding the versatility of this machine is key; for those curious about its full potential, exploring if you can you use a stand mixer for everything provides a great overview of its capabilities. Let’s dive into the nitty-gritty of making flawless cookie dough.
Why a Stand Mixer is a Game Changer for Cookies
Before we get to the “how,” let’s cover the “why.” Using a stand mixer for cookie dough isn’t just faster; it’s fundamentally better for several reasons:
- Superior Creaming: The single most important step for many cookie recipes is creaming butter and sugar. A stand mixer, with its power and planetary mixing action (where the beater spins on its axis while also orbiting the bowl), does this far more effectively than you can by hand. It whips thousands of tiny air pockets into the mixture, which is the foundation for a light, well-risen cookie texture.
- Consistent Incorporation: It ensures every ingredient is evenly distributed. No more surprise pockets of flour or unincorporated butter. This consistency is the hallmark of a professional baker.
- Hands-Free Efficiency: While the mixer is doing the heavy lifting, you’re free to measure out your next ingredients, prep your baking sheets, or even just sip your coffee. It transforms your workflow in the kitchen.
- Temperature Control: Overworking dough by hand can transfer heat from your hands, melting the butter and leading to greasy, flat cookies. A stand mixer keeps the dough at a more stable temperature.
|
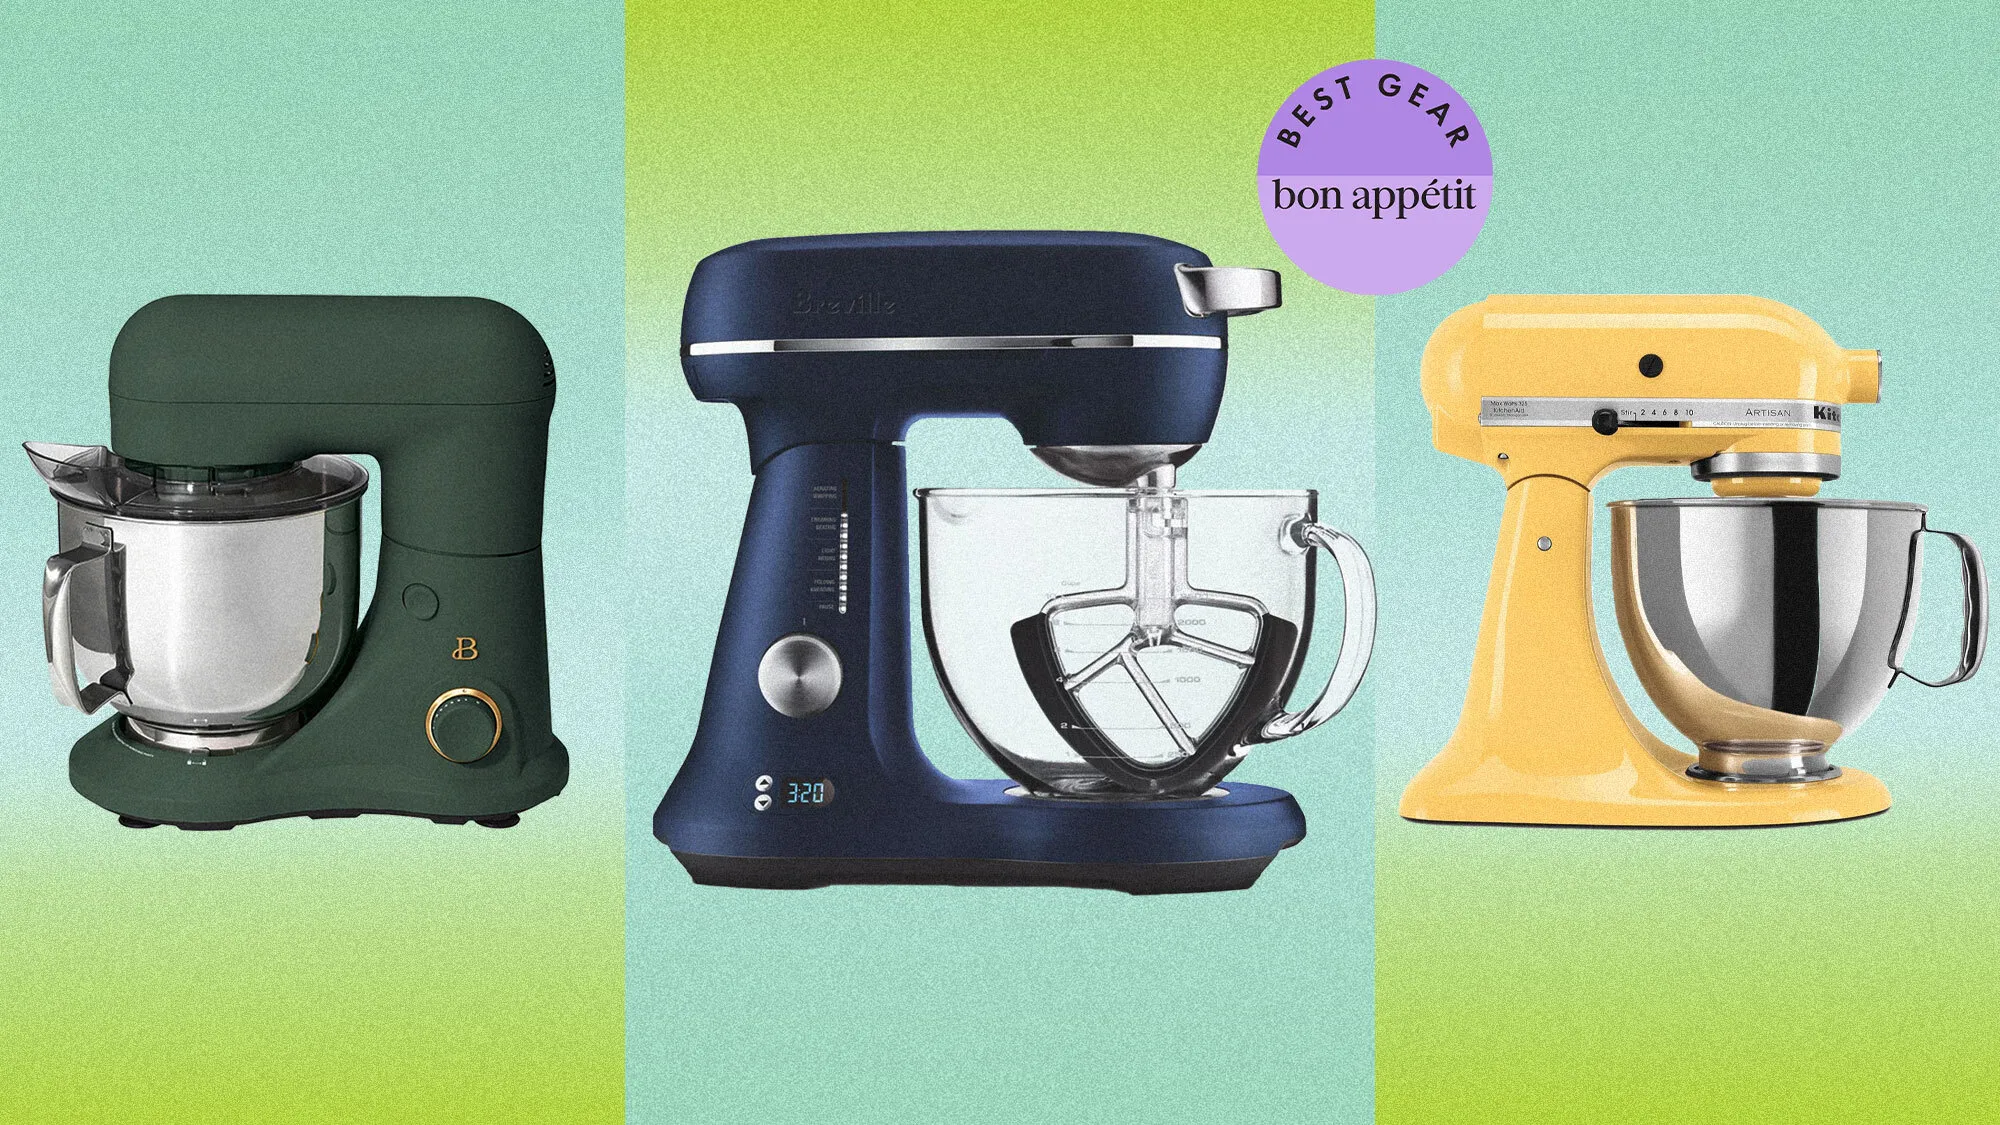
Our Picks for the Best Stand Mixer in 2026
As an Amazon Associate, we earn from qualifying purchases.
|
||
| Num | Product | Action |
|---|---|---|
| 1 | Instant Pot Stand Mixer Pro,600W 10-Speed Electric Mixer with Digital Interface,7.4-Qt Stainless Steel Bowl,From the Makers of Instant Pot,Dishwasher Safe Whisk,Dough Hook and Mixing Paddle,Silver |

|
| 2 | 6-in-1 Multifunctional Stand Mixer, 5.3Qt 660W, 6-Speed Tilt-head, Electric Kitchen Mixer with Stainless Steel Bowl,Meat Grinder, Juice Blender (Black) |
|
| 3 | KitchenAid Classic Series 4.5 Quart Tilt-Head Stand Mixer K45SS, White |
|
| 4 | Kitchen in the box Stand Mixer,3.2Qt Small Electric Food Mixer,6 Speeds Portable Lightweight Kitchen Mixer for Daily Use with Egg Whisk,Dough Hook,Flat Beater (Blue) |
|
| 5 | Kitchen in the box Stand Mixer, 900W 8.5QT Kitchen Electric Mixer, 6-Speed Large Capacity Food Mixer for Home Cooks with Egg Whisk, Dough Hook & Flat Beater (Black) |
|
| 6 | KitchenAid 7 Quart Bowl-Lift Stand Mixer |
|
| 7 | DASH Tilt-Head 3.5qt Stand Mixer 12 Speeds with Paddle, Dough Hook, and Whisk Attaachments - Cream |
|
| 8 | COOKLEE 6-IN-1 Stand Mixer, 8.5 Qt. Multifunctional Electric Kitchen Mixer with Beater, Whisk, Dough Hook, Meat Grinder and Other Accessories for Most Home Cooks, SM-1507BM, Silvery |
|
| 9 | Stand Mixer | Powerful 660W Motor | Large 6.5 Qt. Bowl | 6-Speed Control | Dishwasher-Safe Attachments | Tilt-Head Design | Perfect for Home Bakers (Red) |
|
| 10 | KitchenAid Artisan Series 5 Quart Tilt Head Stand Mixer with Pouring Shield KSM150PS, Blue Velvet |
|
Your Cookie Dough Toolkit: Understanding the Attachments
Your stand mixer likely came with three main attachments: a whisk, a dough hook, and a flat paddle. For 99% of cookie recipes, you’ll only need one.
The Hero: The Flat Paddle Attachment
This is your go-to tool. The flat paddle is designed for mixing, creaming, and beating normal to heavy batters. Its shape is perfect for cutting through butter, incorporating sugar, and mixing in dry ingredients without developing too much gluten. To truly master this essential tool, getting familiar with how to use paddle attachment effectively will elevate all your baking projects.
The Others (For Context)
- Wire Whisk: Best for whipping air into light mixtures like egg whites for meringue or cream for whipped cream. It’s generally not used for dense cookie dough.
- Dough Hook: This is for kneading yeast doughs like bread or pizza. Using it for cookie dough would overwork the gluten, resulting in tough cookies.
How to Make Cookie Dough in a Stand Mixer: The Step-by-Step Masterclass
Alright, let’s get mixing! We’ll use a classic chocolate chip cookie dough as our example. The principles here apply to most “creamed” cookie doughs.
Step 1: Prep Your Ingredients (Mise en Place)
This is non-negotiable. Before you even touch the mixer, have everything measured and ready.
- Butter: Must be at room temperature. Not melted, not cold. It should be soft enough that your finger leaves an indent. This is crucial for proper creaming.
- Eggs: Also at room temperature. Cold eggs can cause the creamed butter and sugar to seize and look curdled.
- Dry Ingredients: Whisk your flour, baking soda, and salt together in a separate bowl. This ensures the leavening agents are evenly distributed.
Step 2: The Creaming Stage
- Lock your mixing bowl into the stand mixer’s base and attach the flat paddle attachment.
- Add your room temperature butter and sugars (both white and brown, for most recipes) to the bowl.
- Start the mixer on a low speed (usually ‘2’ on a KitchenAid) to combine them without flinging sugar everywhere.
- Once combined, increase the speed to medium (around ‘4’ or ‘6’). Let it run for a solid 3-5 minutes.
Expert Tip from Pastry Chef Amelia Evans: “Don’t rush the creaming process. You’re looking for a visible change. The mixture should become pale, light, and fluffy. This aeration is what gives cookies their lift and tender crumb. It’s the most common step home bakers shortcut.”
Step 3: Adding Eggs and Vanilla
- With the mixer on medium-low speed, add your eggs one at a time.
- Wait until the first egg is fully incorporated before adding the next. This prevents the emulsion from breaking.
- Add your vanilla extract along with the last egg.
- After the last egg is mixed in, stop the mixer and scrape down the sides and bottom of the bowl with a spatula. This ensures everything is evenly mixed.
Step 4: Incorporating the Dry Ingredients
This is where many people go wrong and create a flour explosion. The key is to go low and slow.
- Turn the mixer to its lowest speed setting. Seriously, the very lowest one. To understand the importance of this, it’s helpful to know what is the slowest speed for on your machine.
- Add your pre-mixed dry ingredients gradually, about one-third at a time.
- Mix only until the flour streaks have just disappeared. Stop. Overmixing at this stage develops gluten, leading to tough, dense cookies instead of tender, chewy ones. One of the biggest challenges is preventing a mess, and there are specific techniques for how to avoid flour flying everywhere that can save you a lot of cleanup time.
Step 5: The Fun Part – Adding Mix-Ins
- Keep the mixer on the lowest speed.
- Gently add your chocolate chips, nuts, or other mix-ins.
- Let the mixer run for just 10-15 seconds, only long enough to distribute them. It’s often better to finish this step with a few folds using a spatula to be safe.
Step 6: Chill Out!
Your dough is now made! Scrape it out of the bowl, wrap it in plastic wrap, and let it chill in the refrigerator for at least 30 minutes, or even overnight. This step is crucial: it allows the butter to solidify (preventing spread) and the flour to hydrate, resulting in a deeper flavor and a much better texture.
Common Problems and Pro-Level Troubleshooting
My dough looks curdled after adding eggs.
This usually happens when your eggs are too cold. It’s mostly a cosmetic issue and often resolves once you add the flour. To prevent it, make sure all ingredients are at room temperature.
My cookies spread too much and are flat.
This can be caused by a few things: butter that was too soft or melted, not chilling the dough, or too much leavening. Using your stand mixer helps control the butter temperature, so the most likely culprit is skipping the chill time.
My cookies are tough and hard.
You overmixed the dough after adding the flour. Remember, once the flour goes in, your goal is to mix as little as possible. The stand mixer is powerful, so it can overwork dough quickly if you’re not paying attention.
Frequently Asked Questions
What speed should I use to make cookie dough in a stand mixer?
Use medium speed (4-6 on a KitchenAid) for creaming butter and sugar. Use a low to medium-low speed (2-4) for incorporating eggs. Always use the lowest possible speed (Stir or 1) when adding dry ingredients to avoid overmixing and creating a flour cloud.
Can I double a cookie recipe in my stand mixer?
Yes, most stand mixers can handle a double batch. Check your mixer’s manual for its maximum capacity. A standard 5-quart tilt-head mixer can typically handle dough for about 9 dozen cookies. Don’t overfill the bowl, as it won’t mix ingredients properly.
Why do I need to scrape down the bowl?
The paddle can’t reach every single spot in the bowl. A layer of unmixed butter or flour can stick to the sides and bottom. Failing to scrape the bowl down periodically will result in an inconsistent dough and poorly formed cookies.
Can I use the whisk attachment for cookie dough?
It’s not recommended. The whisk is designed for liquids and light batters. The density of cookie dough can bend or damage the tines of the whisk attachment. Always use the flat paddle.
How long should I cream the butter and sugar?
For most cookie recipes, you should aim for 3-5 minutes on medium speed. The goal isn’t just to combine them but to aerate them. The mixture should look noticeably lighter in color and have a fluffy, almost whipped texture.
Your Partner in Baking Adventures
Learning how to make cookie dough in a stand mixer is a foundational skill that will transform your baking. It’s about leveraging the power of this incredible kitchen appliance to achieve consistent, professional-quality results right in your own home. From perfect cookies to exploring other creations like homemade ice cream with the right attachments, your mixer is a gateway to endless culinary creativity. Now, go forth and bake the best cookies of your life! We’d love to hear about your experiences in the comments below.