Welcome to Stand Mixer Pro, your trusted partner in the kitchen. I remember my early baking days, wrestling with a hand mixer, powdered sugar dusting my entire kitchen like a winter storm, and my arm aching before the frosting was even half-done. The result? Often lumpy, dense, or just… sad. If you’re here, you’re looking for a better way. Learning how to make frosting with a stand mixer is not just an upgrade in technique; it’s a complete transformation of your baking game. Are you ready to say goodbye to inconsistent frosting and hello to silky-smooth, bakery-quality perfection?
That moment I unboxed my first stand mixer, it felt like I’d hired a professional pastry assistant. This powerful kitchen appliance isn’t just about mixing; it’s about precision, aeration, and consistency—the holy trinity of flawless frosting. For those interested in leveraging every part of this incredible machine, understanding the nuances of its primary tools is key. For a comprehensive look at one of the most versatile tools, exploring how to use paddle attachment can truly elevate your results.
Why Your Stand Mixer is a Frosting Game-Changer
Before we dive into the “how,” let’s talk about the “why.” What makes a stand mixer so superior for this task? It boils down to three core advantages that a hand mixer or a wooden spoon just can’t replicate.
- Effortless Power and Consistency: A stand mixer’s motor delivers consistent, hands-free power. This means it can cream cold butter into submission and incorporate mountains of powdered sugar without breaking a sweat. The result is a uniformly smooth texture, free of those dreaded butter lumps.
- Superior Aeration: The magic of a stand mixer lies in its ability to whip air into your ingredients. Its planetary mixing action—where the beater spins on its axis while also orbiting the bowl—ensures every last bit of butter and sugar is aerated, creating a frosting that’s light, fluffy, and voluminous.
- Hands-Free Multitasking: While the mixer is busy whipping your frosting to perfection, your hands are free. You can be measuring your next ingredient, preparing your cake layers, or simply sipping a cup of coffee. It’s efficiency at its finest.
The Right Tools for the Job: Attachments and Prep
Knowing how to make frosting with a stand mixer starts with selecting the right gear. Your mixer likely came with a few key attachments. For frosting, you’ll primarily be choosing between two.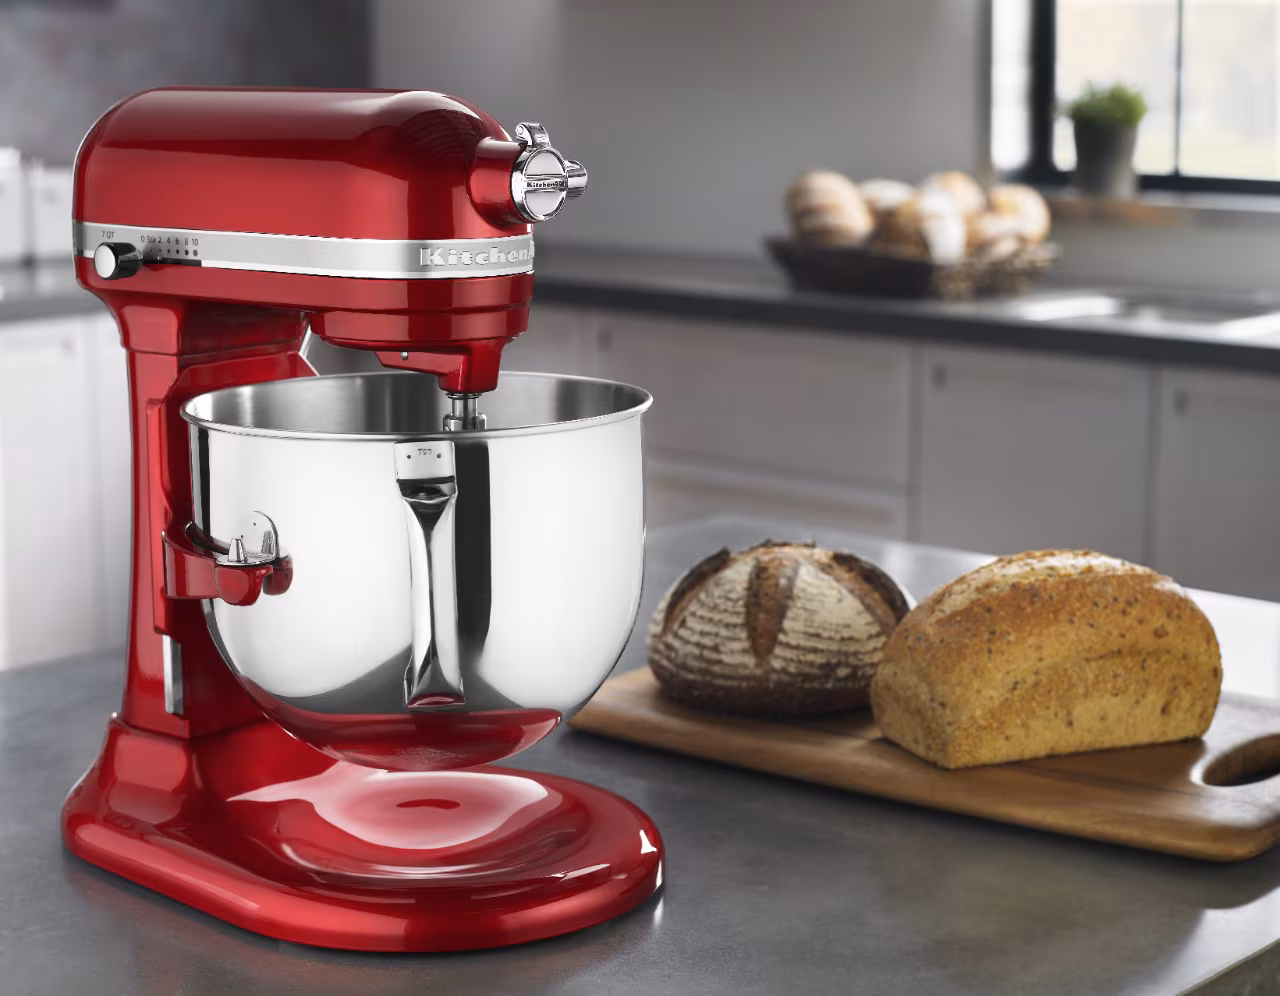
Which Attachment is Best for Making Frosting?
The paddle attachment (or flat beater) is your go-to for most frostings, including American buttercream and cream cheese frosting. Its design is perfect for thoroughly combining ingredients and creaming butter and sugar without incorporating too much air, which can create bubbles in your finished frosting. The whisk attachment, on the other hand, is ideal for lighter, airier frostings like Swiss meringue buttercream or whipped cream frosting, where maximum volume is the goal.
As renowned pastry chef Amelia Thorne often says, “The paddle attachment builds the foundation of your frosting—structure and smoothness. The whisk gives it wings—lightness and air.”
The Golden Rules of Ingredient Prep
Your stand mixer is powerful, but it’s not a miracle worker. The quality of your frosting depends heavily on your prep work.
- Room Temperature is Non-Negotiable: Your butter and/or cream cheese must be at a true room temperature—cool to the touch but soft enough for your finger to leave an indent. Too cold, and it won’t cream properly, leaving you with lumps. Too warm, and your frosting will be a soupy mess.
- Sift Your Sugar: I know, it feels like an extra, fussy step. But trust me on this one. Sifting your powdered sugar is the single best way to guarantee a silky-smooth, non-grainy texture. It removes clumps and helps it dissolve seamlessly.
How to Make Frosting with a Stand Mixer: A Step-by-Step Masterclass
Ready to create the perfect buttercream? Let’s walk through the process. This method is primarily for a classic American buttercream, but the principles apply to most frosting types.
Step 1: Cream the Fat
- Action: Place your room temperature butter (and/or cream cheese) in the bowl of your stand mixer fitted with the paddle attachment.
- Speed: Start on low speed to break up the butter, then increase to medium speed (around a 4 on a KitchenAid).
- Time: Let it beat for a solid 2-3 minutes. You’re looking for a smooth, creamy, and slightly lightened consistency. Don’t rush this step! This is where you’re building the foundation.
Step 2: Gradually Add the Powdered Sugar
- Action: With the mixer running on its lowest speed, add your sifted powdered sugar one cup at a time. Wait for each addition to be mostly incorporated before adding the next. This prevents the dreaded “sugar cloud” from engulfing your kitchen.
- Pro Tip: Once all the sugar is in, stop the mixer and use a spatula to scrape down the sides and bottom of the bowl. This is crucial for ensuring there are no hidden pockets of unmixed butter or sugar.
Step 3: Incorporate Liquids and Flavor
- Action: With the mixer still on low, slowly drizzle in your liquid (milk, heavy cream) and flavorings (vanilla extract, etc.).
- Consistency Check: This is where you control the final texture. Add liquid tablespoon by tablespoon until you reach your desired spreading or piping consistency. It’s easier to thin a frosting than to thicken it!
Step 4: The Final Whip for Fluffiness
- Action: Once everything is combined and the consistency is right, increase the mixer speed to medium-high (a 6 or 8).
- Time: Let it whip for another 3-5 minutes. You’ll see the frosting transform, becoming noticeably lighter in color, fluffier in texture, and increasing in volume. This is the final aeration that gives it that professional, melt-in-your-mouth quality.
Troubleshooting Common Frosting Fails
Even with a powerful kitchen appliance, things can go sideways. Here’s how to fix the most common frosting problems.
- My Frosting is Too Thin/Runny: This usually means your butter was too warm or you’ve added too much liquid. The fix? Add more sifted powdered sugar, a quarter cup at a time, until it thickens. If the issue is warm butter, you can also try chilling the entire bowl in the refrigerator for 15-20 minutes, then re-whipping it.
- My Frosting is Too Thick/Stiff: The solution is simple! With the mixer on low, add more liquid (milk or cream) one teaspoon at a time until you reach the perfect consistency.
- My Frosting is Lumpy: This is almost always caused by butter that was too cold or unsifted powdered sugar. Let the frosting sit at room temperature for about 30 minutes to allow the butter to soften further, then try re-whipping it on medium-high speed.
- My Frosting Tastes Grainy: You likely didn’t mix it long enough for the sugar to fully dissolve. Turn that mixer back on and let it whip on medium for a few more minutes.
Frequently Asked Questions (FAQ)
What stand mixer speed should I use for frosting?
Start on low speed to combine ingredients without making a mess. Use medium speed for creaming butter and sugar. Use medium-high speed for the final whip to make it light and fluffy. Avoid the highest speeds, as they can incorporate too many air bubbles.
Can I over-whip my frosting in a stand mixer?
Yes, especially for buttercream. Over-whipping can incorporate too much air, creating a texture full of bubbles that makes it difficult to get a smooth finish on a cake. Whip until it’s light and fluffy (3-5 minutes at the end), then stop.
Which is better for frosting: the whisk or paddle attachment?
The paddle attachment is best for most common frostings like American buttercream and cream cheese frosting because it combines ingredients smoothly without adding excessive air. The whisk attachment is best for meringue-based or whipped cream frostings where high volume is desired.
Why is my buttercream yellow and not white?
This is due to the natural color of the butter. To achieve a whiter frosting, you can whip the butter for a longer period at the beginning (up to 5-7 minutes) to lighten its color. You can also add a tiny drop of violet food coloring, which counteracts the yellow tones.
How do I store frosting made with a stand mixer?
Store your frosting in an airtight container. It can be kept at room temperature for up to two days if it doesn’t contain cream cheese. For longer storage or for cream cheese frosting, refrigerate for up to a week or freeze for up to three months. Let it come to room temperature and re-whip it in your stand mixer before using.
Mastering how to make frosting with a stand mixer opens up a world of creative possibilities. This incredible machine takes the grunt work out of baking, allowing you to focus on the artistry. By understanding the tools, respecting your ingredients, and following a few simple steps, you can consistently produce frosting that looks and tastes like it came from a high-end bakery. Now, go forth and frost! We’d love to see what you create.