Welcome to the Stand Mixer Pro kitchen! If you’ve ever dreamt of serving up a bowl of authentic, silky-smooth homemade pasta, but the thought of kneading dough by hand left your arms aching in advance, you’ve come to the right place. We’re about to unlock one of your kitchen appliance’s greatest secrets. Learning How To Make Pasta Dough Stand Mixer style is a complete game-changer, turning a laborious task into a moment of culinary magic. Forget the mess and the muscle; your stand mixer is the ultimate sous chef for this job. Ready to transform your weeknight dinners? Let’s dive in.
Why Use a Stand Mixer for Pasta Dough?
Before we get our hands dusty (or rather, keep them clean), let’s talk about the why. Kneading dough by hand is romantic, I get it. But a stand mixer isn’t cheating; it’s working smarter.
A stand mixer offers two huge advantages: consistency and power. The machine’s steady, relentless planetary mixing action ensures the dough is worked evenly from every angle. This develops the gluten structure far more efficiently than human hands ever could. Think of it like this: your mixer is a tireless marathon runner, while hand-kneading is more like a sprint—you might get there, but you’ll be exhausted and the results can be uneven.
The dough hook attachment is specifically designed to mimic the pushing, folding, and stretching motion of hand-kneading. This process creates a strong, elastic dough—the absolute non-negotiable foundation for pasta that has that perfect al dente bite.
Your Arsenal: Ingredients and The Right Tools
Success in the kitchen starts with having the right gear. Don’t worry, you don’t need much.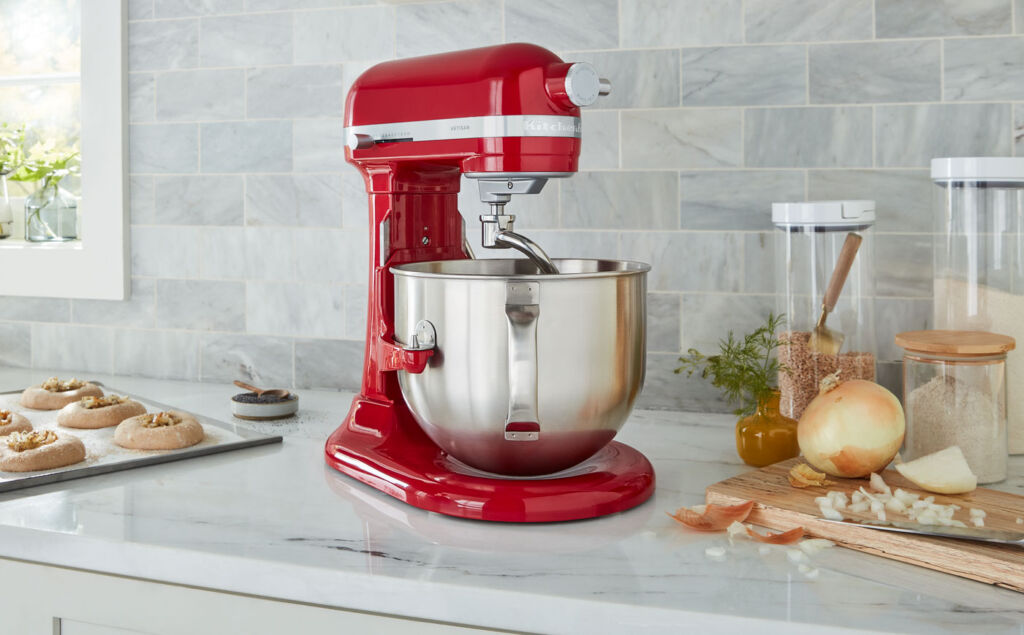
The Essential Ingredients
- Flour: The classic choice is “00” flour, a finely milled Italian flour that creates a silky, tender pasta. All-purpose flour works in a pinch, but for that authentic texture, “00” is king. Many recipes also use a blend of “00” and semolina flour for a bit more texture and bite.
- Eggs: Large, fresh, room-temperature eggs are your best friend. They provide fat, moisture, and structure.
- Salt: A pinch of fine sea salt enhances the flavor.
- Olive Oil (Optional): A teaspoon of extra virgin olive oil can add a little suppleness and flavor to the dough.
The Right Kitchen Appliance and Attachments
- Your Stand Mixer: The hero of our story! A model with a robust motor is ideal for handling stiff pasta dough.
- The Dough Hook: This C-shaped or spiral attachment is the only tool you’ll need for kneading. It’s the workhorse that develops the gluten.
- The Flat Beater (Optional): Some people prefer to use the flat beater to initially combine the ingredients into a shaggy mass before switching to the dough hook. I find it’s just as easy to start and finish with the dough hook.
|
Our Picks for the Best Stand Mixer in 2025
As an Amazon Associate, we earn from qualifying purchases.
|
||
| Num | Product | Action |
|---|---|---|
| 1 | DASH Tilt-Head 3.5qt Stand Mixer 12 Speeds with Paddle, Dough Hook, and Whisk Attaachments - Cream |

|
| 2 | KitchenAid Classic Series 4.5 Quart Tilt-Head Stand Mixer K45SS, White |
|
| 3 | Kitchen in the box Stand Mixer, 900W 8.5QT Kitchen Electric Mixer, 6-Speed Large Capacity Food Mixer for Home Cooks with Egg Whisk, Dough Hook & Flat Beater (Black) |
|
| 4 | 6-in-1 Multifunctional Stand Mixer, 5.3Qt 660W, 6-Speed Tilt-head, Electric Kitchen Mixer with Stainless Steel Bowl,Meat Grinder, Juice Blender (Black) |
|
| 5 | KitchenAid Artisan Series 5 Quart Tilt Head Stand Mixer with Pouring Shield KSM150PS, Blue Velvet |
|
| 6 | Stand Mixer | Powerful 660W Motor | Large 6.5 Qt. Bowl | 6-Speed Control | Dishwasher-Safe Attachments | Tilt-Head Design | Perfect for Home Bakers (Red) |
|
| 7 | Instant Pot Stand Mixer Pro,600W 10-Speed Electric Mixer with Digital Interface,7.4-Qt Stainless Steel Bowl,From the Makers of Instant Pot,Dishwasher Safe Whisk,Dough Hook and Mixing Paddle,Silver |
|
| 8 | Kitchen in the box Stand Mixer,3.2Qt Small Electric Food Mixer,6 Speeds Portable Lightweight Kitchen Mixer for Daily Use with Egg Whisk,Dough Hook,Flat Beater (Blue) |
|
| 9 | COOKLEE 6-IN-1 Stand Mixer, 8.5 Qt. Multifunctional Electric Kitchen Mixer with Beater, Whisk, Dough Hook, Meat Grinder and Other Accessories for Most Home Cooks, SM-1507BM, Silvery |
|
| 10 | KitchenAid 7 Quart Bowl-Lift Stand Mixer |
|
Step-by-Step Guide: How to Make Pasta Dough Stand Mixer Style
Alright, let’s make some pasta! This recipe makes about one pound of fresh pasta, enough for 4 modest servings.
Step 1: Combine the Dry Ingredients
Attach the mixing bowl and the dough hook to your stand mixer. Add 2.5 cups (about 300g) of “00” flour and half a teaspoon of fine sea salt to the bowl. Turn the mixer on to its lowest speed (usually “Stir” or “1”) for about 15 seconds to combine them evenly.
Step 2: Create a Well and Add the Wet Ingredients
Stop the mixer. Using a spoon or your fingers, create a “well” in the center of the flour. This little nest will keep the eggs from sloshing around everywhere. Crack 3 large eggs and, if using, 1 teaspoon of olive oil into the well.
Step 3: The Initial Mix – Bringing it Together
Lock the mixer head in place. Turn the mixer to speed 2. Let it run for about 1-2 minutes. At first, it will look like a complete mess, and you might think it’s not working. Trust the process. The dough hook will gradually incorporate the wet ingredients into the dry, forming a rough, shaggy dough. If it looks excessively dry and crumbly after a minute, add a teaspoon of water.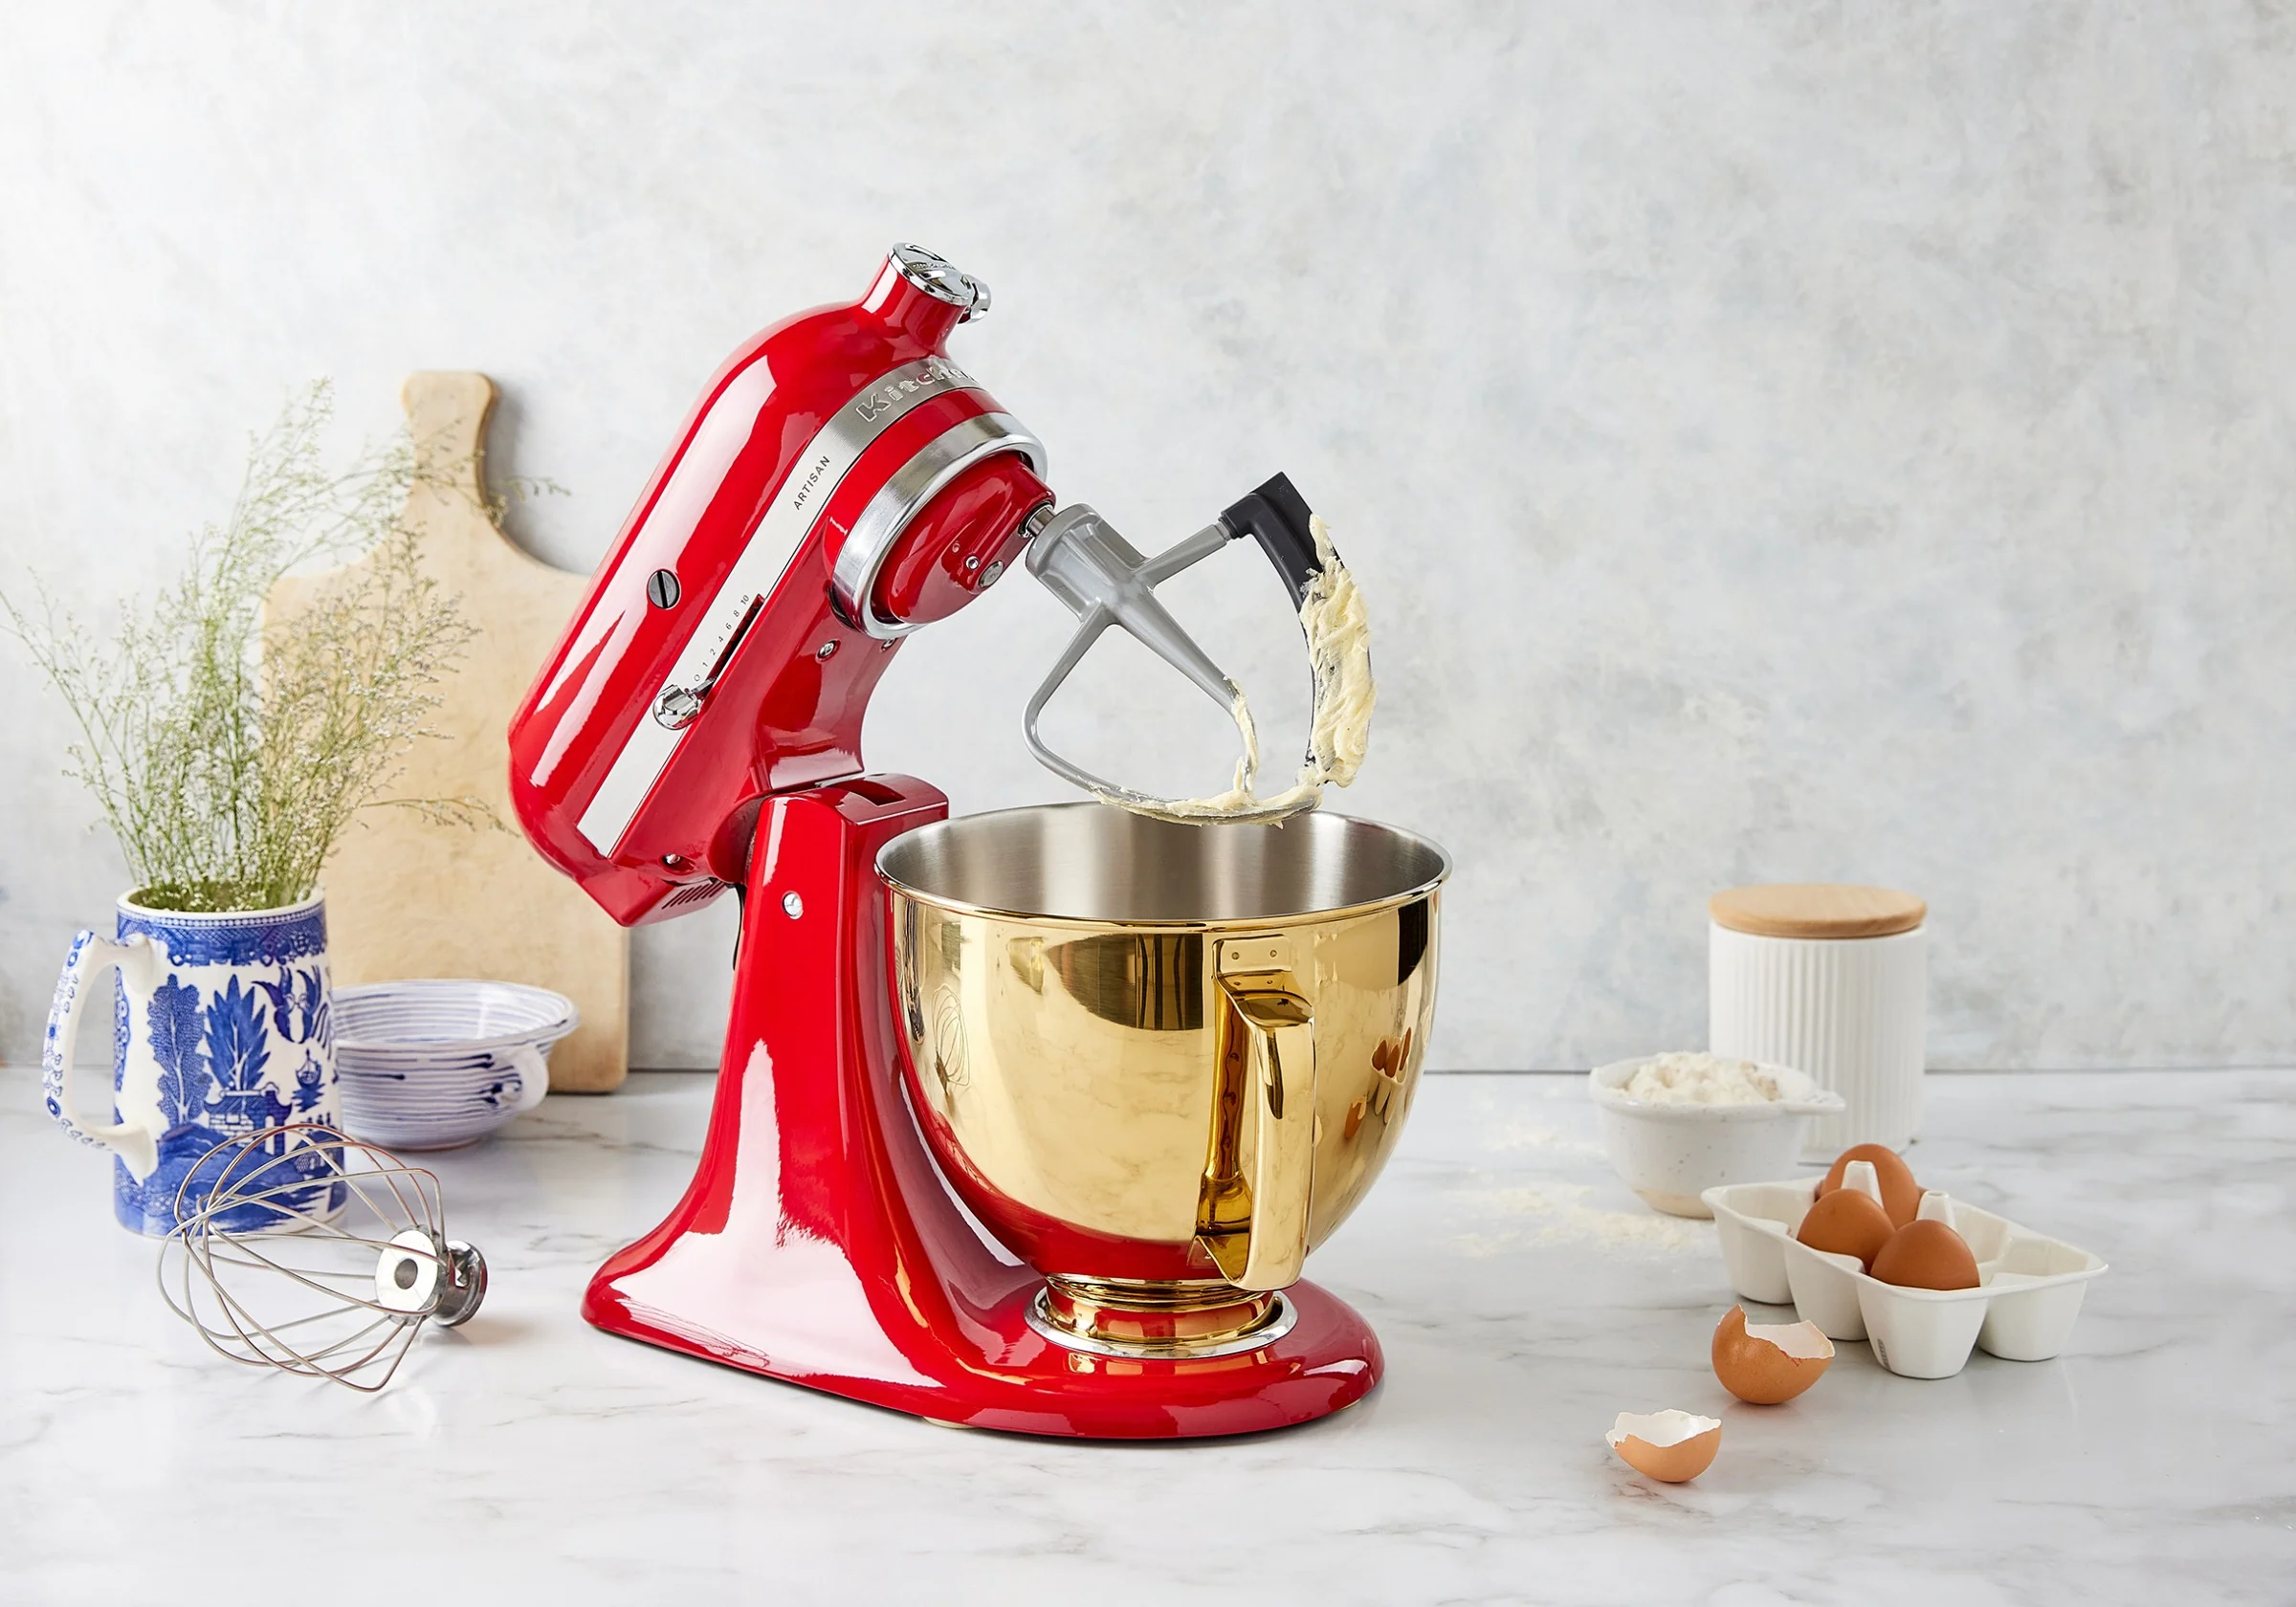
Step 4: The Kneading Process
Once a cohesive dough has formed, it’s time to knead. Increase the mixer speed to 4. Now, just let the machine do its work. Knead the dough for 8-10 minutes.
According to pasta expert Chef Isabella Rossi, “The stand mixer is your key to perfect gluten development. Don’t be tempted to rush the kneading time. Those 8-10 minutes are when the magic happens, transforming a simple dough into a pliable, elastic canvas for incredible pasta.”
Your mixer might wobble a bit, especially with a stiff dough. This is normal, but don’t walk away from it. The dough is properly kneaded when it’s smooth, elastic, and pulls away cleanly from the sides of the bowl, forming a single, beautiful ball on the dough hook.
Step 5: The “Windowpane” Test
To check if it’s ready, take a small piece of dough and gently stretch it between your fingers. If you can stretch it thin enough to see light through it without it tearing, the gluten is perfectly developed. This is known as the windowpane test.
Step 6: Rest is Best
This is the most important step that people often skip. Turn the dough out onto a lightly floured surface, knead it by hand for just 30 seconds to form a smooth ball, and then wrap it tightly in plastic wrap. Let it rest at room temperature for at least 30 minutes, but an hour is even better. This allows the gluten to relax, making the dough much easier to roll out later.
Pro Tips for Perfect Pasta Every Time
- Hydration is Key: Pasta dough is a low-hydration dough. It should feel stiff and almost too dry compared to bread dough. Resist the urge to add too much water; a dry dough develops better texture.
- Weigh Your Ingredients: For the most consistent results, use a kitchen scale. Baking and pasta making are a science, and volume measurements (like cups) can vary wildly.
- Start Low and Slow: Always start your mixer on the lowest setting when incorporating ingredients to avoid a flour explosion all over your kitchen. I learned that the hard way with my first stand mixer!
- Don’t Overload Your Machine: Stick to recipes designed for your mixer’s bowl size and motor capacity. Making a triple batch in a standard-sized mixer can strain the motor.
Troubleshooting Common Pasta Dough Problems
Even the pros run into issues sometimes. Here’s how to fix the most common ones.
My dough is too sticky. What do I do?
This means you have too much liquid. With the mixer running on low, add flour one tablespoon at a time until the dough pulls away from the sides of the bowl and is no longer tacky to the touch.
My dough is too dry and crumbly. How can I fix it?
It just needs a bit more moisture. While the mixer is on low speed, add water half a teaspoon at a time. Let it fully incorporate before adding more. A spray bottle can be great for this, as it adds moisture more evenly.
Why is my stand mixer “walking” across the counter?
A very stiff dough can cause the mixer to vibrate or even move slightly. This is a sign the motor is working hard. Ensure your mixer is on a stable, level surface. If it’s shaking violently, your dough batch might be too large for the machine.
Frequently Asked Questions (FAQ)
What speed should I use to make pasta dough in a stand mixer?
Use a low speed (like 2 on a KitchenAid) to combine the ingredients, and a medium-low speed (no higher than 4) for kneading. Going too fast can heat the dough and overwork the motor.
How long do you knead pasta dough in a stand mixer?
The ideal kneading time is between 8 and 10 minutes on speed 4. This is the sweet spot for developing strong gluten without straining your kitchen appliance.
Can I make gluten-free pasta dough in a stand mixer?
Absolutely! The process is similar, but since there’s no gluten to develop, the kneading time is much shorter. You’re simply aiming to thoroughly combine the ingredients, which usually takes just 2-3 minutes.
What is the best stand mixer attachment for pasta dough?
The dough hook is the only attachment you should use for kneading pasta dough. Its design is specifically engineered for this task, ensuring proper gluten development.
Do I have to let the pasta dough rest?
Yes, this step is non-negotiable! Resting allows the flour to fully hydrate and the gluten strands to relax. Skipping this step will result in dough that is tough and extremely difficult to roll out.
Your Pasta Journey Has Just Begun
Mastering how to make pasta dough stand mixer style opens up a world of culinary possibilities. From classic fettuccine and lasagna sheets to delicate ravioli, you now have the foundation for it all, thanks to your trusty kitchen sidekick. It’s an investment not just in a machine, but in better meals, new skills, and the joy of creating something truly special from scratch.
Now it’s your turn. Give it a try and let us know how it goes in the comments below. What will you make with your perfect pasta dough?