Let’s talk about a kitchen game-changer. I remember the days of kneading dough by hand, my shoulders aching, flour dusting every surface like a winter snowfall. Then, my first stand mixer entered the picture, and suddenly, making bread and pizza went from a chore to a joy. If you’re here, you’re likely wondering How To Make Pizza Dough Stand Mixer style, and let me tell you, you’re on the right track to unlocking the best homemade pizza of your life. Are you ready to turn your kitchen into an authentic pizzeria?
The beauty of a stand mixer isn’t just about saving your arm strength; it’s about consistency and control. This powerful kitchen appliance delivers perfectly developed gluten, which is the secret to that chewy, airy, and delightfully crisp crust we all crave. While it’s a master at this task, many new owners wonder, can you use a stand mixer for everything? The short answer is almost, but today, we’re focusing on its true calling: conquering dough.
Why a Stand Mixer is Your Secret Weapon for Pizza
Before we dive into the nitty-gritty, let’s appreciate why this machine is the MVP of pizza night. A stand mixer, especially one with a powerful motor and a dedicated dough hook, replicates the push-and-fold motion of hand-kneading with tireless precision.
- Perfect Gluten Development: The consistent, powerful motion of the dough hook efficiently stretches and aligns gluten strands. Think of it like building a strong, stretchy net that traps the gasses produced by the yeast. This is what gives your crust its signature chew and structure.
- Time and Energy Saver: Kneading pizza dough by hand can take a solid 10-15 minutes of vigorous work. A stand mixer does the job in about 8-10 minutes while you measure out your toppings or, you know, sip a glass of wine.
- Consistency is Key: Every single time, the mixer will knead your dough to the same perfect consistency. No more guesswork or wondering, “Is it ready yet?” This reliability is what separates good pizza from great pizza.
Getting Started: Tools and Ingredients
Great pizza starts with simple, quality ingredients. You don’t need much, but what you use matters. Here’s your checklist.
The Right Tools
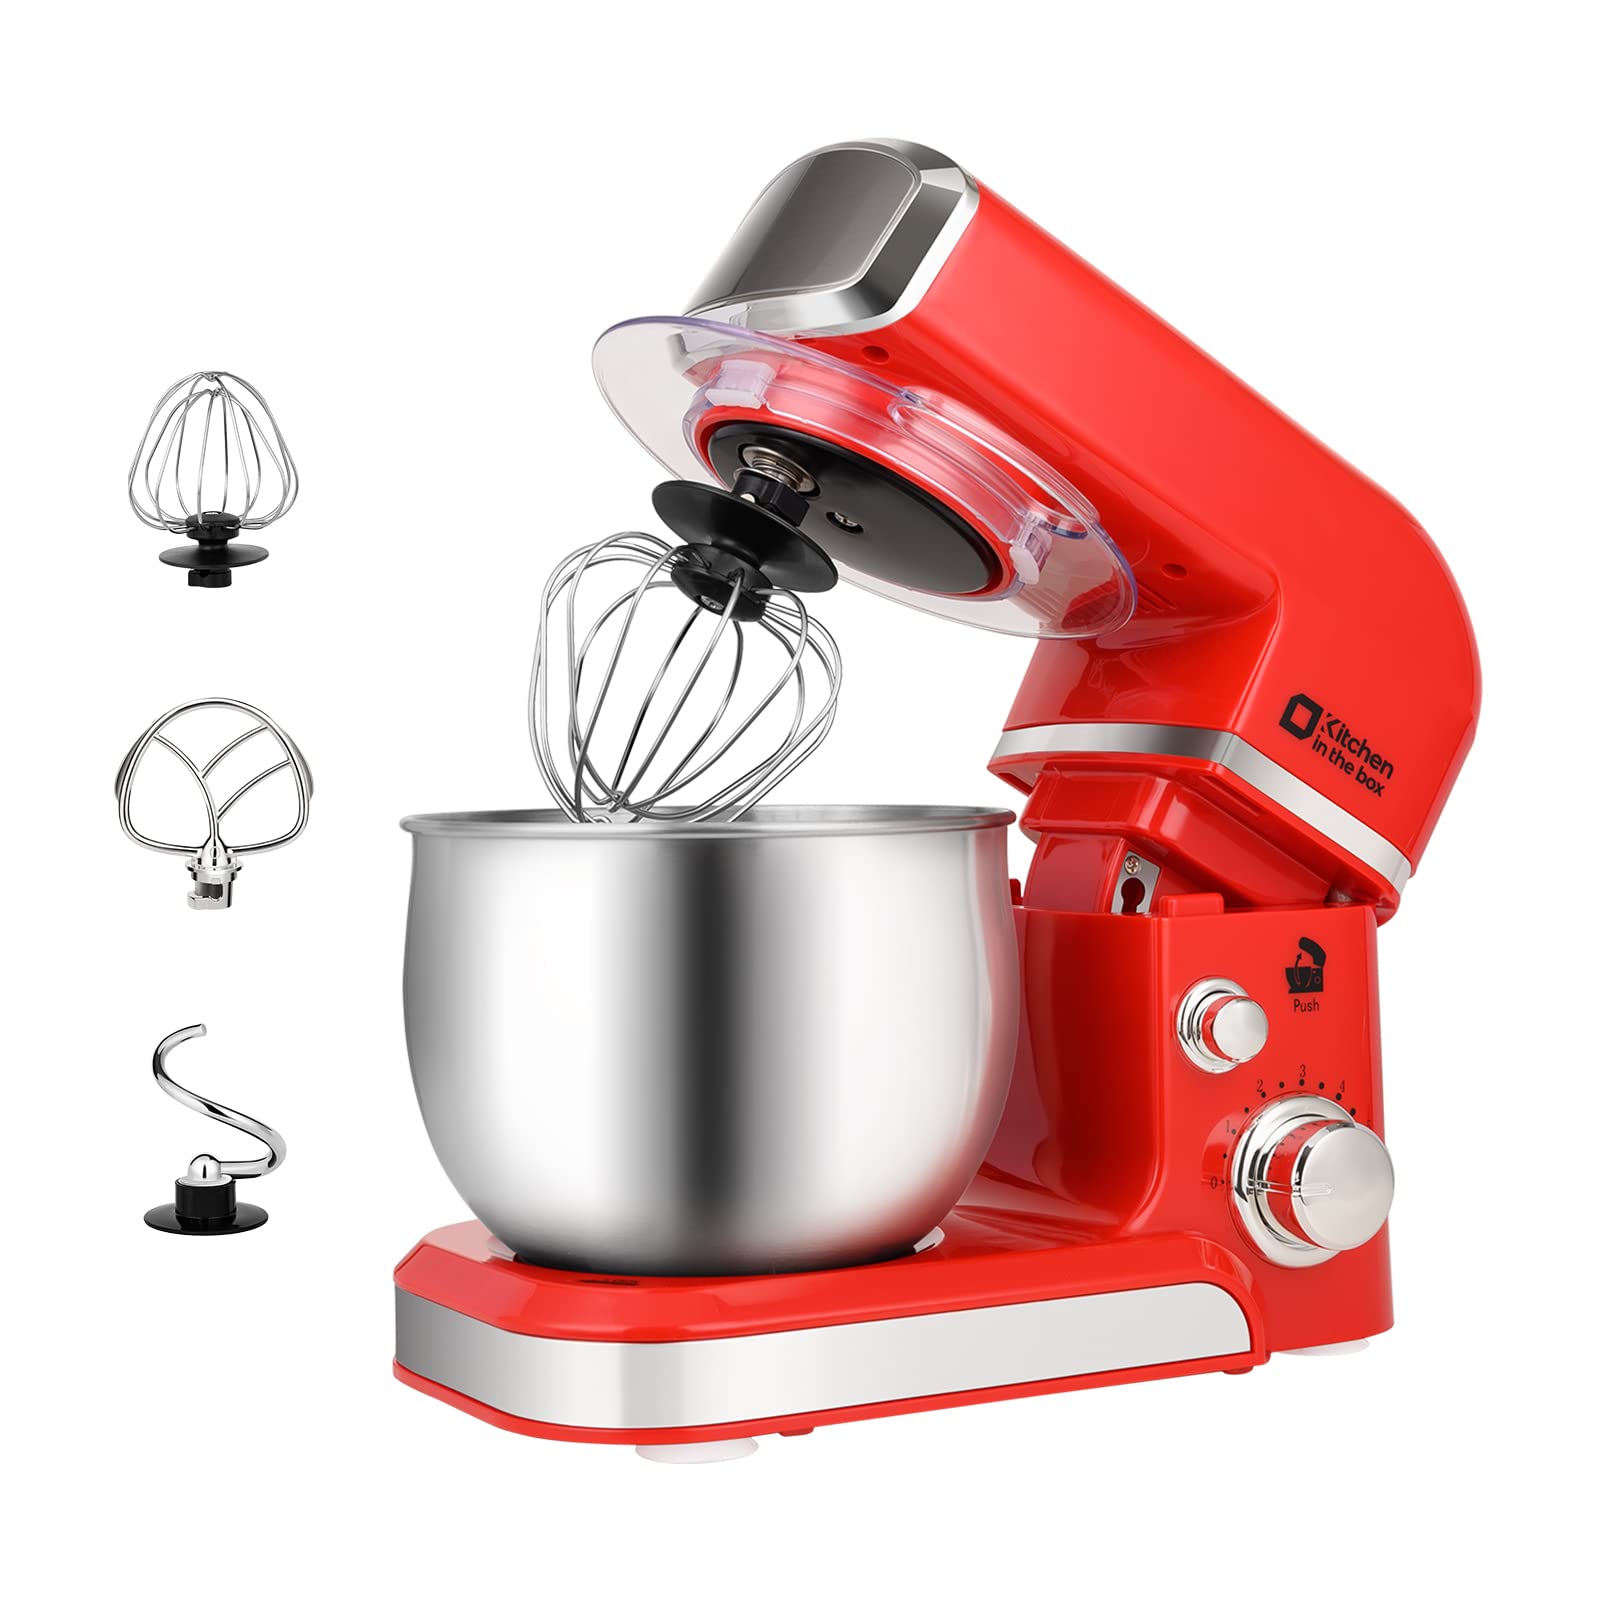
- A Reliable Stand Mixer: This is our star player. A model from a trusted brand like KitchenAid or Kenwood with at least a 300-watt motor is ideal for handling dough.
- The Dough Hook: This C-shaped or spiral attachment is non-negotiable. It’s specifically designed to mimic the hand-kneading process.
- Mixing Bowl: The one that comes with your mixer.
- Measuring Cups and Spoons: For accuracy.
- A Large, Oiled Bowl: For letting the dough rise.
The Perfect Ingredients
- Flour: All-purpose flour works great for a classic crust. For a chewier, more authentic Neapolitan style, use “00” flour if you can find it.
- Water: Lukewarm water is crucial. Too hot, and you’ll kill the yeast; too cold, and it won’t activate properly. Aim for around 105-115°F (40-46°C).
- Yeast: Active dry yeast or instant yeast both work wonderfully.
- Salt: Essential for flavor and for controlling the yeast’s activity.
- Sugar or Honey: A little bit gives the yeast a kick-start and adds a touch of color to the crust.
- Olive Oil: For flavor, softness, and preventing the dough from sticking.
How to Make Pizza Dough Stand Mixer: A Step-by-Step Guide
Alright, let’s get our hands (or rather, our mixer’s hook) dirty. This process is incredibly straightforward.
- Activate the Yeast (Proofing): In the bowl of your stand mixer, combine the lukewarm water, yeast, and sugar. Give it a gentle whisk and let it sit for 5-10 minutes. You’re looking for it to become foamy or bubbly. If it doesn’t, your yeast might be inactive, and it’s best to start over. This step is your insurance policy for a good rise.
- Combine the Ingredients: Once your yeast is foamy, attach the mixing bowl to the stand mixer. Add the flour, salt, and olive oil. Fit the mixer with the dough hook attachment.
- The Initial Mix: Lock the mixer head in place. Turn the mixer on to its lowest speed (often labeled ‘Stir’ or ‘1’). Let it run for a minute or two until a shaggy, rough dough starts to form. This initial slow mix prevents a flour explosion all over your countertops.
- The Kneading Process: Now, increase the speed to low-medium (Speed ‘2’ on most KitchenAid models). Let the mixer work its magic. The dough hook will begin to grab, fold, and push the dough against the sides of the bowl. Set a timer for 8-10 minutes.
According to professional baker John Ackerman, “The biggest mistake home bakers make is under-kneading. With a stand mixer, you should let it run until the dough is smooth, elastic, and pulls away cleanly from the sides of the bowl. Don’t be afraid to let the machine do the heavy lifting.”
- Check for Doneness: After about 8 minutes, stop the mixer. The dough should look smooth and feel slightly tacky but not sticky. The ultimate test is the “windowpane test.” Pinch off a small piece of dough and gently stretch it between your fingers. If you can stretch it thin enough to see light through it without it tearing, the gluten is perfectly developed. If it tears easily, knead for another 1-2 minutes.
- The First Rise (Bulk Fermentation): Lightly oil a large bowl. Remove the dough from the mixer bowl, form it into a smooth ball, and place it in the oiled bowl. Turn it over once to coat it lightly in oil. Cover the bowl with plastic wrap or a damp cloth and place it in a warm, draft-free spot for 1-2 hours, or until it has doubled in size.
Once risen, your dough is ready to be punched down, shaped, topped, and baked into pizza perfection!
Attachments and Troubleshooting
Your stand mixer is a versatile kitchen appliance. While the dough hook is our hero today, it’s worth knowing its siblings. The whisk attachment is for whipping air into things like cream and egg whites, while the flat beater is for general mixing. To learn more about this workhorse, understanding [how to use paddle attachment](https://standmixerpro.com/how to use paddle attachment/) is key for cookies, cakes, and frostings.
Common Pizza Dough Problems and Fixes
- Why is my dough too sticky? You might have added a bit too much water or not enough flour. Add flour one tablespoon at a time while the mixer is on low until the dough pulls away from the bowl.
- Why is my dough not rising? The most common culprits are dead yeast or a room that’s too cold. Always proof your yeast first, and find a warm spot for the dough to rise, like inside an oven with just the light on.
- Why is my dough tough? This is often a sign of over-kneading or adding too much flour. Stick to the 8-10 minute kneading time and resist the urge to add too much extra flour if it feels a little sticky—a slightly tacky dough is perfect.
Frequently Asked Questions (FAQ)
What speed should I use for how to make pizza dough stand mixer?
You should always use a low speed. On most stand mixers, like a KitchenAid, speed ‘2’ is the recommended setting for kneading any type of bread or pizza dough. Using a higher speed can strain the motor and won’t knead the dough any more effectively.
How long does it take to knead pizza dough in a stand mixer?
It typically takes between 8 to 10 minutes of continuous kneading on a low speed. You’re looking for the dough to become smooth, elastic, and to clear the sides of the bowl. Performing the “windowpane test” is the best way to confirm it’s ready.
Can I over-knead pizza dough with a stand mixer?
Yes, it is possible, though less common than under-kneading. Over-kneaded dough will feel tough and dense, and it may tear easily instead of stretching. This is why it’s important to stick to the recommended 8-10 minute timeframe and check the dough’s texture.
Why is my pizza dough climbing up the dough hook?
This is a very common and normal occurrence! It simply means the gluten is developing and the dough is becoming strong and cohesive. You can stop the mixer once or twice during kneading, push the dough back down, and then resume.
What is the best stand mixer attachment for pizza dough?
The dough hook is the only attachment you should use for kneading pizza dough. Its unique spiral or C-shape is specifically engineered to simulate hand-kneading, efficiently developing the gluten structure required for a perfect crust.
The Final Slice
Mastering how to make pizza dough stand mixer style is a true culinary level-up. It transforms a labor-intensive process into a simple, hands-off task that delivers consistently brilliant results. Your stand mixer is more than just a gadget; it’s a partner in your creative kitchen adventures. It’s an investment that pays you back with every perfectly chewy, gloriously blistered pizza crust you pull from the oven. Now, go forth and bake! We’d love to hear about your pizza-making journey in the comments below.