Let’s be real for a moment. If you’re passionate about baking, you know that precision is everything. For years, my kitchen counter looked like a flour-dusted warzone after prepping for a cake. Measuring cups, a separate clunky scale, a hand-crank sifter… it was a whole production. That all changed when I discovered the magic of an all-in-one attachment. Learning How To Use A Sifter Scale Attachment isn’t just about adding a new gadget; it’s about fundamentally upgrading your baking workflow from chaotic to streamlined. Ready to achieve that perfect, airy crumb with half the mess? Let’s dive in.
Why This Attachment is a Baking Game-Changer
Before we get into the nuts and bolts, you might be wondering, “Is this thing really worth it?” As someone who has tested just about every kitchen appliance under the sun, my answer is a resounding yes. This isn’t just another accessory to gather dust; it’s a multi-tasking powerhouse designed to solve the most common baking frustrations.
The core benefit is combining two crucial, yet tedious, steps: weighing and sifting.
- Unmatched Consistency: Volume measurements (cups) are notoriously inconsistent. How you scoop the flour can dramatically change the amount you’re actually using. Weighing your ingredients, especially flour, is the number one secret of professional bakers for perfectly repeatable results.
- Hands-Free Operation: Picture this: instead of manually cranking a sifter over a bowl while trying not to spill, you simply pour flour into a hopper, set the speed, and watch your stand mixer do the work. It’s like having a dedicated baking assistant.
- A Cleaner Kitchen: The integrated chute directs the sifted flour straight into the mixing bowl. Say goodbye to that fine layer of flour that mysteriously coats your entire kitchen.
- Lump-Free, Aerated Ingredients: Sifting breaks up clumps and aerates your dry ingredients. This is critical for light and fluffy cakes, tender scones, and delicate pastries. The attachment ensures every particle is evenly distributed.
According to renowned pastry chef Isabelle Dubois, “Baking is a science of ratios. A digital scale removes the guesswork, and sifting ensures the texture is flawless. An attachment that does both simultaneously is the most efficient path to professional-quality results at home.”
Getting to Know Your Gear: Anatomy of the Attachment
To understand how to use a sifter scale attachment, you first need to know its parts. While designs may vary slightly, most models, like the popular one from KitchenAid, consist of these key components:
- Ingredient Hopper: This is the large container at the top where you’ll pour your dry ingredients. Most have a generous capacity, often up to 4 cups or 500 grams.
- Digital Scale: The brain of the operation. This is typically integrated into the housing and displays the weight on a small digital screen.
- Sifter Housing: The main body that contains the sifting mechanism itself.
- Removable Sifter: The mesh screen inside the housing that does the actual sifting.
- Ingredient Chute: This clever piece directs the sifted flour from the sifter down into the mixing bowl. Many are designed to swivel, allowing you to easily add other ingredients to the bowl.
- Scale Accessory Plate: A small plate that can be attached for weighing other ingredients (like chocolate chips or nuts) separately before adding them to your mix.
The Main Event: How to Use a Sifter Scale Attachment Step-by-Step
Alright, let’s get this brilliant piece of engineering working for you. The process is straightforward and will quickly become second nature.
Important Safety Note: Always ensure your stand mixer is turned off and unplugged before attaching or removing any accessory.
- Attach the Housing: First, locate the attachment hub at the front of your stand mixer’s head. Unscrew the hub cover. Insert the sifter attachment’s power shaft into the hub, making sure it’s seated properly. Tighten the attachment knob until the accessory is completely secure.
- Assemble the Components: Place the sifter into the sifter housing. Attach the ingredient hopper on top and the chute at the bottom. You should hear a satisfying click as each piece locks into place.
- Position the Chute: Swivel the chute so it’s pointing directly into the center of your stand mixer’s bowl.
- Power On and Tare the Scale: Place your empty mixing bowl onto the stand mixer base. Now, press the “On/Zero” button on the digital scale. The display should read “0 g”. This process, known as “taring,” subtracts the weight of the bowl, ensuring you’re only measuring the ingredients you add. If you forget to do this, your measurements will be off!
- Add Your Ingredients: Slowly pour your flour, cocoa powder, or other dry ingredients directly into the hopper. Watch the digital display until you reach the precise weight required by your recipe. No more guessing with measuring cups!
- Start Your Mixer: Plug in your stand mixer and turn the speed control lever to your desired setting. For sifting, a low to medium speed (typically 2-4) is perfect. A speed that’s too high can create a flour cloud, defeating the purpose of a clean kitchen.
- Sift Away: Watch as the attachment evenly and gradually sifts the ingredients directly into your bowl. The hands-free nature allows you to prep your next steps, like cracking eggs or measuring liquids.
- Disassembly and Cleaning: Once finished, turn off and unplug your mixer. Disassemble the attachment. The hopper, chute, sifter, and scale plate are usually top-rack dishwasher safe, but always check your user manual. The main housing contains the electronics and should never be submerged in water. Simply wipe it down with a damp cloth.
|
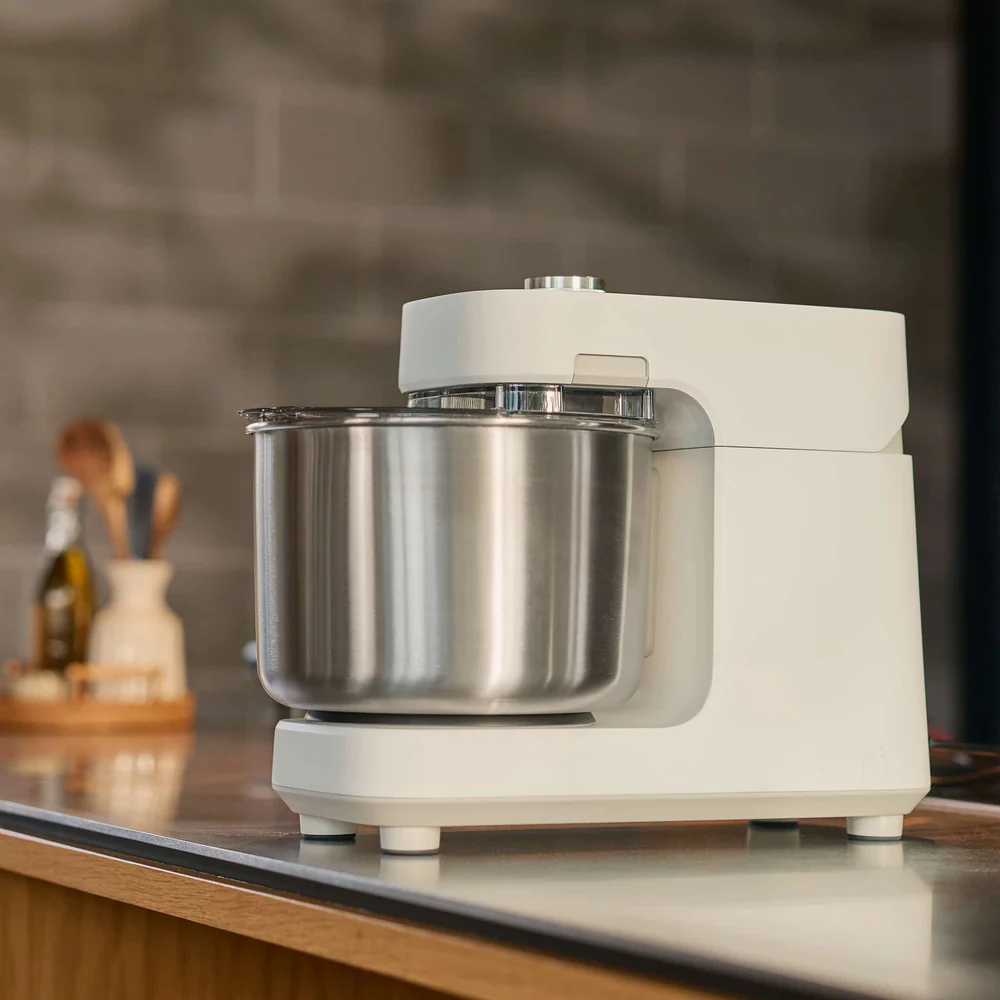
Our Picks for the Best Stand Mixer in 2026
As an Amazon Associate, we earn from qualifying purchases.
|
||
| Num | Product | Action |
|---|---|---|
| 1 | KitchenAid Artisan Series 5 Quart Tilt Head Stand Mixer with Pouring Shield KSM150PS, Blue Velvet |

|
| 2 | Kitchen in the box Stand Mixer, 900W 8.5QT Kitchen Electric Mixer, 6-Speed Large Capacity Food Mixer for Home Cooks with Egg Whisk, Dough Hook & Flat Beater (Black) |
|
| 3 | KitchenAid 7 Quart Bowl-Lift Stand Mixer |
|
| 4 | COOKLEE 6-IN-1 Stand Mixer, 8.5 Qt. Multifunctional Electric Kitchen Mixer with Beater, Whisk, Dough Hook, Meat Grinder and Other Accessories for Most Home Cooks, SM-1507BM, Silvery |
|
| 5 | Stand Mixer | Powerful 660W Motor | Large 6.5 Qt. Bowl | 6-Speed Control | Dishwasher-Safe Attachments | Tilt-Head Design | Perfect for Home Bakers (Red) |
|
| 6 | Instant Pot Stand Mixer Pro,600W 10-Speed Electric Mixer with Digital Interface,7.4-Qt Stainless Steel Bowl,From the Makers of Instant Pot,Dishwasher Safe Whisk,Dough Hook and Mixing Paddle,Silver |
|
| 7 | DASH Tilt-Head 3.5qt Stand Mixer 12 Speeds with Paddle, Dough Hook, and Whisk Attaachments - Cream |
|
| 8 | KitchenAid Classic Series 4.5 Quart Tilt-Head Stand Mixer K45SS, White |
|
| 9 | Kitchen in the box Stand Mixer,3.2Qt Small Electric Food Mixer,6 Speeds Portable Lightweight Kitchen Mixer for Daily Use with Egg Whisk,Dough Hook,Flat Beater (Blue) |
|
| 10 | 6-in-1 Multifunctional Stand Mixer, 5.3Qt 660W, 6-Speed Tilt-head, Electric Kitchen Mixer with Stainless Steel Bowl,Meat Grinder, Juice Blender (Black) |
|
Pro Tips for Perfect Results Every Time
You’ve mastered the basics of how to use a sifter scale attachment, now let’s elevate your game with some expert tips I’ve learned over the years.
- Sift in Batches for Large Recipes: If a recipe calls for a large quantity of flour (e.g., for bread), sift it in two or three batches. This prevents overwhelming the sifter and ensures everything is perfectly aerated.
- Layer Your Dry Ingredients: For recipes requiring multiple sifted dry ingredients like flour, cocoa powder, and baking soda, add them to the hopper in alternating layers. This promotes more even mixing as they’re sifted together into the bowl.
- Use the Chute’s Swivel Function: The swiveling chute is one of its best features. After your dry ingredients are in, you can swivel it out of the way to easily add wet ingredients or scrape down the sides of the bowl with a spatula.
- Don’t Forget the Accessory Plate: This little plate is perfect for weighing smaller, non-sifted ingredients like yeast, spices, or chocolate chips with the same precision. Just place it on top of the hopper, zero the scale, and weigh your items.
Common Problems and Easy Fixes
Even the best kitchen appliances can have a hiccup now and then. Here’s how to troubleshoot common issues with your sifter scale attachment.
Why won’t my scale turn on?
This is usually a simple battery issue. Most scales use a small lithium coin battery. Check your manual for the correct type, and replace it. Ensure the battery is installed correctly.
Why is the flour clogging the chute?
This can happen if you’re sifting at too high a speed or if your ingredients have a high moisture content (like some almond flours or brown sugar). Reduce the mixer speed to 1 or 2. If it persists, give the chute a gentle tap to dislodge the ingredients. For very clumpy ingredients, a quick pre-sift by hand might be necessary.
My weight measurement seems inaccurate. What’s wrong?
First, ensure you zeroed (tared) the scale before adding any ingredients. Second, make sure the stand mixer is on a level, stable surface. Vibrations can interfere with the scale’s accuracy. Finally, check that no parts are touching the counter or another object, which could throw off the reading.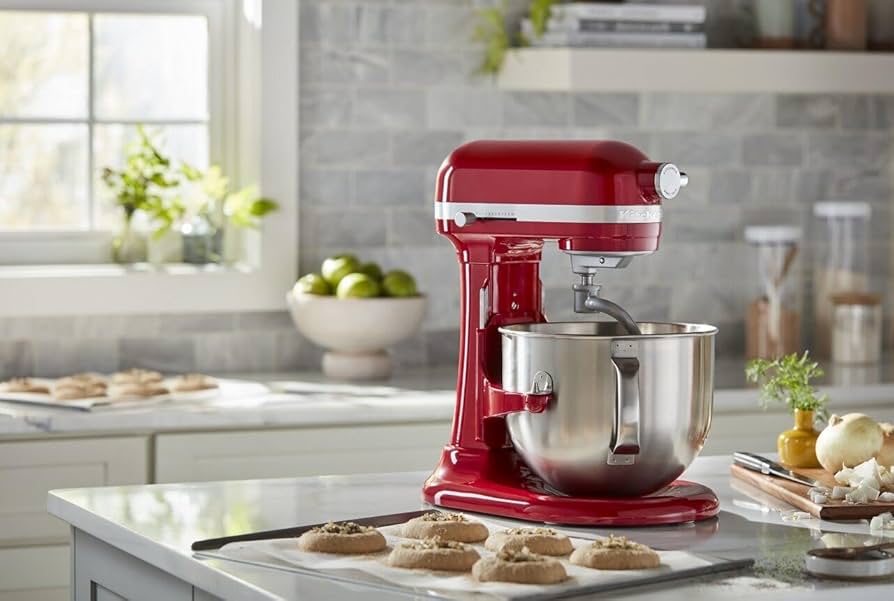
Frequently Asked Questions (FAQ)
Q1: Can I use the sifter scale attachment to weigh wet ingredients?
No, the attachment is designed exclusively for dry ingredients. Placing liquids in the hopper could damage the internal mechanics and the digital scale.
Q2: Is the sifter and scale attachment compatible with all stand mixer models?
Most attachments are designed by the brand (like KitchenAid) to fit all of their modern stand mixers. However, always double-check the product description to confirm compatibility with your specific model, especially if it’s an older or vintage machine.
Q3: How accurate is the built-in digital scale?
The integrated scales are highly accurate for home baking, typically measuring in 1-gram increments. This level of precision is more than sufficient for achieving consistent results in cakes, breads, and pastries.
Q4: Can I use the scale function without the sifter running?
Absolutely. You can assemble the unit, turn on the scale, and use the hopper to weigh ingredients without ever turning on the stand mixer. This is great for recipes that require weighed but not sifted ingredients.
Q5: What are the best ingredients to use with this attachment?
It’s perfect for all-purpose flour, cake flour, bread flour, cocoa powder, powdered sugar, baking soda, and baking powder. While it can handle some alternative flours, very coarse or oily flours (like some almond meals) may require a slower speed.
The Final Word on Your New Baking Partner
Investing in a high-quality stand mixer is the first step toward elevating your baking. But truly unlocking its potential comes from choosing the right attachments. Learning how to use a sifter scale attachment is more than just a new skill; it’s an investment in consistency, efficiency, and joy in the kitchen. It takes the most tedious parts of baking and makes them effortless, allowing you to focus on the creative process. So go ahead, embrace the precision, and get ready to bake the best creations of your life.
Have you tried this attachment? Share your experience or ask any questions in the comments below! We’d love to hear from you.