Welcome to the heart of the kitchen, where flour, water, and a little bit of magic come together. If you’ve ever dreamt of pulling a warm, crusty loaf of artisanal bread from your own oven but were put off by the thought of ten minutes of intense arm-wrestling with a sticky blob of dough, you’re in the right place. The key to unlocking your inner baker lies in a single, powerful attachment. Learning how to use a dough hook stand mixer is the secret handshake that welcomes you into the world of effortless baking. This isn’t just about mixing; it’s about transforming your kitchen and your craft. Ready to turn your countertop into a bona fide bakery? Let’s dive in.
Why the Dough Hook is a Game-Changer
Let’s be honest, kneading dough by hand can be therapeutic… for the first three minutes. After that, it’s a workout. The dough hook attachment on your stand mixer is your personal sous-chef, designed to replicate the folding, stretching, and pressing motion of hand-kneading with perfect consistency and tireless efficiency.
What’s happening during that process? You’re developing gluten. Think of gluten as a net of proteins within your dough. Kneading strengthens this net, allowing it to trap the gasses produced by yeast. A strong gluten network equals a light, airy crumb and a beautiful rise. Your dough hook does this work for you, freeing you up to prepare your next ingredients or, you know, enjoy a cup of coffee. It ensures even gluten development throughout the dough, something that even experienced bakers can struggle to achieve by hand. This is a crucial step, and to ensure your mixer is perfectly set up for it, it’s worth checking your machine’s calibration. For an in-depth guide on this, understanding what is the dime test for a kitchenaid mixer is a non-negotiable first step for perfect results.
Getting Started: The Pre-Kneading Checklist
Before you dump your ingredients into the bowl, a few seconds of preparation will set you up for success. It might seem basic, but getting these steps right is fundamental to learning how to use a dough hook stand mixer safely and effectively.
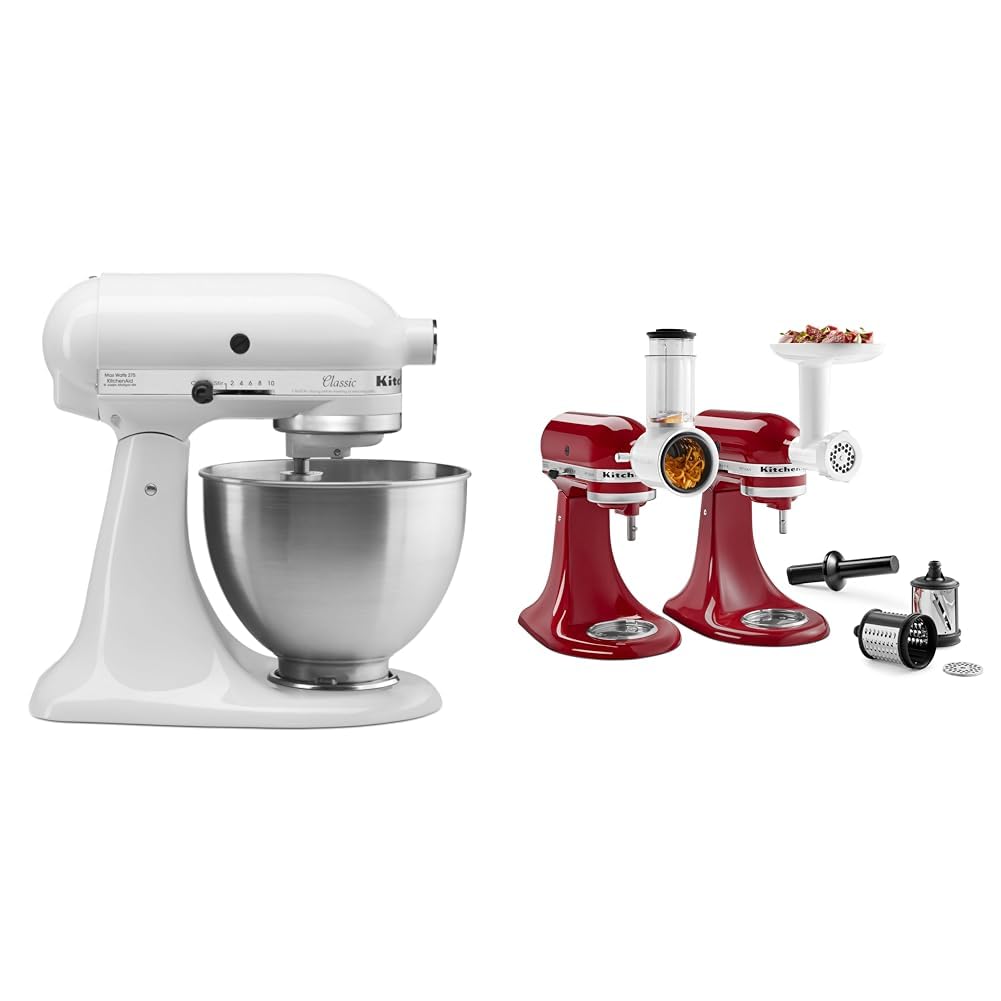
- Select and Attach the Correct Hook: Your mixer likely came with a C-shaped or a spiral dough hook. The C-shaped hook is common on older tilt-head models like those from KitchenAid, while spiral hooks are often found on larger bowl-lift models and are fantastic at working the dough from the bottom of the bowl. To attach it, align the pin on the shaft with the groove on the hook, push up, and give it a quarter-turn to lock it in place. It should feel secure.
- Lock the Mixing Bowl: Place your stainless steel bowl onto the base plate and twist it until it locks firmly. A wobbly bowl is a recipe for disaster, especially with a heavy dough that can cause the machine to vibrate.
- Secure the Mixer Head: If you have a tilt-head model, ensure the head is tilted down and the lock lever is in the locked position. For a bowl-lift model, make sure the bowl is raised and secured. This prevents the head from bouncing during the kneading process, which can damage the motor.
The Kneading Process: A Step-by-Step Guide
Alright, you’re locked and loaded. Here’s the play-by-play for perfect dough every single time. We’ll use a basic bread recipe as our example.
- Combine Ingredients on Low Speed: Add your dry ingredients (flour, salt, yeast) to the bowl first. Give them a quick stir with the dough hook on the lowest speed to combine. Now, with the mixer still on low, slowly stream in your wet ingredients (water, oil). Continue mixing until a shaggy, messy dough starts to form and there’s no dry flour at the bottom of the bowl. This initial mix is all about gentle incorporation. To understand the nuances of this critical first step, exploring what is the slowest speed for can provide valuable insights into your machine’s capabilities.
- Increase to Kneading Speed: Here’s the golden rule for most home stand mixers: never go above speed 2 for kneading dough. I can’t stress this enough. Brands like KitchenAid explicitly state this in their manuals. Why? A heavy dough puts significant strain on the motor. Higher speeds can cause the motor to overheat and wear out prematurely. Speed 2 provides the perfect balance of power and motion to effectively knead the dough without killing your beloved kitchen appliance.
- Set a Timer (Loosely): Start a timer for 6-8 minutes. This is a general guideline. The exact time will depend on your recipe, the type of flour, and even the humidity in your kitchen. Your primary guide shouldn’t be the clock, but the dough itself.
- Look for the Signs: After about 5-6 minutes, check the dough. A properly kneaded dough will have transformed from a sticky mess into a smooth, elastic ball. It will have “cleaned” the sides of the bowl, pulling away cleanly as it’s kneaded.
- Perform the Windowpane Test: This is the ultimate test of gluten development. Stop the mixer, grab a small golf-ball-sized piece of dough. Gently stretch it between your fingers. If you can stretch it thin enough to see light through it without it tearing (like a windowpane), your gluten is perfectly developed. If it tears easily, it needs another 1-2 minutes of kneading.
As renowned pastry chef Isabelle Dubois often says, “The mixer does the muscle work, but the baker’s eyes and hands make the final judgment. Learn to read the dough, not just the clock. Over-kneading can be just as detrimental as under-kneading, resulting in a dense, tough final product.”
Common Dough Hook Mistakes (And How to Fix Them)
Even with a powerful machine, things can sometimes go sideways. Here are a few common issues you might encounter when learning how to use a dough hook stand mixer and how to troubleshoot them.
Why is my dough climbing the hook?
This is the most frequent issue bakers face. It happens when the dough is a bit too sticky or when the batch size is small. The dough finds it easier to ride up the spiral than to be worked against the bowl.
- The Fix: Simply stop the mixer, scrape the dough off the hook and back into the bowl with a spatula, and restart. If it persists, you can try adding flour one teaspoon at a time, but be careful not to make the dough too dry.
Why is my mixer shaking or “walking” on the counter?
A stand mixer shaking violently is a sign that it’s working too hard. This is usually caused by either trying to knead too large a quantity of dough or using a dough that is too stiff (low hydration).
- The Fix: Immediately stop the mixer. If the batch is too large, remove half the dough and knead it in two separate batches. If the dough is too stiff, add water one tablespoon at a time until it becomes more pliable. And always double-check you’re on speed 2!
Beyond Bread: What Else Can Your Dough Hook Do?
Your dough hook isn’t a one-trick pony. Its powerful, gentle action is perfect for a variety of tasks that require thorough mixing without incorporating too much air. This versatility is a key reason why so many people wonder can you use a stand mixer for everything in their kitchen prep.
- Pizza and Pasta Dough: These doughs love the slow, steady work of a dough hook to develop that perfect chewy texture.
- Shredding Cooked Meats: A game-changer! Place cooked, warm chicken breasts, pulled pork, or beef in the bowl. A minute on low speed with the dough hook will shred it perfectly for tacos or sandwiches. This is just one of many amazing stand mixer hacks for bakers and cooks.
- Mixing Meatloaf or Meatballs: It combines the ingredients evenly without overworking the meat, keeping your final product tender and juicy. It’s almost as effective as some specialized attachments, and for those who own them, learning how to use a food processor attachment can further expand your mixer’s capabilities.
Cleaning and Maintenance
Proper care ensures your attachments last a lifetime.
- Immediate Soaking: After use, immediately place the dough hook and bowl in warm, soapy water. Dried-on dough is much harder to remove.
- Check Dishwasher Safety: Most stainless steel bowls and coated dough hooks (the white ones) are top-rack dishwasher safe. However, never put a burnished aluminum dough hook in the dishwasher. It will oxidize and turn a dull, dark gray. These must be washed by hand.
- Dry Thoroughly: Always dry your attachments completely before storing them to prevent any rust or corrosion.
Frequently Asked Questions (FAQ)
What speed should I use for my dough hook stand mixer?
You should almost always use speed 2 on a KitchenAid or a similar stand mixer. The lowest speed is for initial ingredient incorporation, and any speed higher than 2 can cause the motor to overheat and sustain damage with heavy dough.
How long does it take to knead dough with a stand mixer dough hook?
Typically, it takes 6-10 minutes of kneading on speed 2. However, always rely on the look and feel of the dough—smooth, elastic, and passing the windowpane test—rather than strictly adhering to a timer.
Can the dough hook over-knead my dough?
Yes, it is possible. Over-kneaded dough will feel tough and dense, and it may struggle to rise properly. It’s less common than under-kneading but can happen if you let the mixer run for too long (e.g., 15-20 minutes).
Why is my dough not coming together?
This is usually an issue of hydration. If it’s too crumbly, your dough is too dry; add water one tablespoon at a time. If it’s excessively sticky and won’t form a ball, it may be too wet; add flour one tablespoon at a time.
Can I use the dough hook for cookie dough?
It’s not recommended. The dough hook is designed for developing gluten in yeast doughs. For cookie dough, you should use the flat beater (paddle) attachment, which is designed to cream butter and sugar and combine ingredients without overworking them.
Your Baking Journey Starts Now
Mastering how to use a dough hook stand mixer is more than just learning a kitchen skill; it’s about opening a door to endless creative possibilities. From rustic sourdough to soft cinnamon rolls and perfect pizza nights, this humble attachment is your most valuable partner. It handles the heavy lifting, giving you consistent, professional-quality results and, more importantly, the time and energy to enjoy the art of baking. So go ahead, dust off that beautiful kitchen appliance, attach that hook, and let the magic begin. What will you bake first?