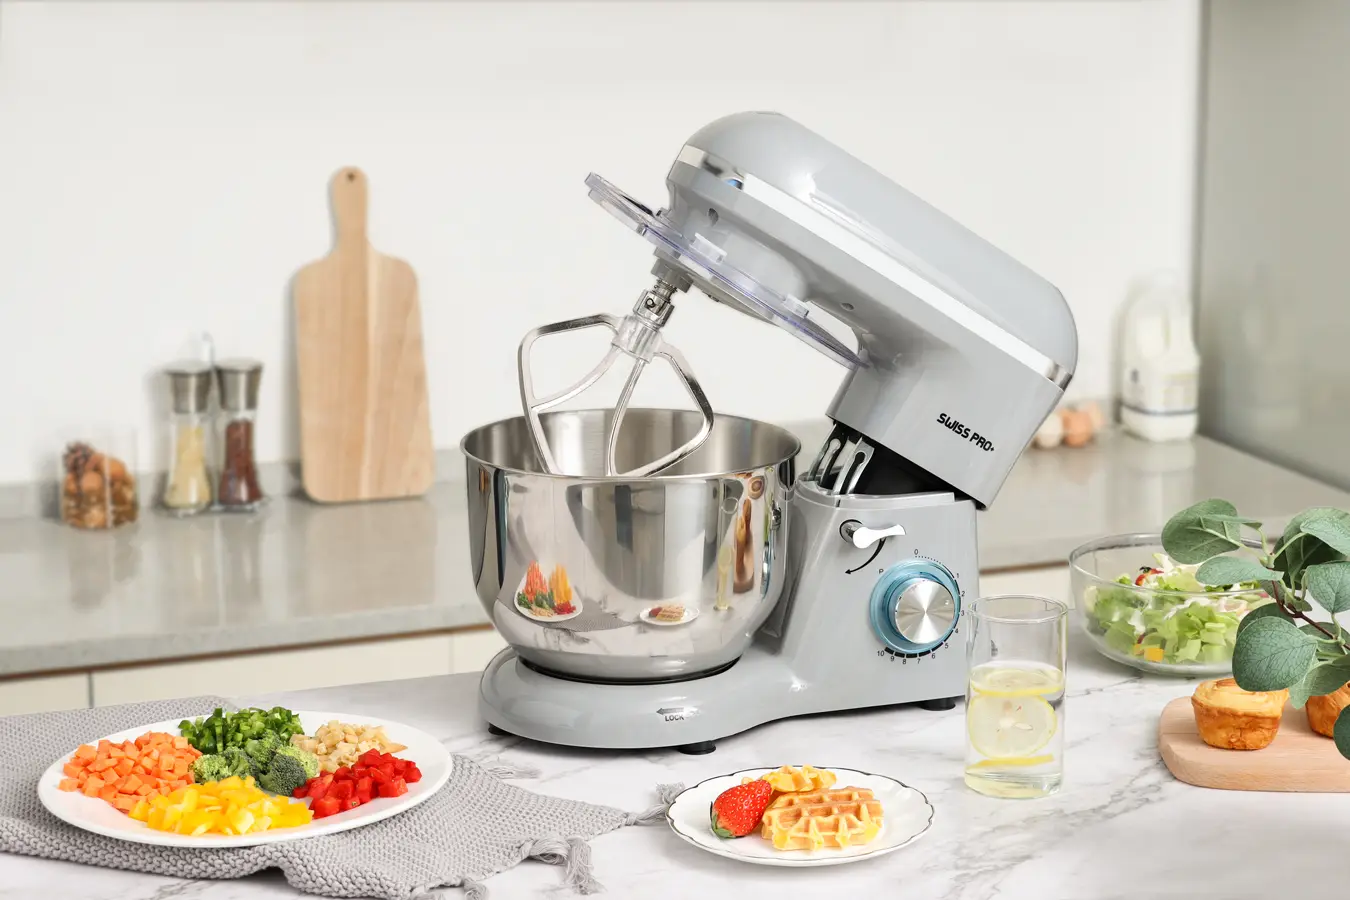
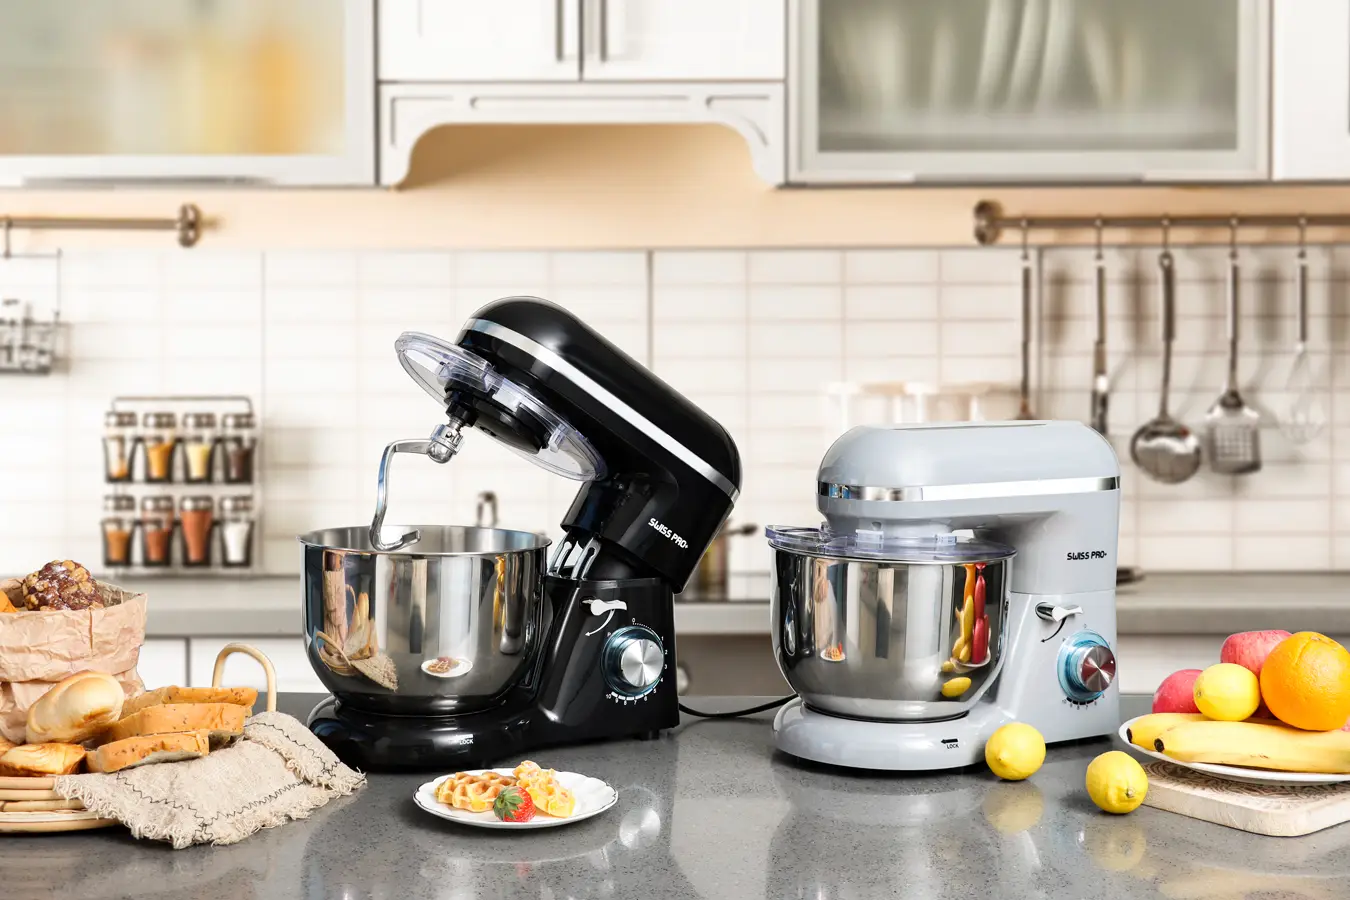
There’s something magical about a lazy weekend morning filled with the smell of freshly made pancakes. It’s a simple pleasure. But when you’re feeding a crowd or just striving for that perfect, consistent batter, you might eye that gleaming kitchen appliance on your counter. So, the big question is, How To Use Stand Mixer For Pancakes effectively? Is it the secret weapon for the fluffiest stack you’ve ever made, or is it simply overkill?
Let’s be honest, I remember the first time I considered it. My trusty stand mixer, a beast that could knead dense bread dough into submission, seemed a bit much for a simple pancake batter. But as the founder of Stand Mixer Pro, I’m here to tell you that with the right technique, your mixer can be a fantastic tool for the job. It’s all about control, choosing the right attachment, and knowing when to stop. Ready to level up your breakfast game? Let’s dive in.
Why Use a Stand Mixer for Pancakes? The Pros and Cons
Before we get into the nitty-gritty, it’s important to understand why you’d reach for your stand mixer instead of a simple whisk and bowl. This isn’t just about using a fancy gadget for the sake of it; it’s about leveraging its power strategically.
The Pros:
- Consistency is King: For large batches, a stand mixer is unparalleled. It ensures every bit of flour is incorporated evenly, eliminating those pesky dry pockets you sometimes find at the bottom of a hand-mixed bowl.
- Efficiency for a Crowd: Making pancakes for the whole family? A stand mixer saves your arm and precious time, combining ingredients quickly and efficiently.
- Hands-Free Operation: This is a game-changer. While the mixer does the initial work, you can be melting butter, warming up syrup, or getting the griddle to the perfect temperature.
The Cons:
- The Danger of Overmixing: This is the number one risk. A stand mixer’s power can quickly overdevelop the gluten in the flour, leading to tough, rubbery pancakes instead of light, fluffy ones.
- More Cleanup: Let’s face it, cleaning a large mixing bowl and an attachment is more work than rinsing a whisk. For a small batch for one or two people, it might not be worth the extra effort.
The takeaway? A stand mixer shines for large batches where consistency and efficiency are key. For a small, quick breakfast, hand-mixing might still be your best friend.
Choosing the Right Tool: Which Stand Mixer Attachment for Pancakes?
Your stand mixer came with a few key attachments, and picking the right one is crucial for pancake success. You’re dealing with a delicate batter, not a tough dough.
The Flat Beater: Your Go-To Choice
The flat beater (or paddle attachment) is your best bet for pancake batter. Its design is perfect for thoroughly combining ingredients without incorporating too much air or overworking the gluten. It efficiently cuts through the dry ingredients, mixing them with the wet ingredients just enough to form a cohesive batter.
The Wire Whisk: A Cautious Approach
While a wire whisk seems like an intuitive choice—after all, you use a hand whisk, right?—it can be problematic in a stand mixer. The whisk is designed to whip a lot of air into mixtures, which is great for meringue or whipped cream, but not ideal for pancakes. It can easily lead to overmixing and developing too much gluten. If it’s your only option, use it on the lowest possible speed for the shortest possible time.
What about the Dough Hook? Absolutely not. The dough hook is designed for kneading heavy yeast doughs. Using it for pancake batter is the fastest way to get tough, chewy pancakes. Just keep it in the drawer for this task.
How to Use Stand Mixer for Pancakes: A Step-by-Step Guide
Alright, you’ve weighed the pros and cons, and you’ve selected your flat beater. Now, let’s walk through the process. The key here is less is more.
- Prep Your Station: Attach the flat beater and the mixing bowl to your stand mixer. Make sure the machine is unplugged while you do this. Safety first!
- Combine Dry Ingredients: In the mixer’s bowl, add your flour, sugar, baking powder, baking soda, and salt. Lock the mixer head in place and turn it on the lowest speed (often labeled ‘Stir’) for just 10-15 seconds. This evenly distributes the leavening agents, which is a secret to a consistent rise.
- Mix Wet Ingredients Separately: In a separate bowl or large liquid measuring cup, whisk together your milk, eggs, and melted butter (or oil). Mixing them separately prevents the eggs from getting overworked by the mixer.
- The Critical Combination: With the mixer running on its absolute lowest speed, slowly pour the wet ingredients into the dry ingredients. Let it mix for just 10-20 seconds, or until the ingredients are just combined.
- STOP! This is the most important step. Turn the mixer off the moment you no longer see large streaks of dry flour. The batter should look lumpy and messy. This is a good thing! A few lumps are the hallmark of a tender pancake batter.
- Let it Rest: Scrape down the sides of the bowl with a spatula, give it one final gentle fold by hand if needed, and then let the batter rest for 5-10 minutes. This allows the gluten to relax and the starches in the flour to hydrate, resulting in a more tender crumb.
As renowned Pastry Chef Isabelle Dubois often says, “The stand mixer is a tool of power and precision. For delicate batters like pancakes, use that power for mere seconds, not minutes. Let the lumps be a sign of your future success.”
The Cardinal Sin: How to Avoid Overmixing
We’ve mentioned it several times, but it’s worth its own section because it’s the single most common mistake when learning how to use stand mixer for pancakes.
When you mix flour and liquid, two proteins called glutenin and gliadin link together to form gluten. A little gluten provides structure, but too much makes baked goods tough and chewy—great for artisan bread, terrible for pancakes.
Signs of Overmixed Batter:
- It looks smooth and uniform: A perfect pancake batter should be lumpy. If it looks as smooth as cake batter, you’ve gone too far.
- The pancakes are tough: They’ll have a chewy, rubbery texture instead of being light and fluffy.
- The pancakes are flat: Overmixing can knock the air out and inhibit the work of your baking powder, leading to sad, flat discs.
How to Prevent It:
- Always use the lowest speed.
- Time yourself. Don’t just turn it on and walk away. Be present and watch it mix. 15 seconds is often plenty.
- Embrace the lumps. Seriously. A few lumps of flour are your friends. They’ll cook out on the griddle.
Troubleshooting Common Stand Mixer Pancake Problems
Even with the best intentions, things can go slightly awry. Here’s how to troubleshoot some common issues.
- Problem: My pancakes are tough and rubbery.
- Cause: You almost certainly overmixed the batter. You used too high a speed or mixed for too long, developing too much gluten.
- Solution: Next time, mix on low for no more than 20 seconds. Stop as soon as the flour is moistened.
- Problem: My pancakes are flat and dense.
- Cause: This could be due to overmixing, which deflated the batter, or your leavening agent (baking powder/soda) might be old.
- Solution: Check the expiration date on your leavening agents. And again, mix less! Also, ensure you let the batter rest; this helps it perform better.
- Problem: The batter is too thick or too thin.
- Cause: This usually comes down to how you measure your flour. Scooping flour directly from the bag with a measuring cup can compact it, leading to too much flour.
- Solution: For best results, use a kitchen scale. If you don’t have one, use the “spoon and level” method: spoon flour into your measuring cup until it’s overflowing, then level it off with the back of a knife.
Frequently Asked Questions (FAQ)
Q1: What speed should I use on my KitchenAid for pancake batter?
Use the lowest speed setting, which is “Stir” or speed 1 on most KitchenAid models. This gentle speed combines ingredients without overdeveloping gluten, which is essential for fluffy pancakes.
Q2: Can you make pancake batter in a stand mixer the night before?
Yes, you can prepare the batter and store it in an airtight container in the refrigerator overnight. However, the baking powder may lose some of its potency. For the fluffiest results, you may want to add an extra 1/2 teaspoon of baking powder and gently fold it in just before cooking.
Q3: Is it better to mix pancakes by hand or with a stand mixer?
For small batches (serving 1-3 people), mixing by hand is often faster and gives you more control to prevent overmixing. For larger batches (serving 4+), a stand mixer is superior for ensuring consistency and saving time and effort.
Q4: How do I add mix-ins like blueberries or chocolate chips using a stand mixer?
Never use the mixer to incorporate delicate mix-ins. After the batter is mixed and has rested, use a rubber spatula to gently fold in your blueberries, chocolate chips, or bananas by hand. This prevents them from being crushed and staining your entire batter.
Q5: How do I clean my stand mixer bowl after making pancakes?
Pancake batter is relatively easy to clean. Simply rinse the bowl and flat beater with warm water immediately after use to prevent the batter from drying on. Then, wash with warm, soapy water or place them in the dishwasher if they are dishwasher-safe (always check your manufacturer’s instructions).
Final Thoughts: A Powerful Tool Used Wisely
So, can you use your stand mixer for pancakes? The answer is a resounding yes—with a few important caveats. It’s a fantastic kitchen appliance that, when used with precision and restraint, can help you produce consistently delicious pancakes, especially when you’re cooking for a crew. Remember the golden rules: use the flat beater, stick to the lowest speed, and stop mixing the second it comes together. Master this technique, and you’ll have unlocked another great way to put your powerful kitchen assistant to work.
Learning how to use stand mixer for pancakes is about understanding that sometimes, the most powerful tools require the gentlest touch. Now go forth and make some wonderfully fluffy, perfectly mixed pancakes! We’d love to hear about your experiences in the comments below.