Let’s talk about the heart of many bakers’ kitchens: the stand mixer. It’s a beautiful, powerful piece of machinery, a true culinary workhorse. But let’s be honest, it can also be a countertop hog. If you’re tired of wrestling with your mixer and its entourage of attachments, you’ve come to the right place. We’re diving deep into practical and clever Stand Mixer Organization Ideas that will transform your kitchen workflow from cluttered and chaotic to streamlined and serene. Whether you have a sprawling kitchen or a cozy apartment nook, these tips will help you reclaim your space and make your baking experience more joyful than ever.
Why Smart Stand Mixer Organization is a Game Changer
Before we get into the “how,” let’s quickly cover the “why.” You might think, “It’s just a mixer, what’s the big deal?” But getting your organization right can make a world of difference. Proper storage protects your investment from dust and dings, a well-planned station makes the baking process infinitely smoother (no more frantic searches for the dough hook!), and a tidy space is simply more inspiring. When your tools are accessible and your workspace is clear, you’re far more likely to roll up your sleeves and create something delicious.
To Display or To Store? Finding the Perfect Home for Your Mixer
This is the first and most important question in your quest for better stand mixer organization ideas. The answer depends entirely on your baking habits and your kitchen’s layout.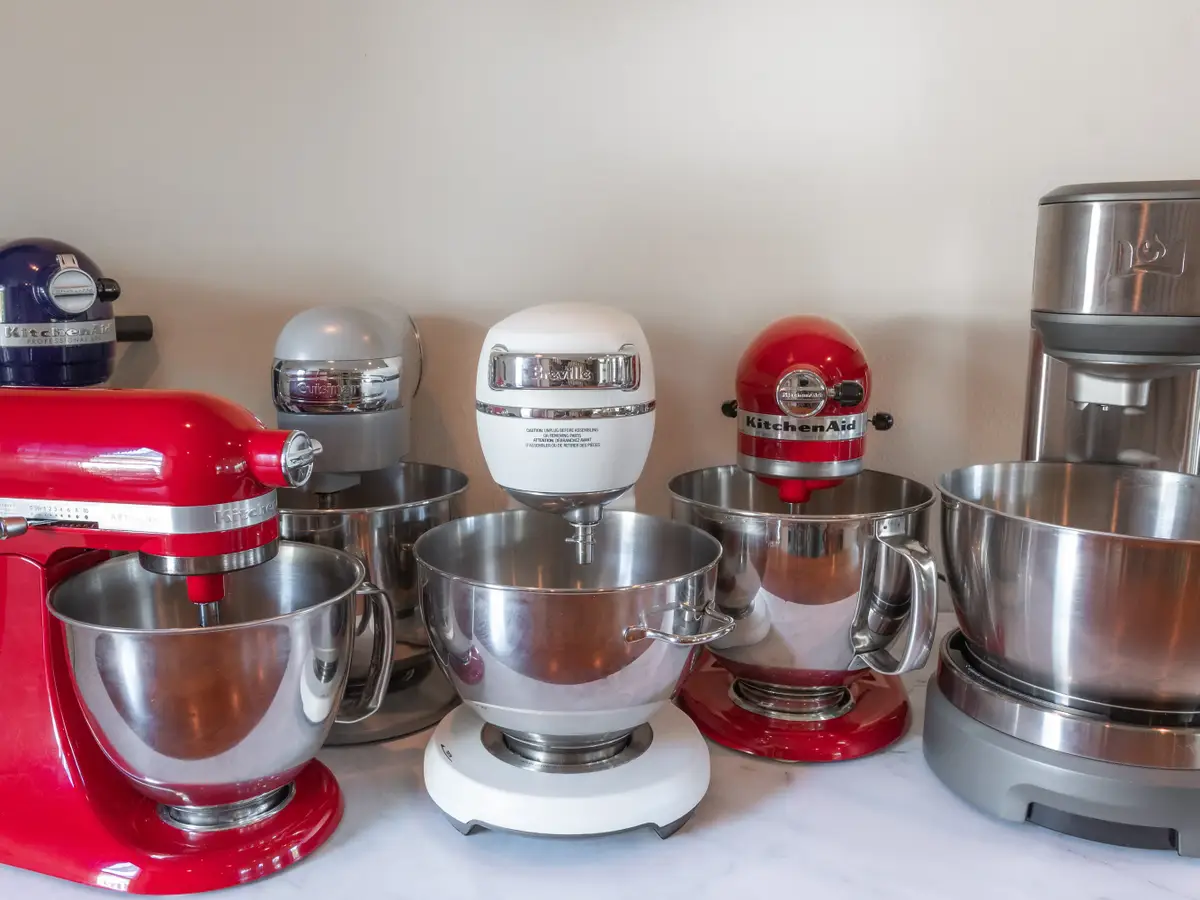
The Countertop Command Center: For the Frequent Baker
If you use your stand mixer several times a week, keeping it on the countertop is a no-brainer. It becomes a functional statement piece. But “on the counter” doesn’t have to mean “in the way.”
- Create a Dedicated Zone: Designate a specific corner or section of your counter as the “baking station.” Keep your flour, sugar, and other staples in canisters nearby. This creates an efficient workflow, minimizing the steps you need to take.
- Invest in a Slider Mat: This is a simple but revolutionary accessory. A slider mat placed under your mixer allows you to effortlessly glide the heavy appliance from its home in the corner to the center of the action. No more lifting or scratching your countertops.
- Use a Mixer Cover: A stylish cover not only protects your machine from dust and splatters but also helps it blend more seamlessly with your kitchen decor when not in use.
Smart Storage Solutions: For the Occasional User or Small Kitchen
If you’re a weekend warrior baker or tight on counter space, stashing your mixer away is the best bet. But you need a solution that isn’t a back-breaking hassle.
- The Appliance Garage: This is a fantastic solution. An appliance garage is essentially a cabinet that sits on your countertop with a roll-up or pocket door, hiding your mixer when it’s not in use but keeping it easily accessible.
- A Sturdy Pantry Shelf: If you have a walk-in pantry, a low, sturdy shelf is a great spot. The key is to make it low. Lifting a 25-pound mixer from shoulder height is a recipe for disaster. Keep it at waist level for easy and safe access.
- The Ultimate Solution: The Appliance Lift: If you’re remodeling or have the right kind of base cabinet, an appliance lift is the gold standard. This spring-loaded mechanism is installed inside a cabinet and allows you to swing the mixer up and out to counter height, locking it in place. It’s the ultimate combination of hidden storage and effortless accessibility.
As kitchen designer Sarah Jenkins often says, “The best kitchen tools are the ones you actually use. An appliance lift removes the biggest barrier to using a stand mixer—its weight and awkwardness—making it a seamless part of your routine.”
How Do I Organize My Stand Mixer Attachments?
Organizing the mixer itself is only half the battle. What about that collection of whisks, beaters, and hooks? A jumbled drawer of metal attachments is not only messy but can also lead to chipped or damaged tools.
The best way to organize stand mixer attachments is to give each one a dedicated home where it’s visible, accessible, and protected. This can be inside a drawer with dividers, on a cabinet door with hooks, or on a wall-mounted rack near your baking station.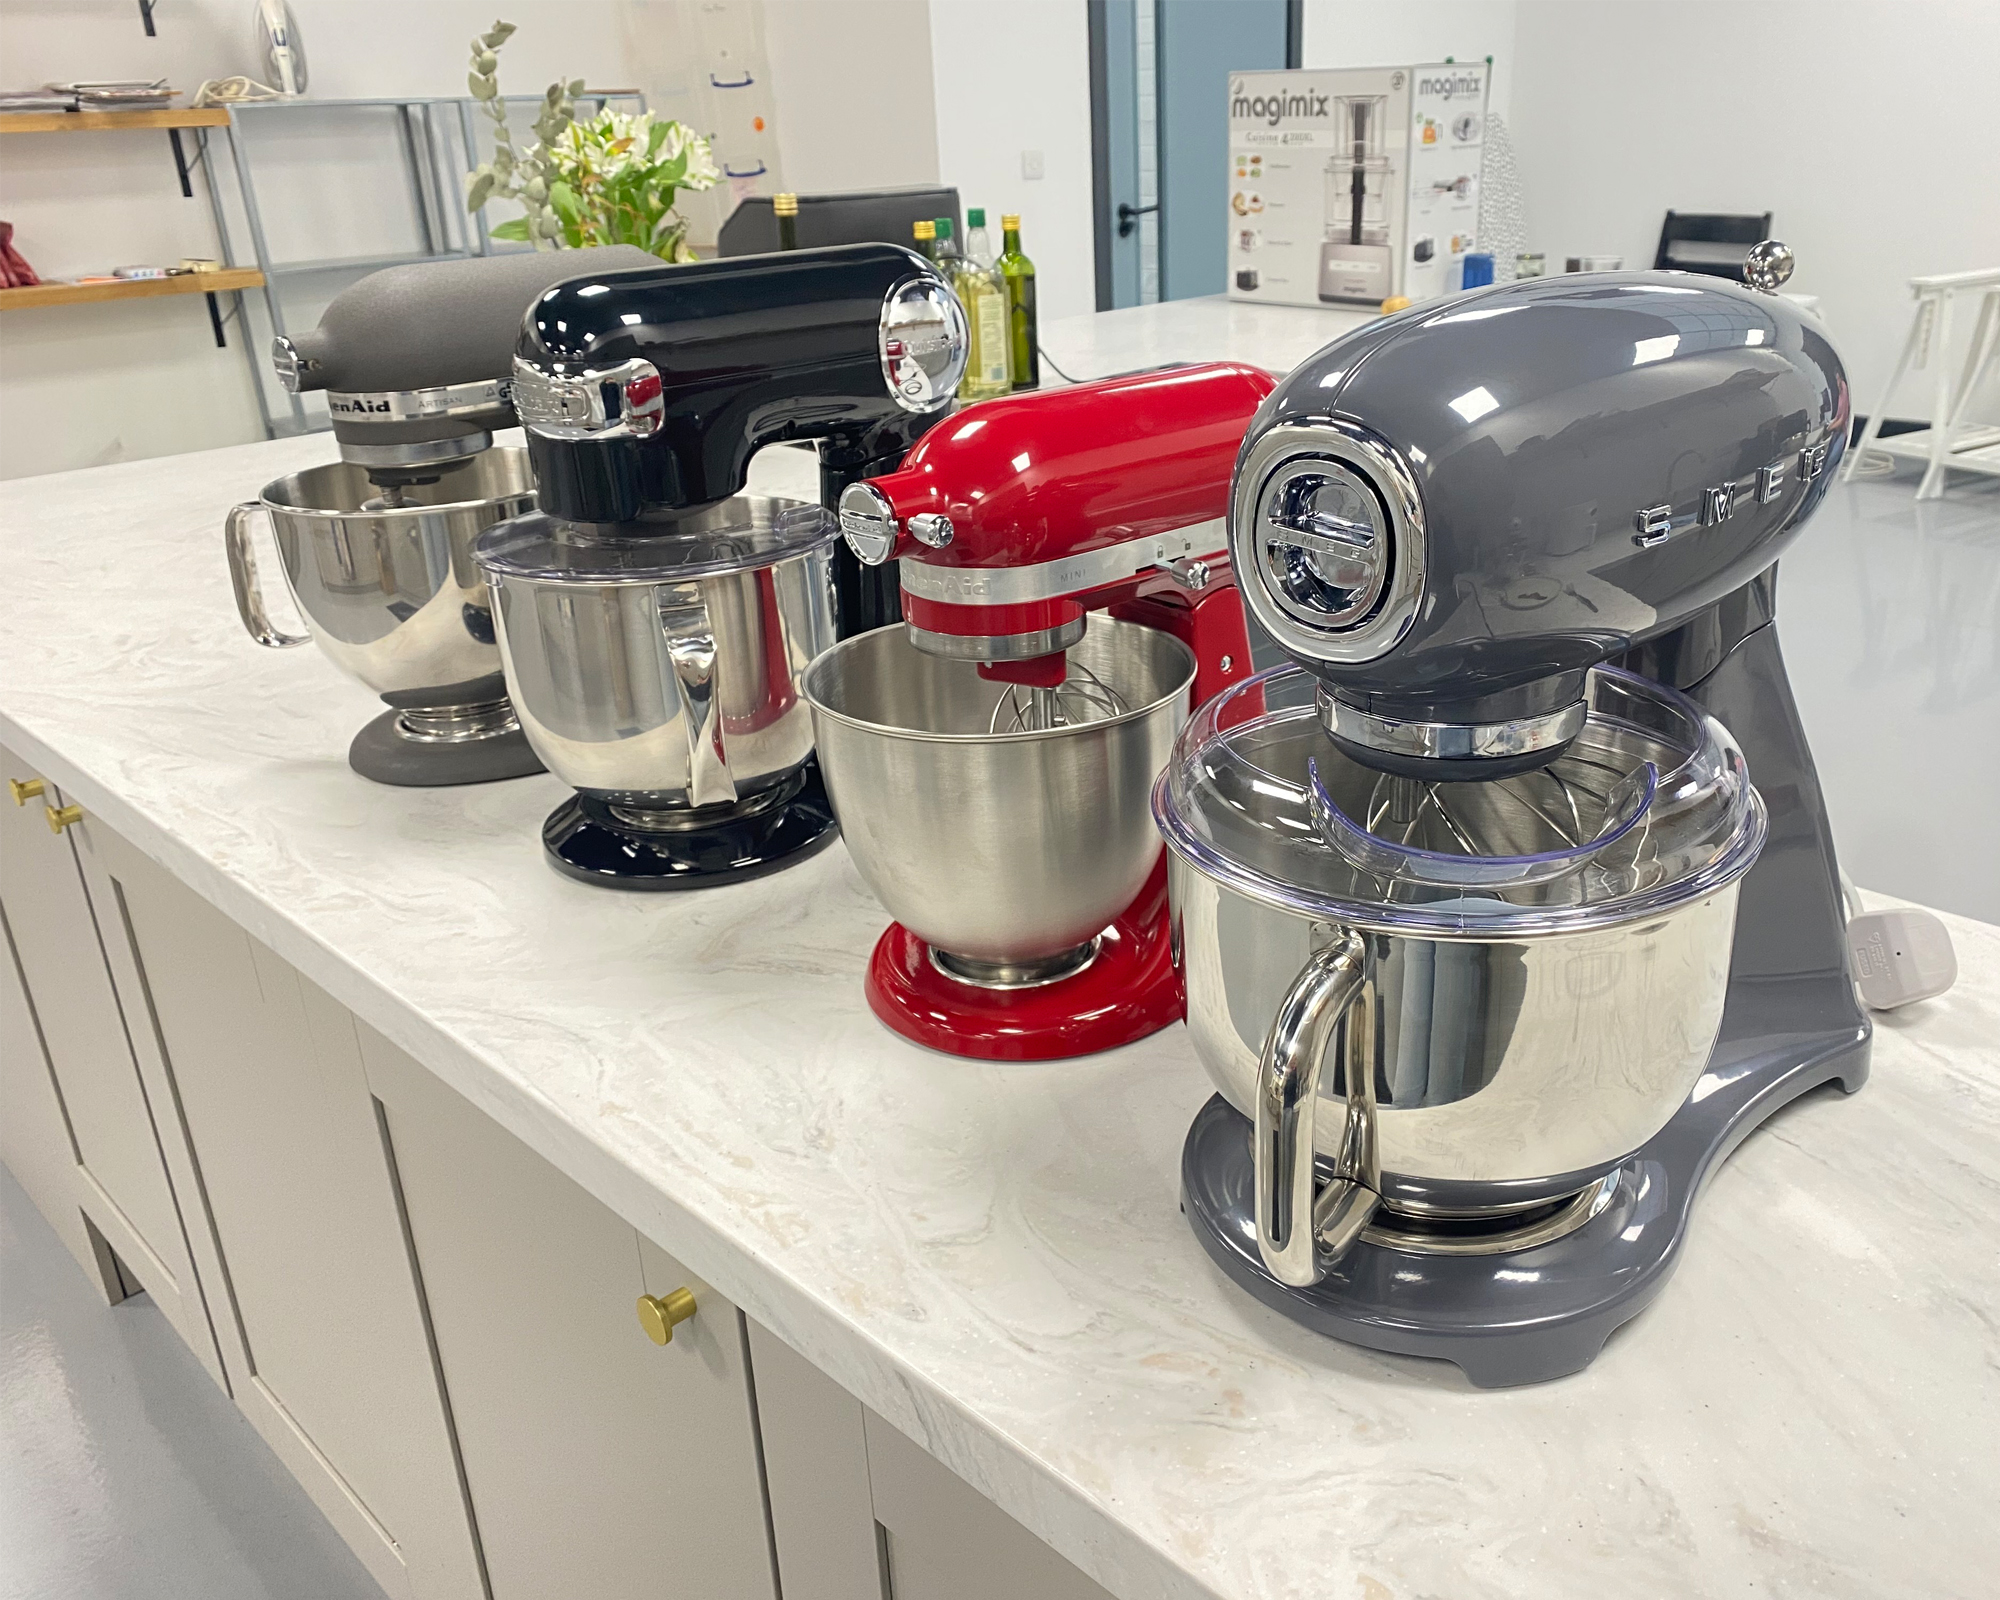
In-Bowl and On-Mixer Solutions
For those who want zero-fuss storage, these ideas keep everything in one place.
- The Towel Method: Simply line your mixing bowl with a clean dish towel, place the attachments inside, and you’re done. The towel prevents the metal from scratching your bowl. It’s simple and effective.
- Magnetic Hooks: Place strong magnetic hooks on the side of your mixer’s motor head to hang the whisk and flat beater. This is a brilliant use of vertical space, especially for smaller models like the KitchenAid Artisan Mini.
Drawer and Cabinet Organization Ideas
If you prefer to keep your attachments out of sight, these methods are for you.
- Drawer Dividers: Use adjustable drawer dividers to create custom-sized compartments for each attachment. This prevents them from rolling around and clanking into each other.
- Cabinet Door Magic: The inside of a cabinet door is prime organizational real estate. Use sturdy adhesive hooks (like Command Hooks) to hang each attachment. Measure first to ensure the door can still close properly!
- Under-Cabinet Holders: You can find specially designed holders online (some are even 3D-printed!) that mount to the underside of your upper cabinets. Your attachments simply slide into place, keeping them off the counter but within arm’s reach. This is one of the most popular modern stand mixer organization ideas.
Building Your Ultimate Stand Mixer Baking Station
Now, let’s put it all together. A true “baking station” is about more than just storing the mixer; it’s about creating a harmonious ecosystem for your creative process.
- Anchor with Your Mixer: Place your mixer in its chosen spot, whether on the counter or in an appliance lift cabinet.
- Organize Ingredients: Use a tiered tray or a set of matching canisters next to your mixer for flour, sugar, baking soda, and salt. Having them at your fingertips saves immense time.
- Corral Your Tools: Use a utensil crock for spatulas and wooden spoons. Keep your measuring cups and spoons in the nearest drawer, ideally with an organizer.
- Plan for Attachments: Implement one of the storage solutions mentioned above. If your mixer is on the counter, using under-cabinet or magnetic hooks keeps the whole station self-contained.
- Consider a Mobile Cart: For the ultimate flexibility, especially in smaller kitchens, a rolling kitchen cart can serve as your mobile baking station. You can store the mixer on the sturdy top shelf and use the lower shelves for attachments, bowls, and ingredients. Just roll it out when you’re ready to bake!
Frequently Asked Questions (FAQ)
Q1: What’s the best way to store a heavy stand mixer?
The best way to store a heavy stand mixer is on a low, sturdy shelf in a pantry or in a base cabinet equipped with an appliance lift. This minimizes heavy lifting and makes the mixer much safer and easier to access when you need it.
Q2: Can I store my stand mixer attachments in the mixing bowl?
Yes, you can absolutely store your attachments in the bowl. To prevent the metal attachments from scratching the inside of a stainless steel or glass bowl, simply place a small kitchen towel or a piece of felt in the bottom of the bowl first.
Q3: How can I implement these stand mixer organization ideas in a small apartment?
In a small apartment, maximizing vertical space is key. Use under-cabinet hooks for your attachments, a slider mat to easily move the mixer out of the way on the counter, or consider a sturdy rolling cart that can be tucked into a closet when not in use.
Q4: Are there specific products made for stand mixer organization?
Yes, there are many products designed to help. Look for under-cabinet attachment holders, in-drawer organizers, mixer slider mats, and custom-fit cloth covers. Many creative sellers on platforms like Etsy offer unique 3D-printed solutions.
Q5: Does leaving a stand mixer on the counter damage it?
No, leaving a stand mixer on the counter will not damage it. In fact, many are designed to be beautiful countertop appliances. Using a cover is recommended to protect it from dust, grease, and direct sunlight, which can fade the paint finish over time.
A stand mixer is more than just an appliance; it’s a partner in your culinary adventures. By implementing a few thoughtful stand mixer organization ideas, you’re not just tidying up your kitchen—you’re setting the stage for creativity. You’re creating a space that invites you to bake, experiment, and share delicious moments. So take an hour this weekend to find the perfect home for your mixer and its accessories. Your future baking self will thank you.